

Sewing Tips & Tool Advice
Rotary Cutting Small Curves and Pattern Details
Eight Needles Journal · Cutting
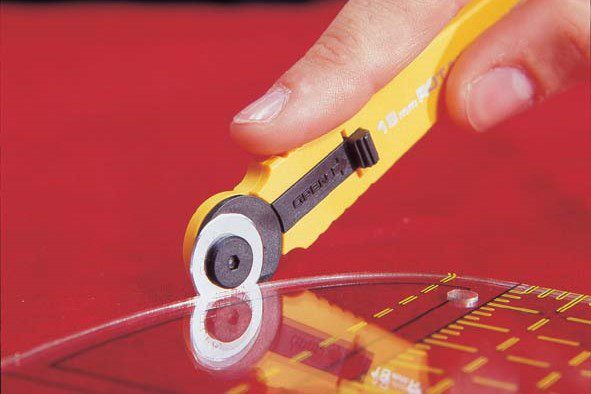
A small rotary cutter can make a curved outline easier to approach, but not every detail should be cut in one rolling movement. A rounded pocket, an inward V and a tiny notch ask different things of the blade. Planning those changes before starting is often more useful than trying to force one tool around the whole pattern.
Match the movement to the shape
| Pattern detail | A useful approach | Watch for |
|---|---|---|
| Broad rounded edge | A controlled rolling cut with a clear view of the outline. | The cloth or paper shifting as your hand changes direction. |
| Tight inward curve | Compare a smaller cutter with fine scissors on a scrap. | The handle blocking your view or forcing an awkward wrist angle. |
| Sharp inward V | Plan where the rotary cut stops; finish the point with suitable scissors. | Extending the cut beyond the intended point. |
| Notch or internal marking | Use the method and depth specified by the pattern. | Confusing a mark with an instruction to cut through the seam line. |
Where we would switch to scissors
For a V-shaped section or a tiny notch, we would plan a deliberate stopping point and finish with suitable scissors. A rolling blade can continue beyond the point you meant to stop at. Keeping both tools nearby lets you choose the more controlled movement for each part of the pattern.
A broad rounded edge and an inward corner are different jobs. Before starting, trace the intended cutting route with the blade covered and identify the places that need a change of tool. This small planning step helps make the actual cut less hurried.
18mm and 28mm: compare the actual tools
| Tool | What is confirmed | What to try on a scrap |
|---|---|---|
| OLFA RTY-4, 18mm | Small circular stainless-steel blade; sliding cover; right- or left-handed use | Can you see the line and follow the tightest curve comfortably? |
| OLFA RTY-1/C, 28mm | 28mm circular blade; sliding cover; quick-change rear clasp | Does the handle and blade combination feel easier on the broader curves? |
The RTY-4 is designed for straight and curved cuts, but its diameter does not give a universal minimum turning radius. For a wider comparison, see our 18mm, 28mm and 45mm guide.
Look at the shape before lifting the cover
Try this planning exercise with a pocket pattern: identify its straight sides, rounded bottom and the exact points where the cut must stop. Reproduce the awkward part on an offcut of the same material. The purpose is to learn whether you can keep the blade on the intended line without rushing, changing your grip mid-cut or bringing your supporting hand too close.
If that small trial is uncomfortable, choose scissors for that section. Buying the smallest blade is not a substitute for a clear view of the line and a stable working position. You can still use a rotary cutter on the easier parts of the project.
Hold the pattern while leaving room for the cutter
Set the work on a suitable cutting mat with the whole area you are cutting supported. Place weights so that they hold the paper without blocking the curve or the handle. The Bunka Gelato pattern weight is an option from our range; a colour choice is one weight, not a set of all five colours.
Our listing warns that friction or impact can transfer or damage its painted finish. Lift a weight to reposition it rather than dragging it across the cloth. A weight holds the pattern; it is not a guard that makes it safe to run a blade against it.
A curved drawing ruler is not always a cutting template
Check that a guide is intended for rotary cutting before running a blade along its edge. A thin pattern-drafting curve may flex or be damaged. A flexible ruler that helps draw a neckline does not automatically provide the firm edge needed to guide a cutter.
When a change of direction becomes uncomfortable, stop and cover the blade before adjusting the work. Keep the fabric and pattern aligned as one arrangement. Avoid twisting an exposed wheel sideways while it is pressed into the mat.
Keep the stopping points visible
Before removing the paper, check that the details needed for sewing have been transferred using a method suitable for the fabric. The cutting outline and the stitching line may differ, especially where seam allowances are included. At a V or small internal corner, check the pattern instructions before making a cut: an accidental extension cannot be undone by changing the blade.
For a practical first comparison, use the same offcut and the same drawn shape with your existing scissors and cutter. Compare the result and how controlled the movement feels. There is no need to complete the entire shape with one tool just because it is already in your hand.
Finish with the blade covered
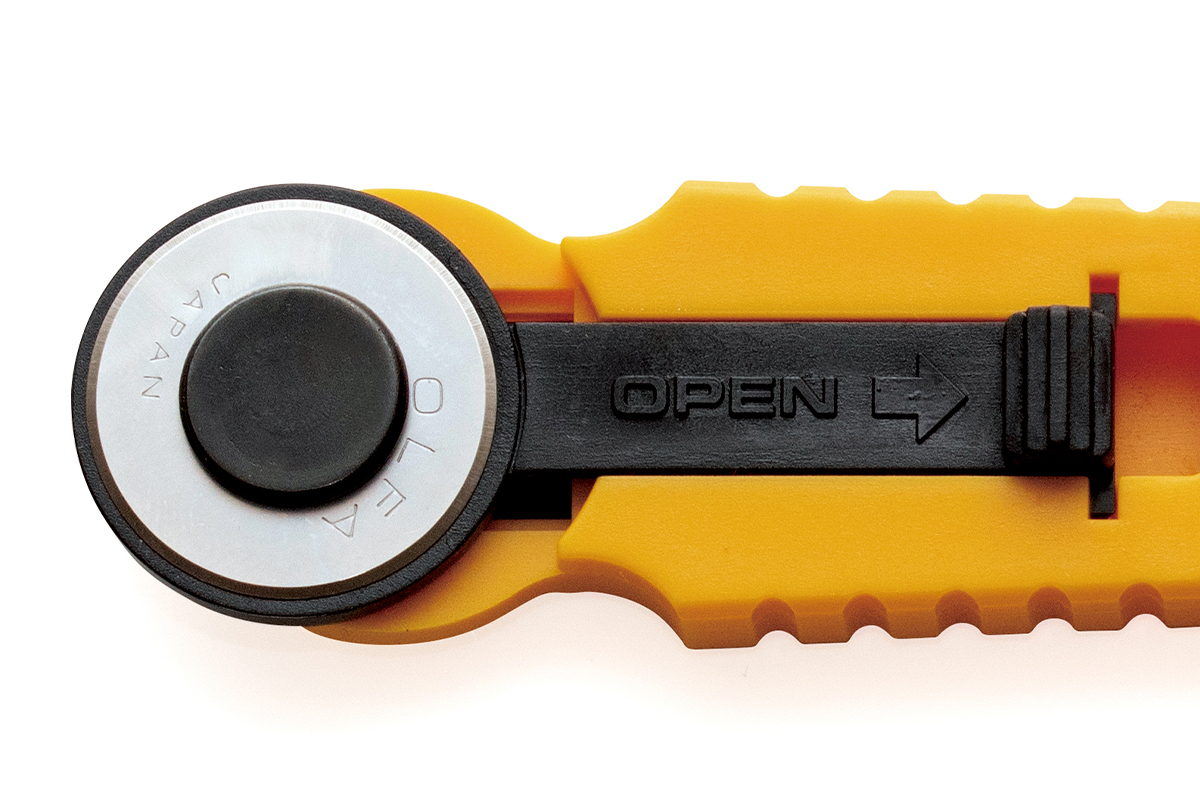
Follow the instructions for the particular model, keep fingers away from the cutting path and fully cover the blade when setting the cutter down. If the cut is interrupted by connected threads, stop and inspect the setup rather than repeatedly rolling over the same uncertain line. Our replacement-blade guide explains how to match a spare to the body.
