

Sewing Tips & Tool Advice
How to Test a Fabric Marker Before Sewing
Eight Needles Journal · Marking
A useful marker test answers three questions: can you see the line, will it last until you sew, and can you remove it without changing the cloth?
A quick dot wiped away immediately answers only part of that. Your project may involve a long dart line, several days between sewing sessions, or a fabric that cannot be washed. A representative test makes the choice much clearer.
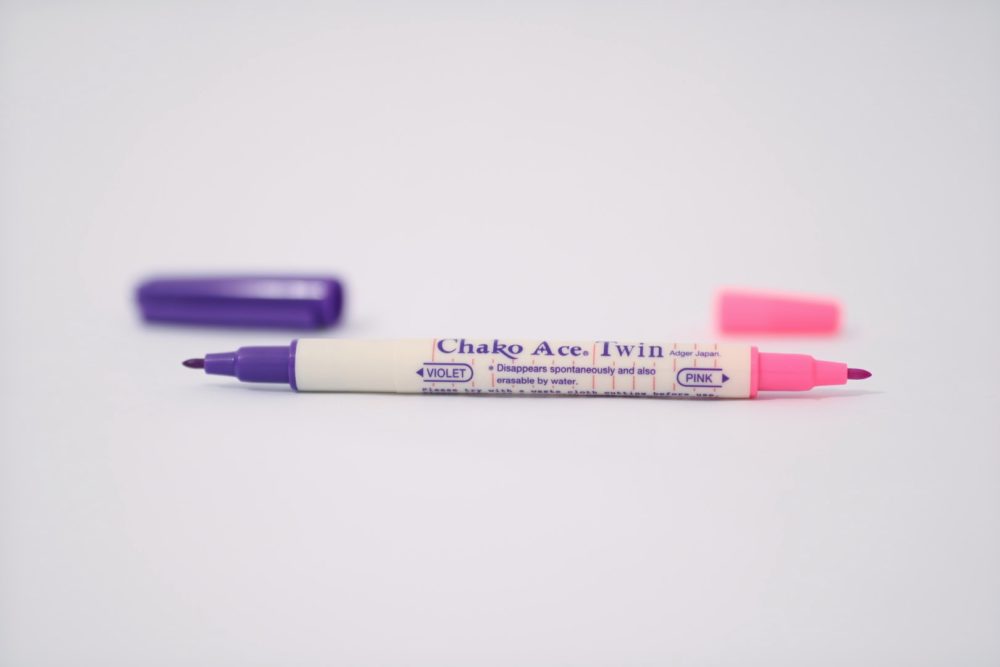
Prepare two matching scraps
Take the test piece from the fabric you will actually use. Keep a second, unmarked piece beside it as a comparison. If the project fabric will be prewashed, test it after the same preparation. Include the relevant layers when they affect how you can remove a mark.
Label each test with the product, ink or lead colour, date and planned sewing time. Use a paper label beside the cloth, so the label itself does not introduce another ink into the test. Keep different marking products on separate scraps.
Draw what you will need to sew
Make a short straight line, a curve and a placement dot with light pressure. If the project needs a much longer line, try that too. Hold the material as you normally would and watch whether the point pushes or stretches it.
Check the mark under your sewing light. You should be able to tell where the intended stitch or cut belongs without repeatedly going over the line. For a developing white ink, allow it to appear before deciding it needs another application.
Follow the project’s timetable
Keep the sample in the conditions in which you expect to work and store the project. Look again when you would start sewing, and after the amount of handling the marked piece is likely to receive. Photographing the fresh mark can help you compare visibility later.
An air-erasable ink may disappear before you need it; powder can rub away during handling. A mark that stays visible still needs a removal test. None of these observations on one scrap establishes a universal fading time for the pen.
Remove the mark, then let the fabric dry
Use the removal method specified for that exact product. Confirm first that the fabric, interfacing and trims can tolerate it. Do not substitute a different maker’s eraser or add heat because another pen responds to ironing.
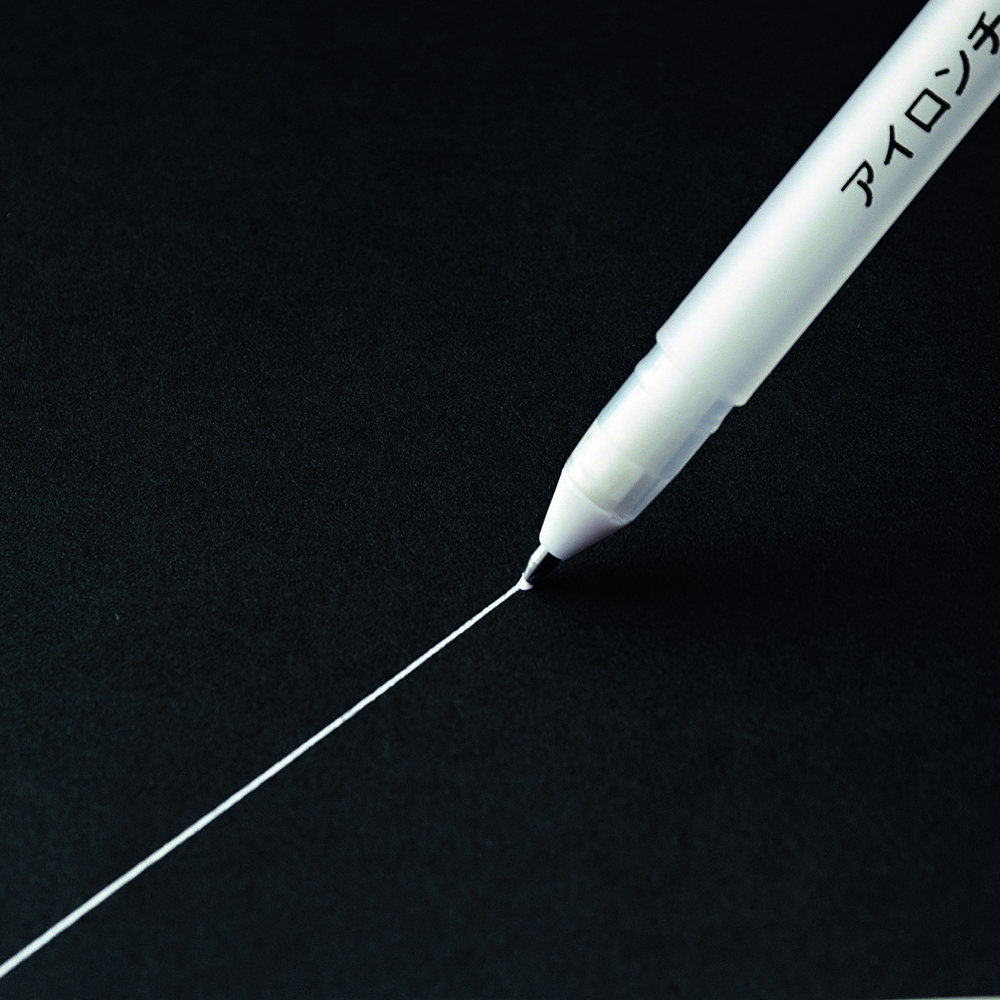
For Adger purple, pink and blue, remove the marks before pressing. For Adger blue, do not begin with soapy water. Clover’s iron-and-water-erasable white marker uses a different system; its heat-removal option should not be applied to other inks.
For an Adger blue mark, give the ink enough water
If the cloth allows it, immerse the marked area in plain water. Alternatively, use a well-wetted towel to tap the area and disperse the ink, following the pen instructions. A cotton bud, light mist or steam can make a small patch look clear while leaving ink that becomes visible again as it dries. Add detergent only after the mark has gone.
If your completed project cannot tolerate that amount of water, record this as an unsuitable removal method and test another marker. Do not make the sample artificially easy to clean by treating it in a way you could not use on the garment.
Inspect the fully dry scrap beside the unmarked piece. Look at both sides and change the viewing angle. Check for a residual line, a pale outline, dye movement, stiffness or a change to the surface. A mark disappearing into a wet patch is not enough to establish clean removal.
Record the decision
| Check | What a useful result looks like |
|---|---|
| Drawing | A controlled line without distorting the fabric. |
| Visibility | You can follow the line under your working light. |
| Working time | The guide is still usable when you expect to sew. |
| Removal | The specified treatment is practical for the whole project. |
| Dry inspection | No visible residue or fabric change compared with the unmarked scrap. |
If any part fails, change the tool or method and test again on a fresh scrap. Keep a successful sample with the project so you can identify the marks when you return to it.
For expensive or delicate material, the useful outcome may be choosing a non-ink method, such as tested thread marking. A test is there to help you make that decision before the first mark goes on the garment.
Compare the marking tools · Browse markers, chalks and refills
