

Sewing Tips & Tool Advice
Nonaka Screw Punch: Body Only or with a 3mm Blade?
Eight Needles Journal · Nonaka
A screw punch can look like a single purchase, but the cutting size lives in its removable blade. Nonaka offers both a body on its own and a body supplied with a 3mm blade. Understanding that difference is the first step towards buying a tool you can actually use for your project.
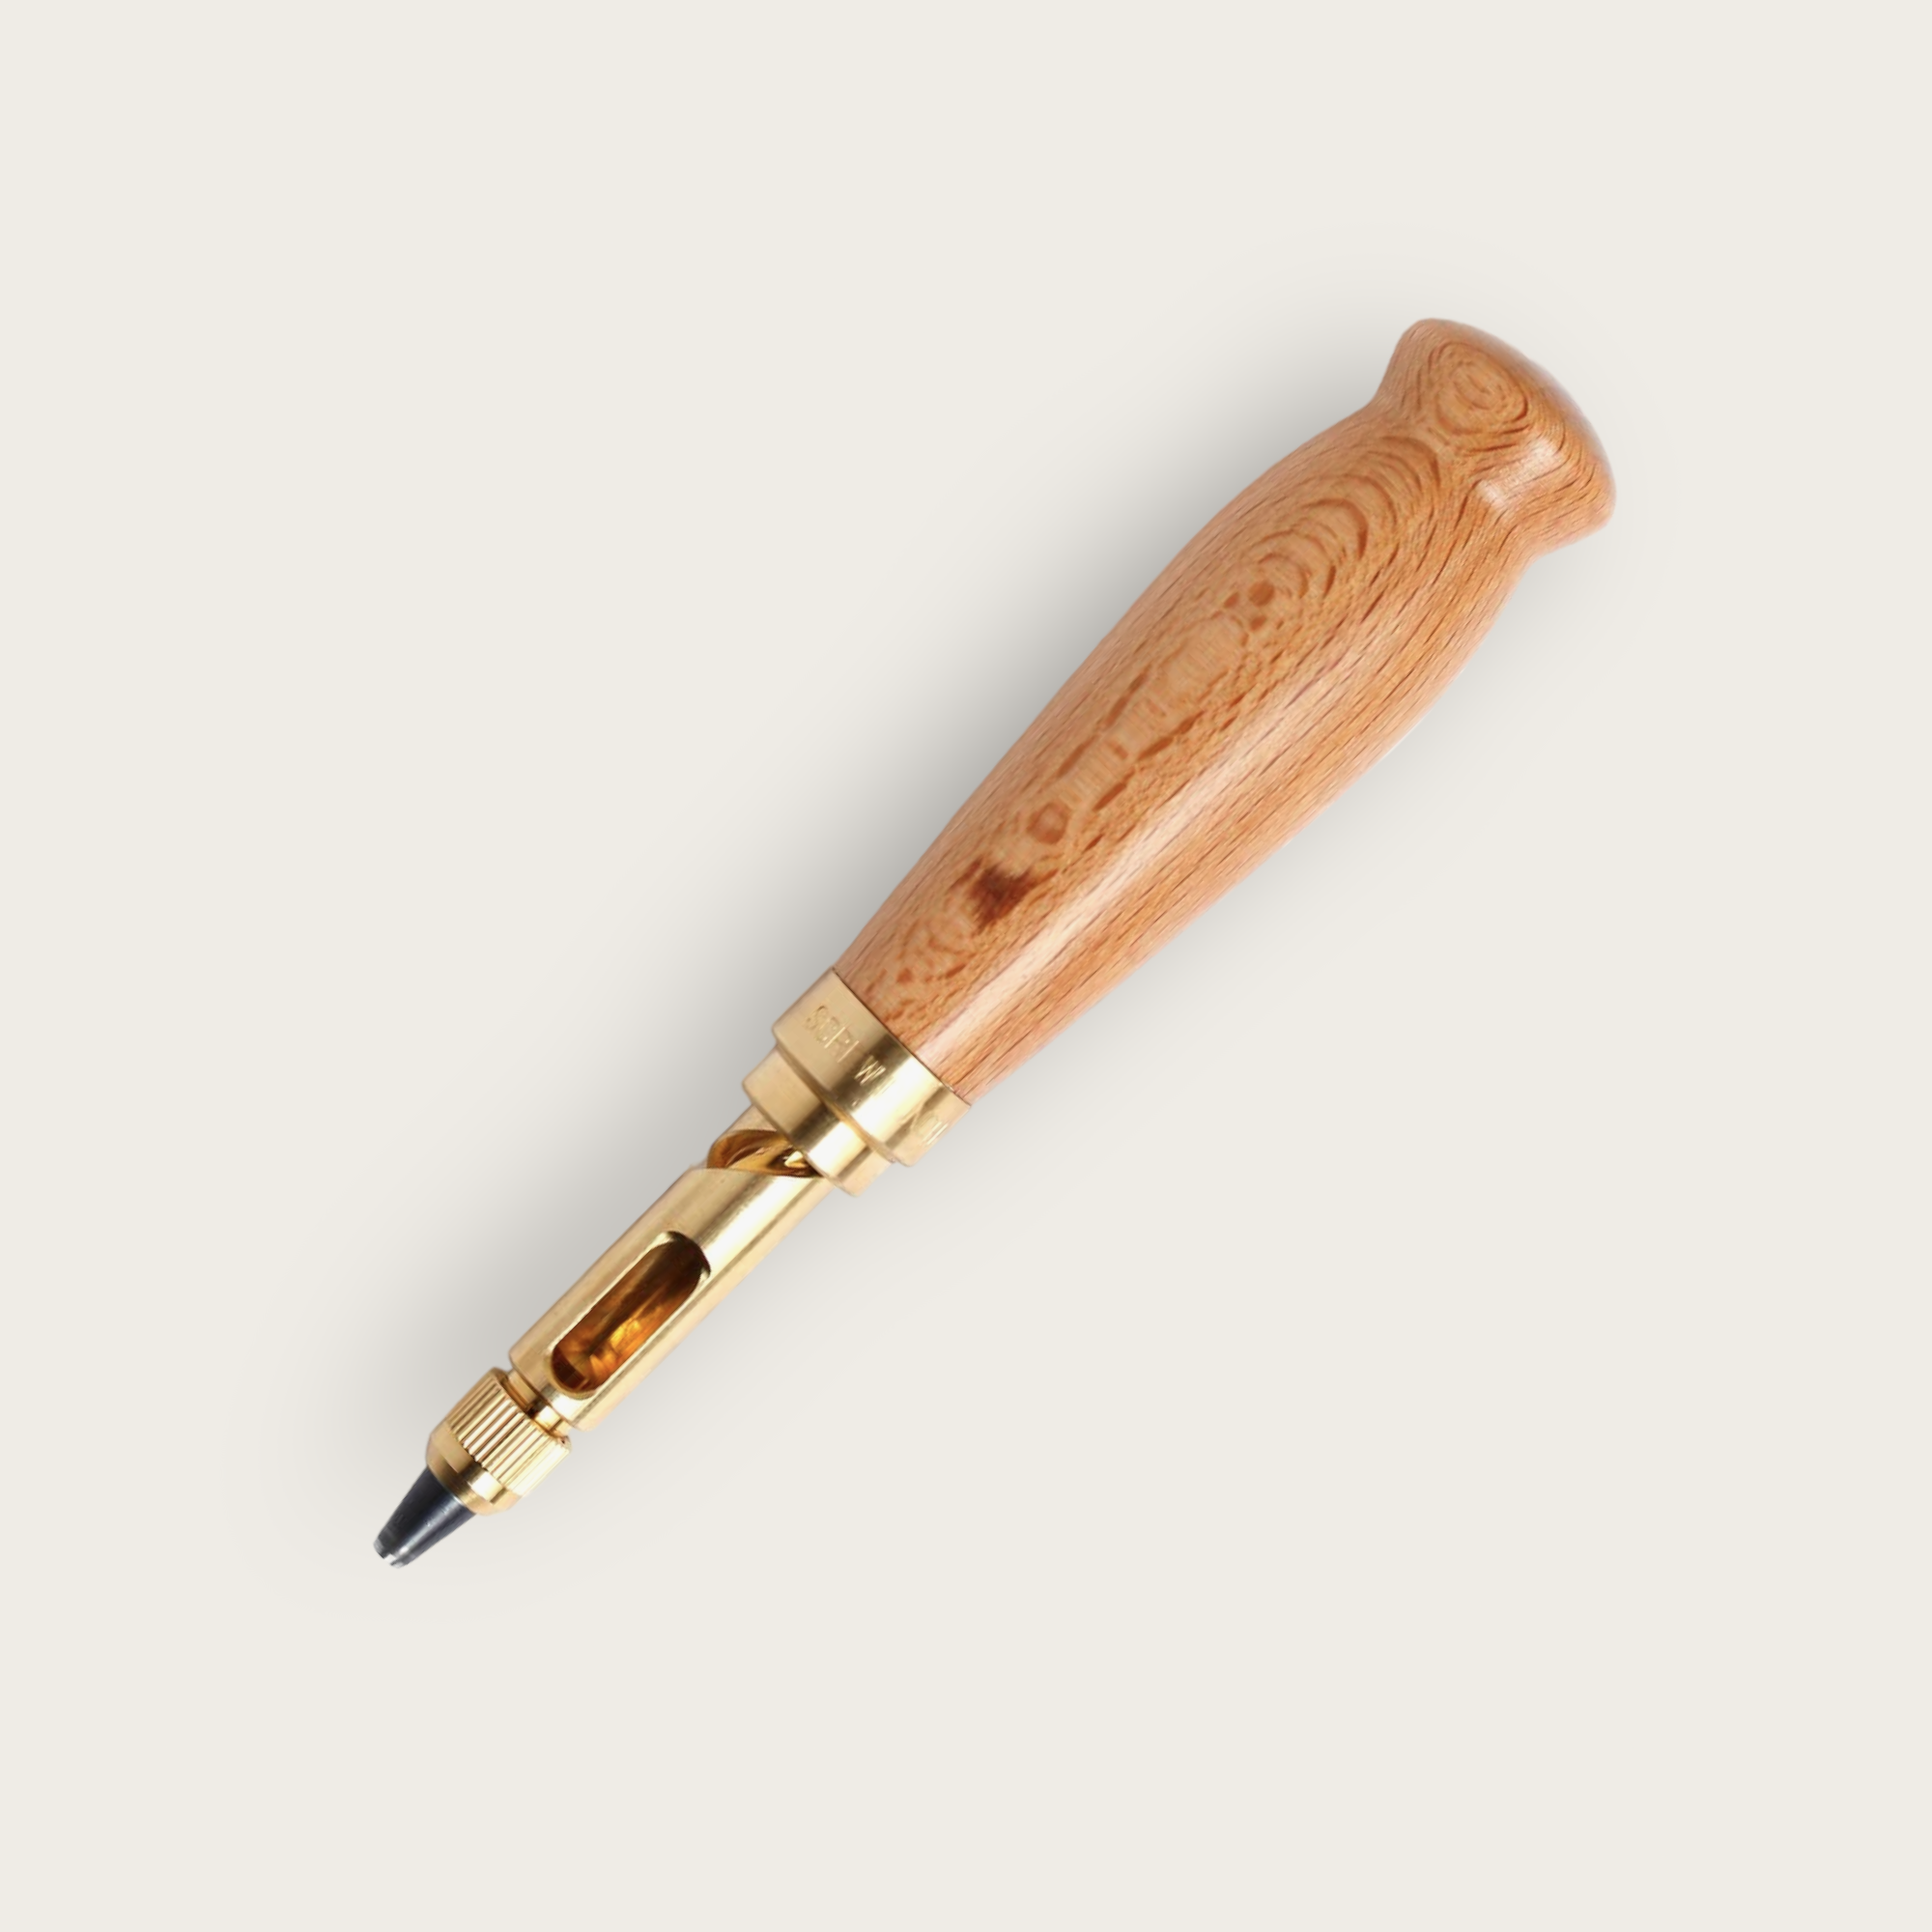
Body only, 3mm starter option or another blade?
Body only means the handle and mechanism without a cutting blade. The 3mm version includes one 3mm blade, rather than an assortment of diameters. Replacement blades are separate purchases, selected by the hole size you need.
| Your situation | What to compare |
|---|---|
| You need a 3mm hole and do not own the tool | Body supplied with a 3mm blade |
| You need a different diameter from the outset | Body only plus the appropriate Nonaka blade |
| You already own a compatible Nonaka body | The required replacement blade |
Before choosing a diameter, read the instructions for the fitting or project. A rivet’s visible head is not the same measurement as its post or required hole. Put the actual fitting beside your sample and label the test result. That small reference is useful when you return to the project later.
See the mechanism before using it
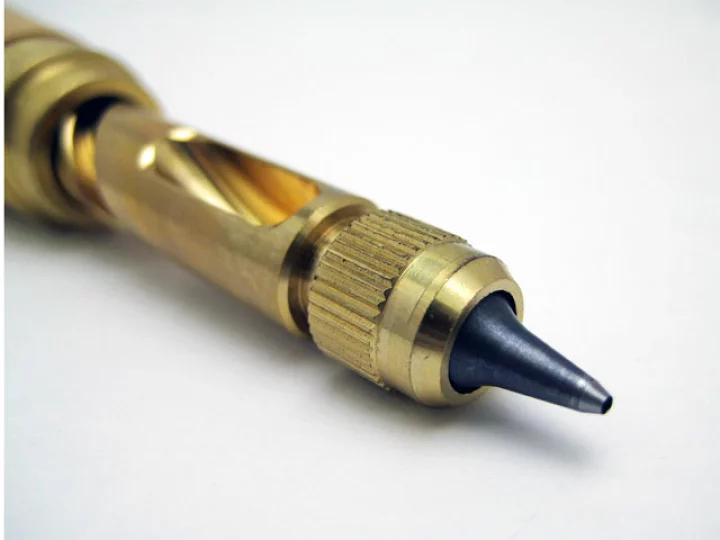
Pressing down makes the blade rotate automatically; there is no need to strike the handle with a hammer or twist it manually. Prepare a suitable craft mat, fit the blade and press vertically, then lift gently after the cut. The tool is not intended for metal or hard materials.
The downward press turns the cutting tip. Keep the material supported on the working surface.
Plan the fastening before buying the blade
A bag can need different holes for different parts of one fastening. The post, socket or stud neck may have different requirements; the visible head diameter does not specify all of them. Check the fitting instructions and use the intended materials, including any reinforcement, in your trial.
For a belt or strap, first establish the positions on a mock-up. Then test the chosen diameter on spare final material and try the actual fitting. A paper or felt prototype can help with spacing, but it does not prove how the leather or garment fabric will cut.
Compare the complete purchase
If 3mm is the size your project requires, the body-and-blade option keeps those essentials together. If you need only 2mm, compare body only plus that blade against buying an extra 3mm blade you may not use. If several fittings are involved, list the required diameters first and check exactly which ones a set includes.
Include a suitable working surface in the plan. The punch cuts the hole; it does not set a rivet, close a snap or attach an eyelet. Those later steps may require matching setting tools. A starter purchase is useful when it matches the whole task, rather than simply containing the largest number of parts.
What to put beside the punch
Lay out the project material, protective work surface, selected blade and the fitting you plan to use. Keep loose blades identified by size. If two projects use different fittings, label two separate samples rather than relying on memory. This turns a collection of spare blades into a useful record of your own work.
For a gift, the body-plus-blade option can avoid the surprise of opening a tool that has no cutter. It is still worth checking the recipient’s intended hole size. Someone who already has a Nonaka punch may find a specifically chosen extra blade more useful than a second body.
Choose the correct listing
The three listings below cover the body, the 3mm option and replacement blades. Select the diameter on the blade listing; the range title does not mean all sizes are included.
 Nonaka Seisakujo Screw Punch – BODY ONLY
 Nonaka Seisakujo Screw Punch with 3mm blade
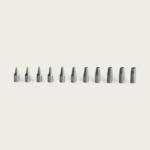 Nonaka Screwpunch Replacement blade – 1.0mm-5.0mm