

Sewing Tips & Tool Advice
Choosing a Screw-Punch Blade Size
Eight Needles Journal · Punching & finishing
Choose a screw-punch blade for the opening your project needs. A rivet head, an eyelet flange and the post that passes through the material are different measurements. Buying a familiar diameter—or every available blade—does not settle which hole will hold a particular fitting securely.
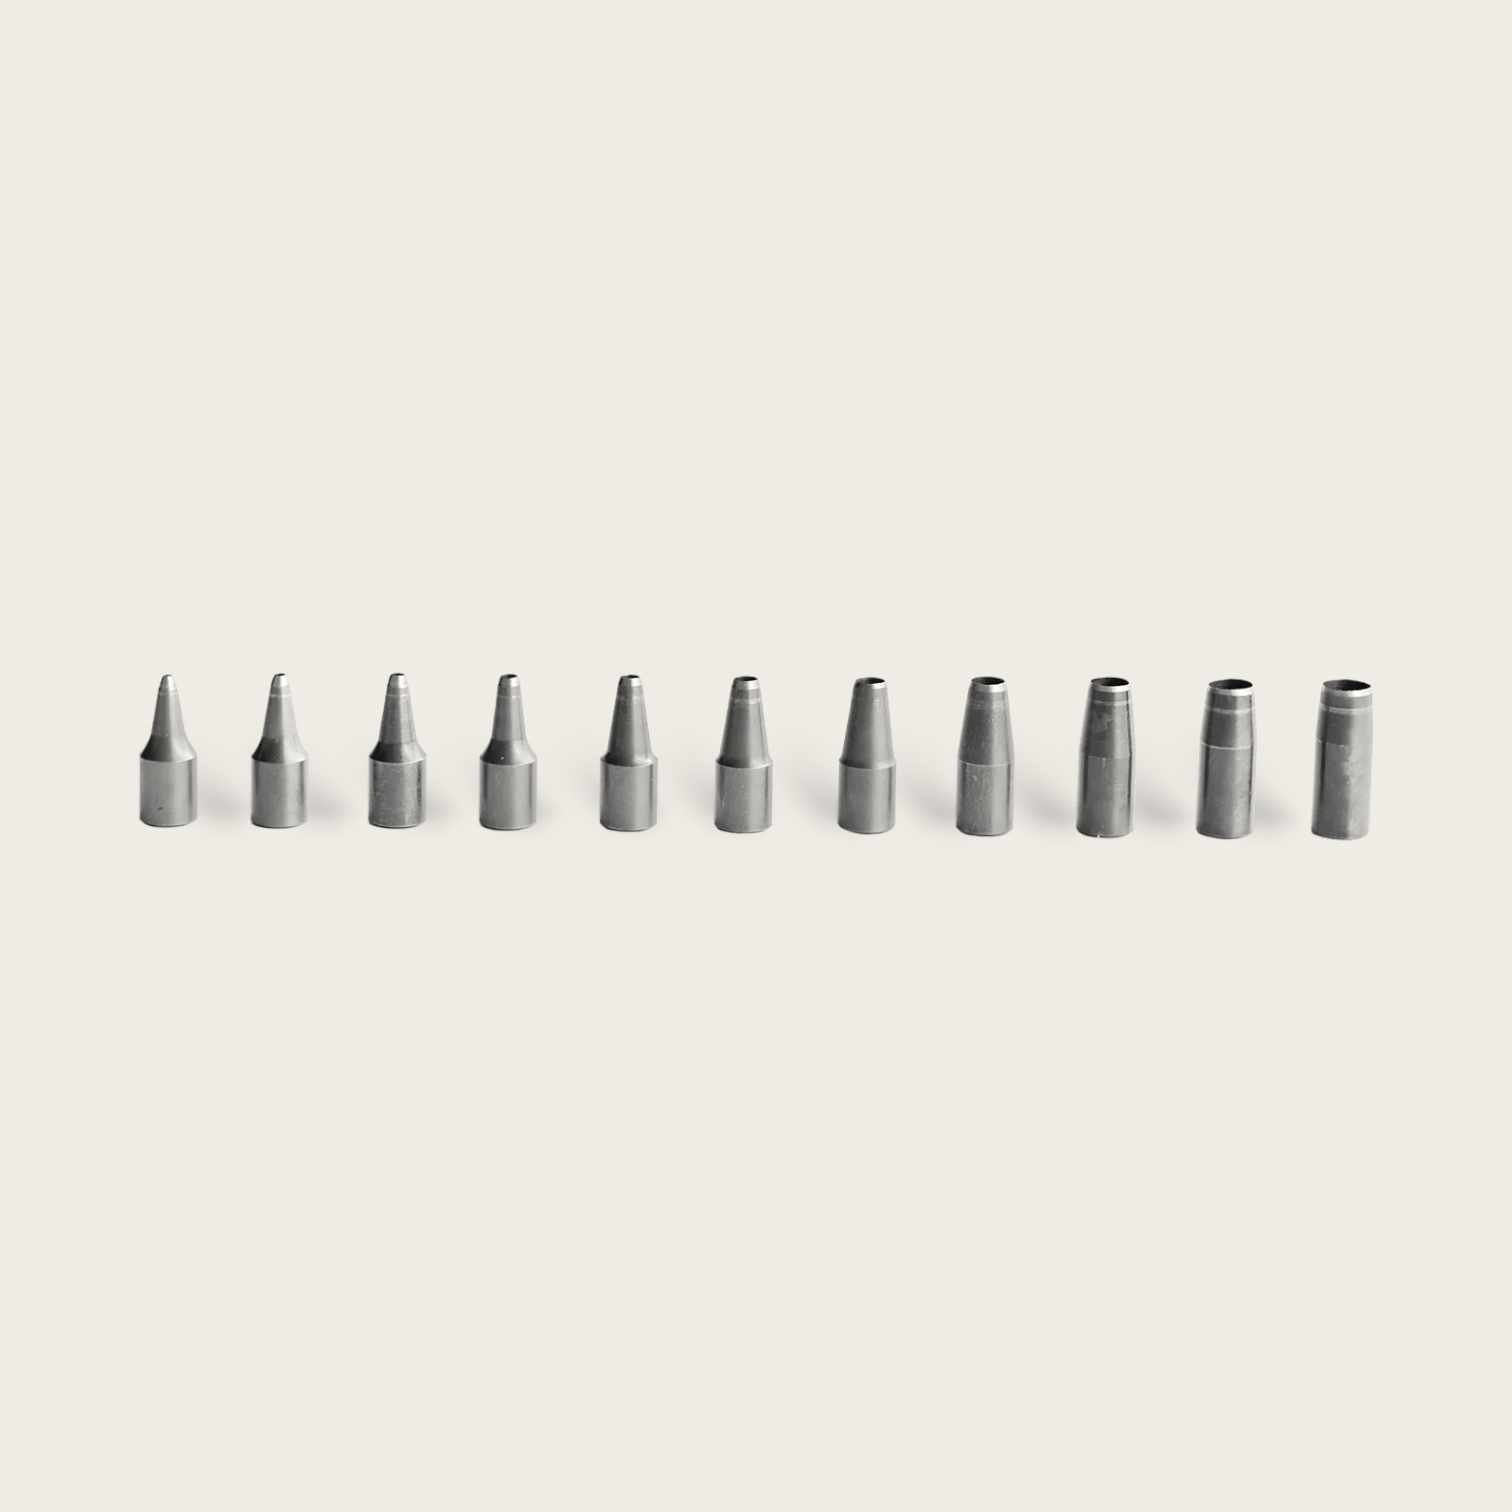
The available Nonaka blade sizes
The range is 1.0, 1.2, 1.5, 1.8, 2.0, 2.5, 3.0, 3.5, 4.0, 4.5 and 5.0mm. These are nominal cutting diameters. They are not a list of material thicknesses or a guarantee that a finished opening will retain precisely that diameter in every cloth or leather.
The body-only tool needs a compatible blade purchased separately. The version supplied with a 3mm blade gives you that one size. A photograph showing several tips does not mean that every tip comes in the package.
Start with the part that passes through
| Project | Check first | Avoid this shortcut |
|---|---|---|
| Rivet or snap | The specified preparation hole, post and complete material thickness | Using the decorative cap diameter |
| Eyelet | The eyelet instructions, barrel and required reinforcement | Assuming its finished visible opening is the cutting size |
| Cord or thread opening | The construction instructions and intended cord or thread | Making an unnecessarily large hole to simplify threading |
| Existing strap | Original hole dimensions, spacing and the fastening system | Assuming all watch straps or belts use 3mm holes |
| Decorative paper work | The planned opening and distance from the edge | Choosing a diameter without checking the remaining paper between holes |
If a pattern names a particular fitting, confirm that your purchased fitting matches it. Two fasteners with similar-looking heads can use different posts. The hole and the fitting’s suitable material thickness must both be right; changing the blade cannot compensate for a post that is too short.
Make a sample that answers the real question
Use an offcut of the intended material, including the same interfacing, backing and number of layers. Paper can help you plan positions, but a clean hole in paper does not show how a leather strap or woven bag will behave.
- Label the scrap with the blade diameter and material combination.
- Place it on a suitable cutting board and make a trial hole with the tool upright.
- Check both faces for a complete cut, distortion and loose fibres.
- Fit and set a spare fastener using its specified tools and method.
- Inspect the assembled sample before marking the finished piece.
A punch only prepares the opening. It does not set a rivet, snap or eyelet. Include the appropriate setting tools and spare fittings when planning a new project.
What if the sample hole is wrong?
If a fitting will not pass through, stop and check its instructions and dimensions. Do not force the post or stretch the opening with whatever pointed tool is nearby. If the hole is too loose, select the correct preparation size and make a fresh sample: a larger hole cannot be made smaller by changing blades afterwards.
For an opening that looks ragged or incomplete, first investigate the supporting surface, material movement and blade condition. That is a cutting problem, not automatically evidence that you need the next diameter.
Buy and store the sizes you can identify
One suitable blade can be enough for a repeated project. Several different fittings may justify several sizes. Keep each replacement in a labelled compartment or its original packaging so that small differences such as 1.2 versus 1.5mm remain identifiable. Record the tested blade alongside the exact fitting in your project notes; that makes a repeat purchase much easier.
Compare the tool and replacement options
 Nonaka Screwpunch Replacement blade – 1.0mm-5.0mm
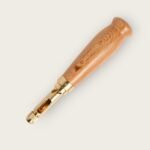 Nonaka Seisakujo Screw Punch – BODY ONLY
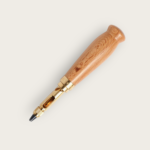 Nonaka Seisakujo Screw Punch with 3mm blade