

Sewing Tips & Tool Advice
When a Screw Punch Does Not Make a Clean Hole
Eight Needles Journal · Punching & finishing
A screw punch that leaves a hanging disc, a ragged edge or a distorted opening needs a closer look before the next hole. Start with a fresh piece of matching scrap. Repeated attempts on the finished project can turn a small cutting problem into an oversized hole.
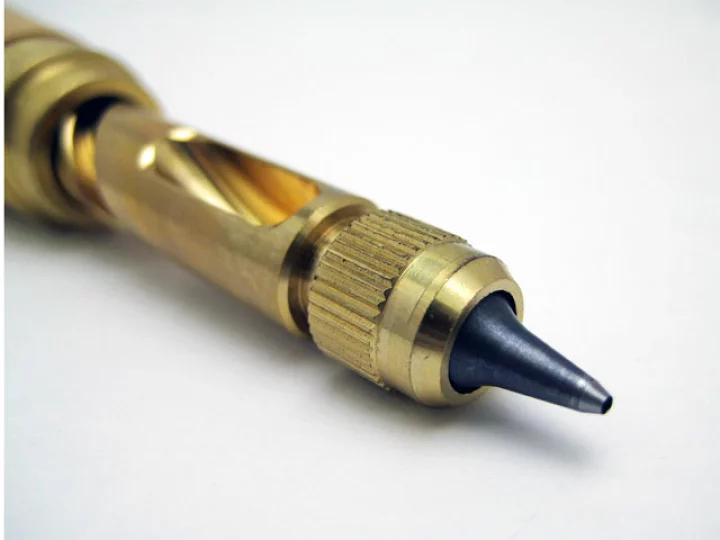
Read the symptom before changing the tool
| What you see | Check first | Next trial |
|---|---|---|
| A disc still attached on one side | Upright alignment, full support and blade condition | A fresh hole on sound backing |
| The material turns with the blade | How the piece is held and whether its weight drags it | Support the whole piece and hold it flat |
| Top face cut, lower layers incomplete | Layer count, thickness and material suitability | Compare with a simpler supported sample |
| A ragged or stretched opening | Material movement, structure and cutting edge | Test the actual reinforced construction on scrap |
| A neat hole but a loose fitting | Blade diameter and fitting specification | Choose the correct preparation size |
| Blade or mechanism loose, bent or jammed | Assembly and visible damage | Stop and obtain model-specific advice before further cutting |
These are places to investigate, not certain diagnoses from appearance alone. Change one part of the trial at a time so you can tell what helped.
Check the blade and the backing together
Confirm that the replacement is intended for your punch and fitted as instructed. Similar-looking tips from different screw-punch sets are not automatically interchangeable. Keep the original size label with any replacement so that you can identify it later.
The blade needs a suitable craft cutting board or punch pad underneath the material. Clear away hard fragments, pins and fittings. Inspect the working spot for a deep pit or uneven area; try a sound part of a suitable board rather than compensating with more pressure.
Use the mechanism as designed
With the Nonaka, press vertically and let the screw action rotate the blade. Lift gently after the cut. Do not hammer the wooden handle or manually twist it through resistant material. If a small piece turns, stop and improve the hold while keeping fingers away from the cutting area.
A blade that works on paper has not automatically passed a test on leather or several reinforced fabric layers. Compare representative offcuts. A successful single-layer trial can help narrow the problem, but the final trial must reproduce the construction you intend to punch.
A disc inside the blade is not always a blockage
On the Nonaka, cut-out discs can remain inside the blade and emerge through the upper opening as work continues. Seeing a disc in the tip after one hole does not, by itself, mean the mechanism is faulty.
If material appears jammed or you want to collect the discs, follow the tool’s current removal instructions. Do not scrape around the cutting rim with a sharp awl or try to clear it with your fingers. Stop if removal requires force or the blade appears damaged.
Replace the part that is actually at fault
A damaged or worn blade may need a compatible replacement; an assembly or mechanism problem may need supplier advice. Buying a new body will not correct the wrong hole diameter, while changing the diameter will not repair a damaged mechanism.
Keep the unsuccessful sample, blade size and a note of the material layers and backing. A clear photograph of both faces is useful when asking for help. Avoid improvised sharpening or dismantling beyond the instructions, especially while you are still identifying the cause.
Recheck before returning to the project
Make a clean sample hole with the intended setup, then test any fitting using its specified installation method. Recheck the position on the actual piece. Once material has been removed, a smaller replacement blade cannot restore it.
Compatible tool and blade options
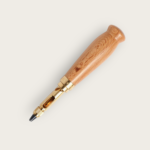 Nonaka Seisakujo Screw Punch with 3mm blade
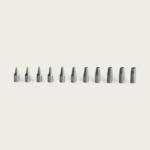 Nonaka Screwpunch Replacement blade – 1.0mm-5.0mm