

Sewing Tips & Tool Advice
Using a Seam Ripper Without Rushing the Fabric
Eight Needles Journal · Punching & finishing
A seam ripper works best when you can see exactly which thread it is cutting. Open a small section, cut the intended stitch and remove the released thread gently. Pulling harder when something catches can damage the cloth you are trying to save.
Identify the seam before you unpick it
Find the stitching you intend to remove and check both sides. A straight machine seam, an overlocked edge and a reinforced backstitch are not identical structures. If you are unfamiliar with the stitch, examine a matching sample or the sewing instructions before assuming it will pull out in one long thread.
For dark thread on dark fabric, improve the light and viewing angle. Open the layers just enough to expose the stitch. If the cloth is stretching while you try to see it, release the tension and reposition the work.
A controlled way to start
- Identify an individual stitch with the fabric supported.
- Slide the appropriate point beneath that thread, keeping the cloth out of the cutting notch.
- Cut the thread with a small, controlled movement.
- Ease the layers apart and remove the released thread.
- Repeat where needed, pausing to inspect the fabric.
Dense reinforcement, corners and seam intersections deserve individual attention. Avoid running the ripper blindly into an area where the stitch structure changes. On delicate cloth, start with a few stitches on scrap and check for snags before working on the garment.
What the small ball does
Many conventional rippers have a small ball on the shorter side of the fork to reduce the risk of catching the fabric. It is not a complete guard around the sharp point or cutting edge. The orientation depends on the operation and the tool’s instructions; a seam-opening technique should not automatically be copied when cutting a buttonhole.
For individual stitches, Clover’s N Ripper 21-511 uses the longer point beneath the thread with a pushing action. Keep the selected thread separate from the cloth and stop the movement once it is cut.
Choose a ripper by access and control
| Feature | What to compare | Why it matters |
|---|---|---|
| Point and cutting head | Access beneath the actual stitch | A bulky point can be awkward in very small stitches |
| Handle | Grip, surface, length and visibility | A sharp blade is less useful if the handle slips or feels unstable |
| Cover or storage mechanism | How the cutting head is protected | The ripper should stay contained in a sewing kit |
| Colour and resting shape | Visibility on your table and tendency to roll | Small tools are easier to find and park deliberately |
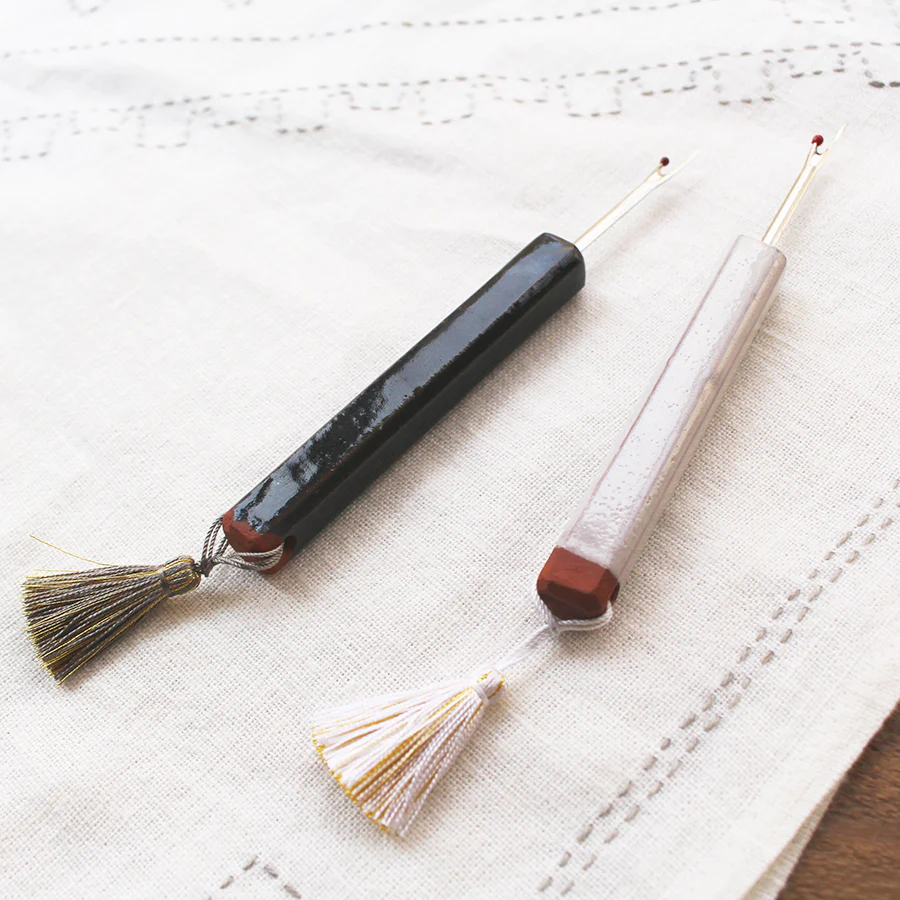
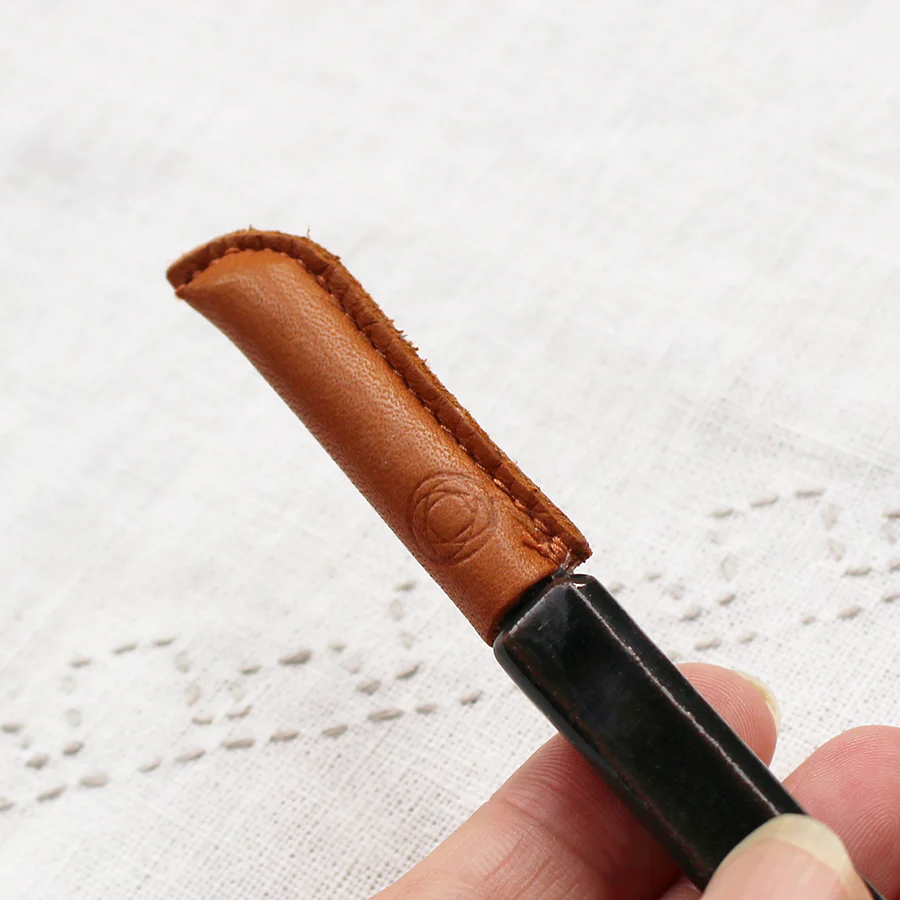
The Cohana Awaji Kawara ripper has a glazed ceramic handle and leather blade cover. Inspect the handle if it is dropped; discontinue use if it cracks or chips. The Clover 2way Ripper 21-505 changes between an extended ripper and a thread-cutting position with a sliding button. In its retracted position, a cutting section remains available—it is not simply a completely enclosed blade.
Try the operating position you will actually use. A compact tool may travel neatly but feel less comfortable for a longer unpicking session. Price alone does not establish the right grip for your hand.
Clear threads without stretching the cloth
Lift away loose ends with fingertips or suitable tweezers. If a thread resists, locate the next stitch or knot instead of pulling until the fabric puckers. Use a soft brush or another fabric-appropriate method for small remnants; test anything adhesive before touching delicate, loosely woven or surface-finished fabric.
Inspect the opened seam for cuts, pulled fibres and distorted edges before sewing again. Press only as the fabric permits, and do not assume every old needle mark will disappear.
Tools for unpicking and cleanup
 Bunka Seam Ripper
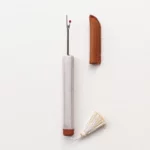 Cohana-Awaji Kawara Seam Ripper in 2 colours
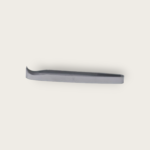 Bunka Tweezer 75mm