

Sewing Tips & Tool Advice
Turning Fabric Corners Without Pushing Through Them
Eight Needles Journal · Punching & finishing
A neat corner starts inside the seam. If several layers of allowance are bunched into the same space, a sharper tool will not make them disappear. Prepare the allowance, turn the piece, then ease the shape out a little at a time.
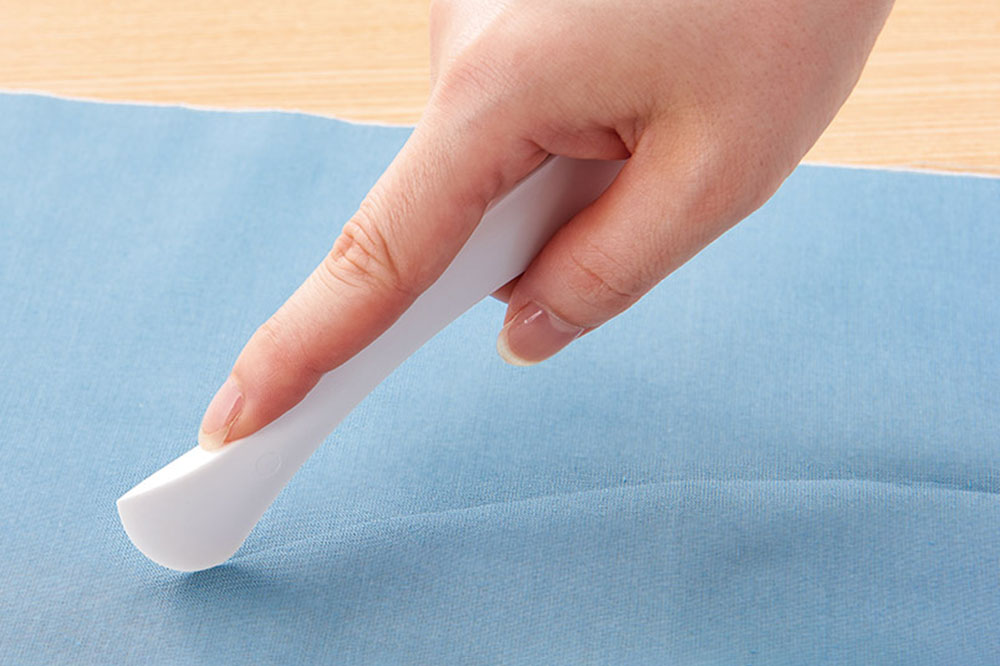
Choose a tool for the shape you need
| Tool | Useful task | What to watch |
|---|---|---|
| Corner and curve hera | Easing a turned corner or smoothing a curved edge | Use the appropriate end; do not force the point through the seam. |
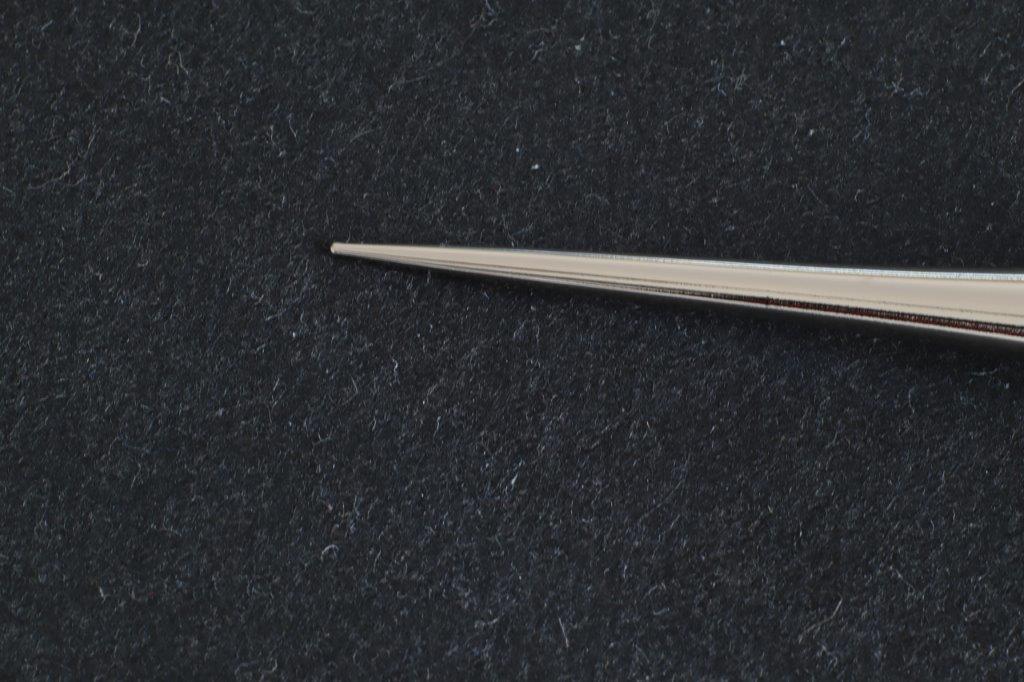
| Smooth-tip sewing awl | Small adjustments where a broad tool cannot reach | A smooth tip still concentrates pressure in a small area. |
| Ball-point awl | Separating the weave for techniques such as boutis or trapunto | Its ball-shaped end is not a guarantee against fabric damage. |
| Loop turner | Turning a narrow fabric tube right side out | Pulling a tube through and shaping its final corner are separate jobs. |
Clover’s corner and curve hera combines a narrower end with a curved edge. A smooth sewing awl offers finer access. Neither needs to be driven hard into a seam: choose the largest comfortable contact area that will reach the part you are shaping.
Prepare the allowance before turning
Follow the pattern’s trimming and grading instructions while you can still see the stitching. At an outward corner, excess allowance can crowd the point. Along a curve, the preparation depends on whether the allowance must spread or compress when turned. These are different shapes, so one diagonal cut is not a solution for every edge.
How closely you can trim depends on the fabric’s tendency to fray, the seam, and any interfacing. There is no single distance that suits everything. Make a sample with the same layers before trimming a garment corner very closely. Keep the stitching intact and leave enough allowance to support it.
Turn first, then make small adjustments
- Turn the piece through its opening without yanking at the corner.
- Use your fingers to settle the seam and spread any folded allowance.
- Introduce a suitable shaping tool from inside, if the construction permits.
- Ease the fabric towards its finished shape using light, short movements.
- Check both faces before pressing or closing the turning opening.
A thick collar or a lined bag corner may remain slightly rounded. Judge it against what those layers can form, rather than trying to reproduce the infinitely sharp point of a paper pattern.
If the corner will not come out
Stop when the fabric resists. Check whether the allowance is folded back on itself, the turning opening is too restrictive, or the seam has caught an unintended layer. If the inside is still accessible, rearrange it before trying again. A persistent lump may require reopening the sample and correcting the construction.
If a point has already pierced the fabric or broken the seam, inspect the damage before continuing. Pressing can flatten cloth, but it does not repair a cut thread or a split seam.
Finish with the right pressing method
Once the seam sits evenly, press as the fabric and interfacing require. Test heat and moisture on a matching scrap. Remove shaping tools before applying the iron; a plastic tool’s usefulness at the sewing table does not establish that it is safe under a hot soleplate.
Tools for the different stages
A smooth awl helps with local adjustments; a loop turner helps draw a tube through. Check the tool’s dimensions against the opening in your project.
 Clover Sewing Awl (Smooth Edge)
 Kawaguchi Loop Turner with Bodkin