

Sewing Tips & Tool Advice
Buttonhole Cutter or Seam Ripper for Opening a Buttonhole?
Eight Needles Journal · Punching & finishing
A buttonhole cutter is useful when you regularly open stitched buttonholes and its blade fits the intended slit. A seam ripper can also do the job with careful control. The deciding measurement is the space available for the cut—not the button diameter or the overall length of the stitching.

Compare the cutting action
| Option | Useful for | Main limitation |
|---|---|---|
| Buttonhole cutter or chisel | A controlled straight cut on suitable backing | The entire blade must stay within the intended slit |
| Seam ripper | Occasional buttonholes and small, deliberate cuts | A long uncontrolled push can cut through the end stitching |
| Fine pointed scissors | Careful trimming where the tips can enter and be seen | Limited access in tiny openings; easy to catch surrounding thread |
| Round eyelet punch | The round end of a buttonhole method that specifically requires it | Does not replace the straight opening tool |
A buttonhole cutter does not sew or finish the buttonhole. This guide concerns opening an already stitched buttonhole; bound buttonholes and other specialist constructions have their own cutting sequence.
Know what 12mm describes
The Bunka Button Hole Cutter has a 12mm blade and an overall length of 14.8cm. The Clover N Buttonhole Cutter 21-431 also has a 12mm cutting width. Matching blade widths do not make their handles identical, so consider grip and visibility too.
If the intended slit is shorter than the blade, use a suitable narrower tool or another controlled opening method. Do not angle a 12mm blade diagonally to squeeze it into a smaller buttonhole. Its corners can reach the stitched sides or ends.
For a longer slit, a suitable cutter may be repositioned to complete it in stages, following the tool’s method. Check the blade’s endpoints before every cut. A second press should extend the opening only where planned.
Make a complete practice buttonhole
Use the same fabric, interfacing, number of layers, thread and buttonhole setting as the garment. Sew and open the sample, then try the actual button. Button thickness and shape affect passage, so button diameter alone cannot establish the finished opening.
Inspect the reinforced ends and the rows of stitching before cutting. If they are faulty, correct the stitching first. Place the work flat on the backing suitable for your cutter, with any hidden garment layers clear underneath.
Using a buttonhole cutter
Align the cutting edge inside the stitched boundary and keep both ends visible. Clover’s N cutter is used upright with a slight rocking action after the buttonhole has been sewn. Follow the exact instructions for your own cutter rather than treating a sewing chisel as a hammer-driven woodworking tool.
Keep the receiving board on a stable surface. Avoid an unsupported hand underneath the work, and keep fingers outside the blade’s route. Check the cut before repositioning or increasing pressure.
Using a seam ripper
Use short, controlled cuts with the intended stopping point visible. A pin across the reinforced end can provide a helpful stop in methods that call for it, but it is not permission to push hard into the pin. Keep the sharp point away from your supporting hand and avoid catching the dense stitching along the sides.
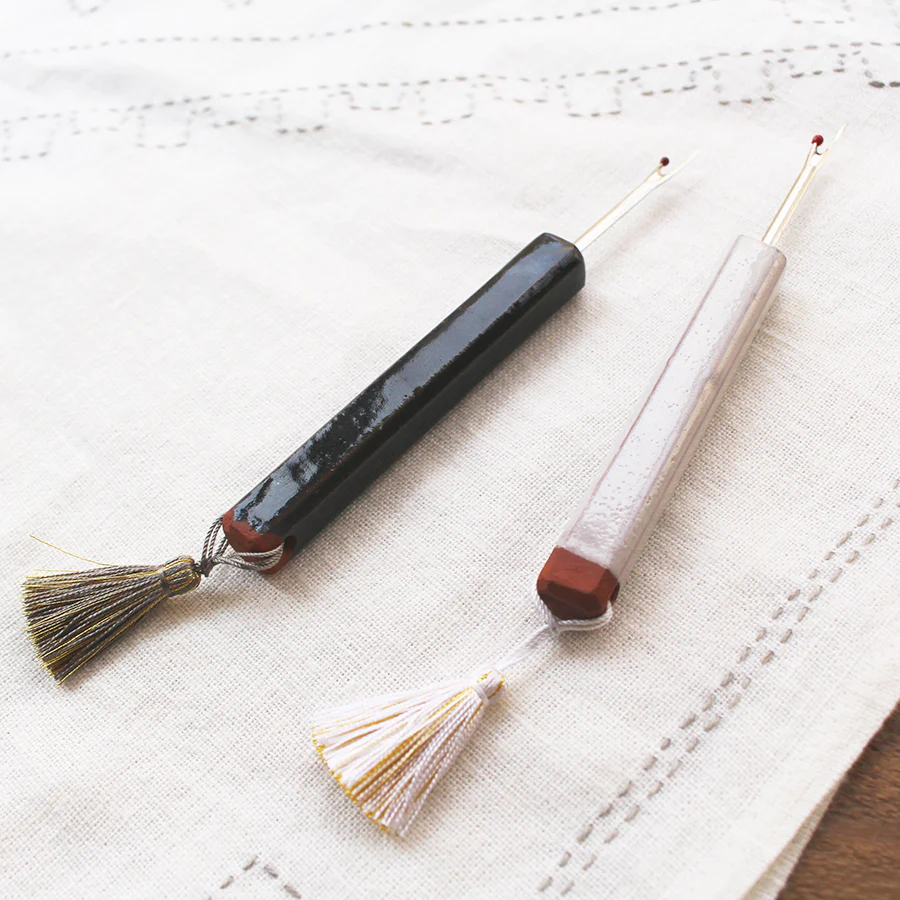
The Cohana Awaji Kawara ripper is intended for seam threads and buttonhole opening. Its ceramic handle and leather cover change the feel and storage of the tool; they do not remove the need to control the cut.
Finish by checking the opening
Inspect both faces and remove only loose cut fibres that need trimming. Preserve the surrounding stitches. If you use a fray-prevention product, test its appearance and stiffness on the sample and follow its drying instructions; it is not compulsory for every fabric.
Open one garment buttonhole and inspect it before completing the rest. A careful sample and a visible endpoint matter more than choosing the fastest-looking tool.
Compare cutters and rippers
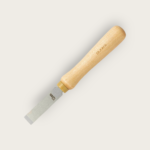 Bunka Button Hole Cutter – 12mm
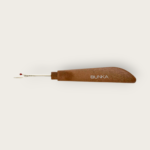 Bunka Seam Ripper
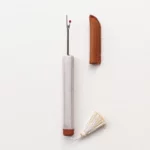 Cohana-Awaji Kawara Seam Ripper in 2 colours