

Sewing Tips & Tool Advice
Tape Measures with an End Gap: Where Does Zero Start?
Eight Needles Journal · Measuring
Some tape measures leave material before the zero mark; others begin their scale at the end. Neither arrangement removes the need to check your starting point. An unnoticed gap can shift every measurement you take.
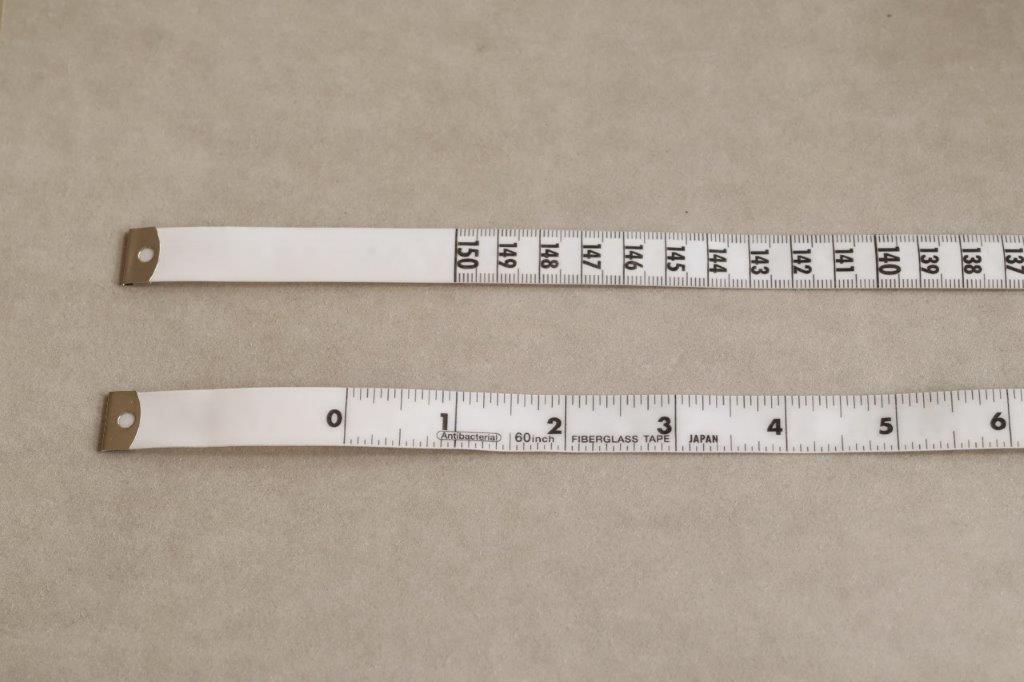
Read the start first
Lay the tape flat beside a reliable straight ruler and identify its printed zero. For a tape with an extra end section, place the zero mark on the reference point rather than using the physical tip. Recheck whenever you switch between tapes.
Compare the starting points
| Tape | Starting arrangement | Useful when |
|---|---|---|
| Hara Doki with extra gap | A blank 5cm end section; centimetres and inches on opposite sides | You want an extra section to hold or overlap during body measuring |
| Hara Doki without gap | The scale starts at the end; centimetres and inches | You prefer to place the end directly at a pattern reference point |
| Cohana Yuzen leather tape | A retractable 1.5m metric tape | You want a compact centimetre tape; check its start before measuring |
The gap is a handling feature, not an allowance to add to a garment. Neither tape automatically gives a better fit: the reference points, tape tension and chosen scale still determine the reading.
What goes wrong if you start at the tip?
Imagine a tape with exactly 1cm of blank material before zero. If you place its physical tip at the beginning of an 11cm length, the printed reading at the other end will be 10cm. The reading is short because that first centimetre is outside the numbered scale. This is an illustration, not the gap size of every tape.
If you deliberately start at another numbered mark, subtract the starting reading from the finishing reading. From 5cm to 17cm is 12cm. Do not record 17cm as the length.
Keep units consistent
A tape may carry metric and imperial scales. Turn it to the correct side before beginning and write the unit alongside each measurement. Avoid switching scales midway through a set of pattern measurements, particularly when copying notes from different sources.
Check more than the first mark
Compare a longer interval with a reliable ruler as well as checking zero. Smooth the tape without pulling it tight, and look for kinks, a loose end fitting or worn graduations. Two tapes lining up at zero does not establish that the rest of their scales agree.
For a body measurement, keep the tape level around the intended reference line and comfortably against the body. Extra end material can help you hold it, but must not be counted in the circumference. Keep ease and seam allowances in separate notes.
Make a small reference record
Record the tape you used and whether you measured from its tip or printed zero. This is especially helpful in a shared workspace, where several tapes may look alike. Replace a tape if its printing is unreadable or comparison checks show that it can no longer be trusted.
A practical example
You are copying a measurement from one tape to another. Align their printed zeros before comparing the reading. If one has an unmarked end section, that extra material must not enter the measurement. Write the reading and its unit immediately, before turning the tape to its other scale.
Check before choosing
- Does zero start at the tip?
- Which side carries my chosen units?
- Is the tape flat and undamaged?
Related tools to compare
Compare the size, material and included parts on each product page against the task above.
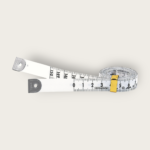 Hara Doki Glass Fibre Tape Measure 150 cm / 60 inch (With extra gap)
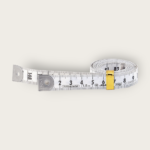 Hara Doki Glass Fibre Tape Measure 150 cm / 60 inch (Without gap)
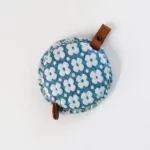 Cohana-Tape Measure with Yuzen Leather Cover in 5 colours