

Sewing Tips & Tool Advice
Organising Sewing Tools by the Job They Do
Eight Needles Journal · Workspace & gifts
Organising by task makes a tool kit easier to use than arranging everything only by size or colour. Measuring, marking, cutting and holding tools each need different kinds of protection and access.
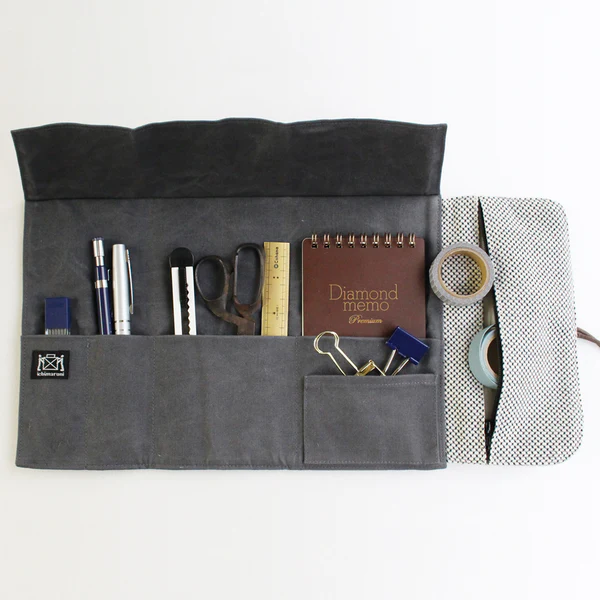
Give each group a clear home
| Group | Keep together | Preserve this information |
|---|---|---|
| Measure and draft | Rulers, tape measure, pencil and eraser | Units, scale and the zero point |
| Mark and transfer | Fabric markers, chalk and their compatible refills | Exact model, colour and removal method |
| Cut and unpick | Covered scissors, cutter and seam ripper in separate slots | Blade diameter and compatible replacement model |
| Hold and stitch | Labelled needle packets, pin storage and project thread | Needle length, diameter, point and intended use |
The groups need not become four large boxes. A shallow divider, labelled envelope or small zipped compartment can be enough. Keep the active project’s few tools within reach and reserve stock elsewhere.
Create functional groups
Keep the tools you use together close to one another. Store spare marking refills with their model references, and keep needle packets labelled. Separate sharp items so retrieving a ruler does not expose your hand to an uncovered blade.
Make the frequent tools visible
Give the most-used accessories a consistent position near the work. Keep occasional tools in secondary storage rather than filling the active surface. This makes it easier to notice when an essential item is missing.
Do not identify a marker by cap colour alone
Write the removal method on the storage label and keep the original instructions. “White”, “blue” and “purple” describe colours, not universal removal rules. Similar-looking pens can be water-removable, air-fading or heat-removable, and even products from one brand can behave differently.
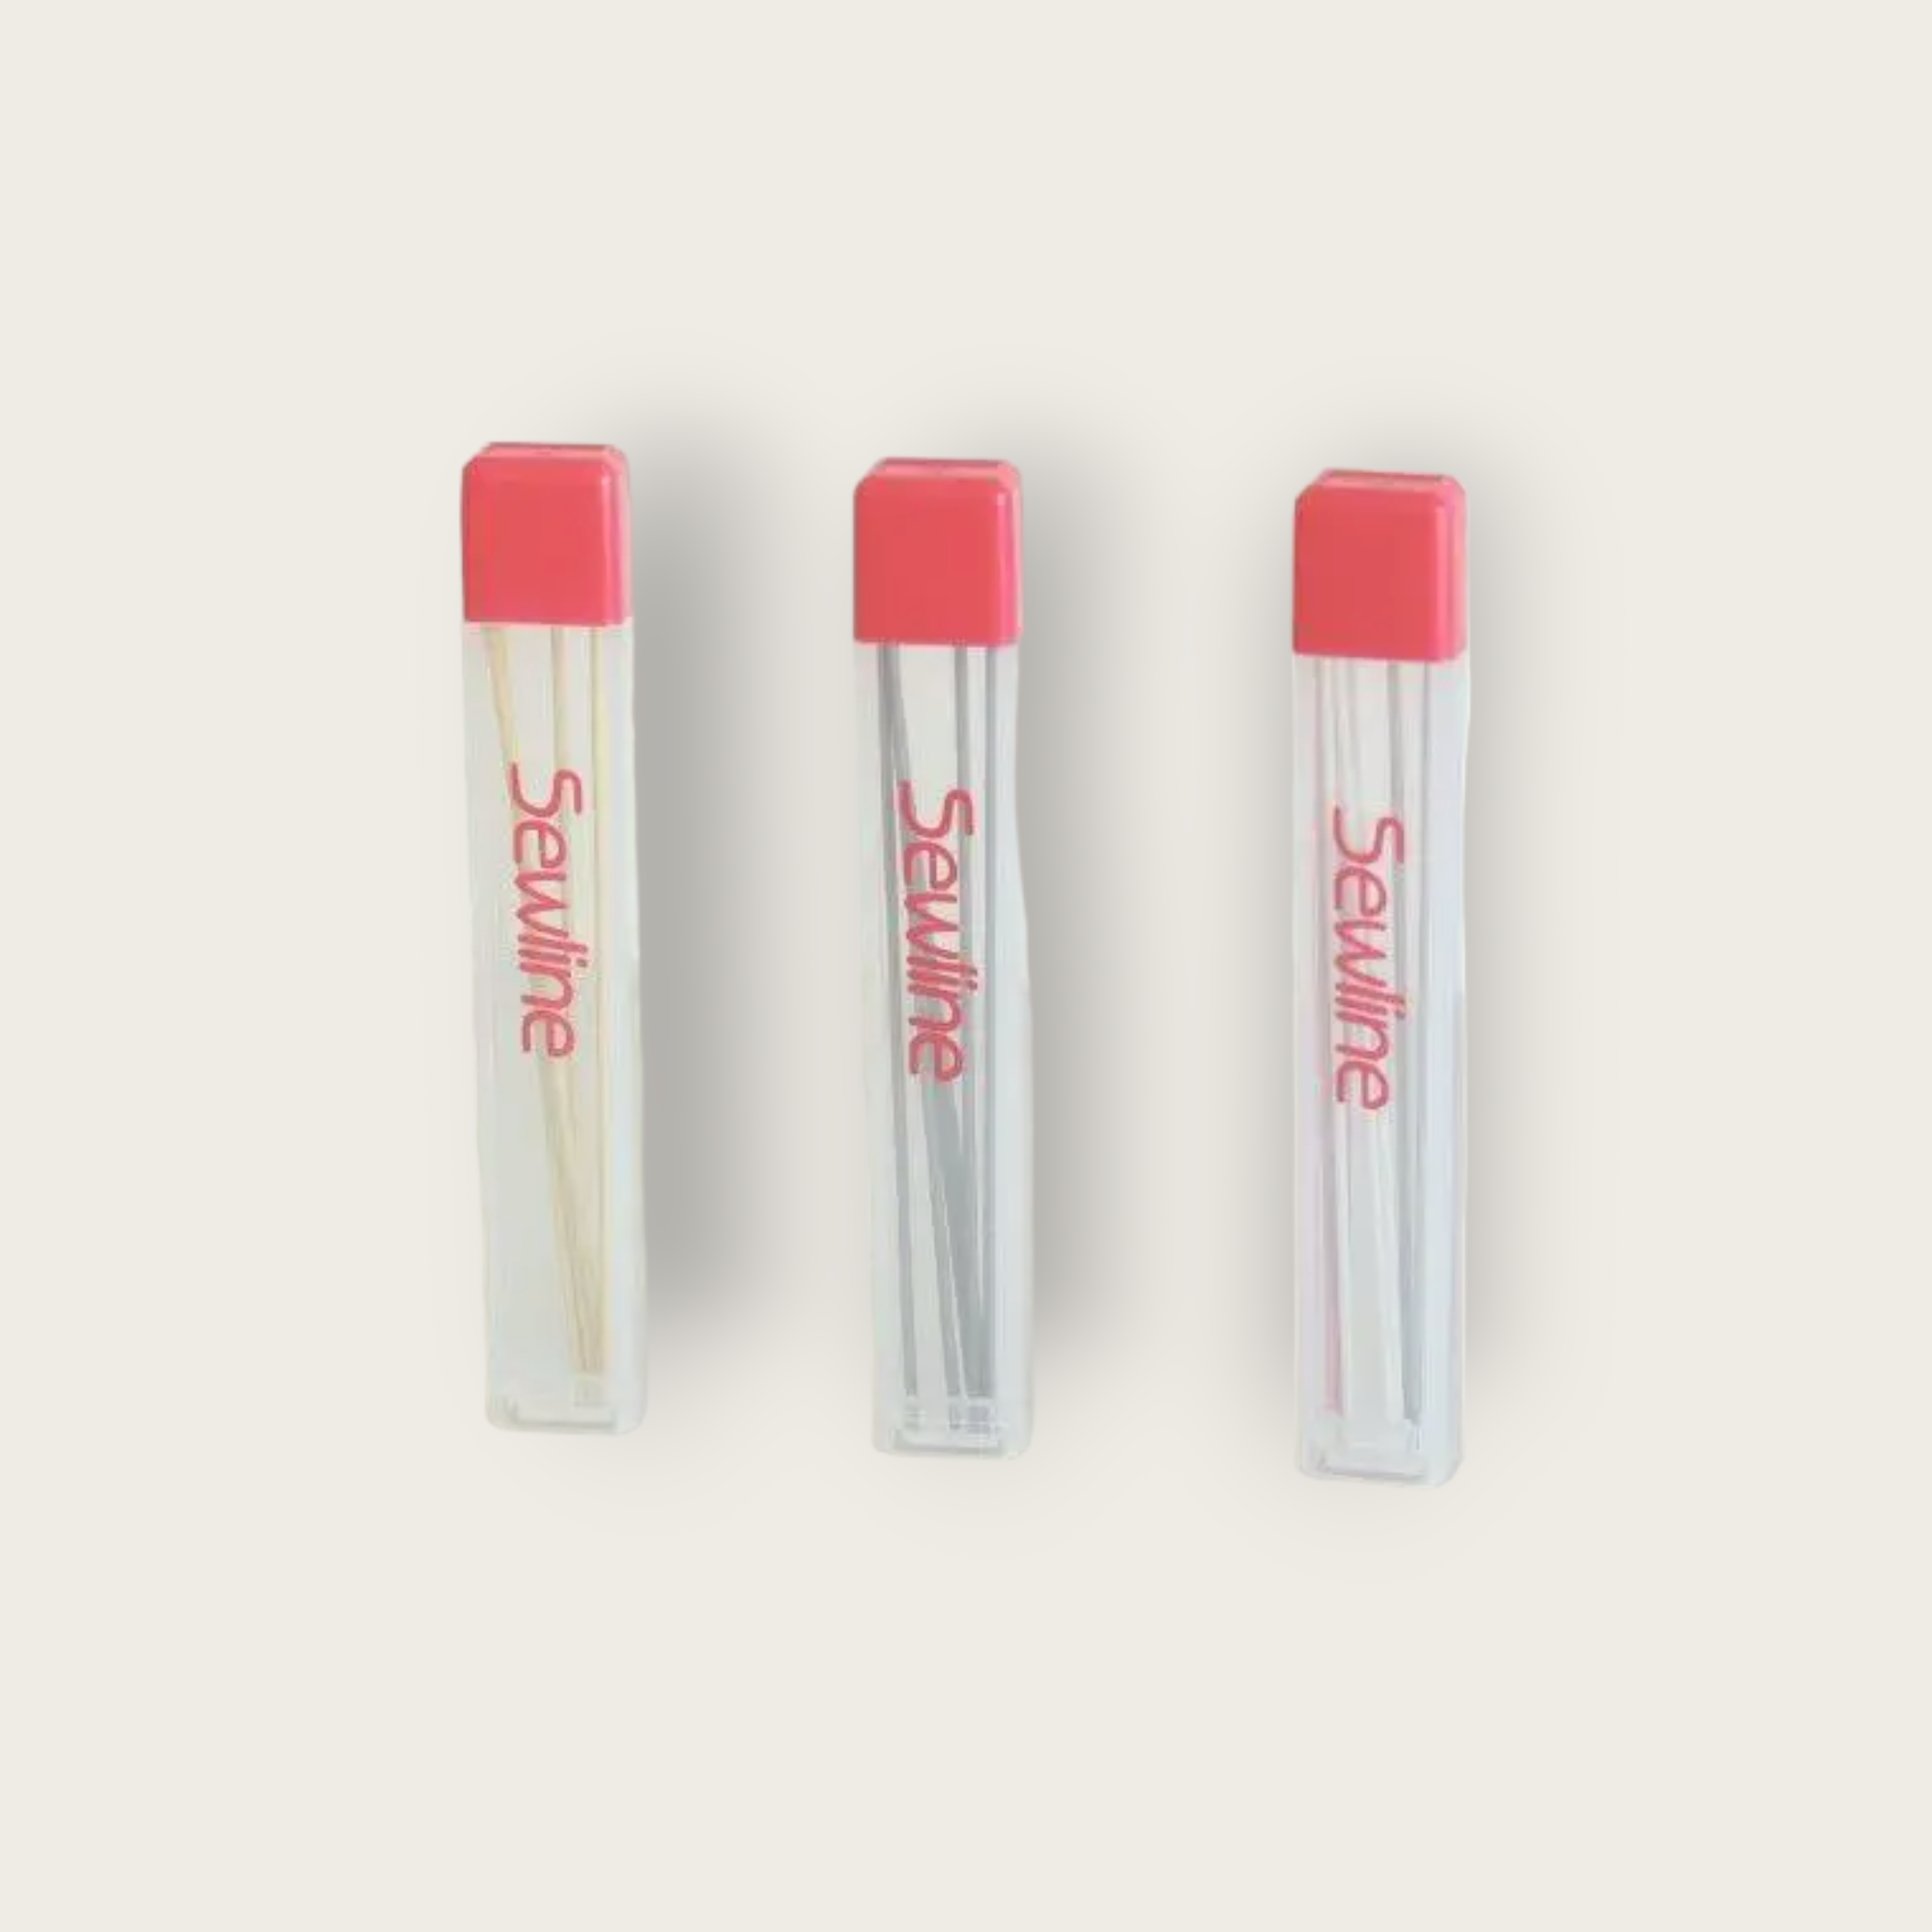
Keep the selected marker and an offcut with the project. Record which pen made the marks before putting it away. Test removal on that offcut before washing or pressing the finished work; a storage label helps identify the product but does not replace a fabric test.
Keep small needles identifiable
Several needle types can look almost identical once mixed in a pincushion. Keep spare needles in labelled packets, with the current working needle in a separate marked place. A magnetic rest is convenient during stitching; use closed storage for transport and keep short needles from disappearing into a deep cushion.
Review after a project
Look at which tools were used and which only occupied space. Adjust the arrangement to your actual workflow. Organisation should make the next task easier, not require a new system every time a small accessory is added.
A practical example
You keep three marking systems with different removal methods. Store them in labelled groups with their refills, then place only the chosen system on the active work surface. That reduces the chance of selecting a familiar-looking pen with the wrong removal instructions.
Check before choosing
- Which tools are used together?
- Are their labels preserved?
- Can I retrieve each item without touching a sharp edge?
Related tools to compare
Compare the size, material and included parts on each product page against the task above.
 Cohana-Mikawa Momen Trifold Toolbag in 4 colours
 Cohana-Paperboard Tool Case 2 colours
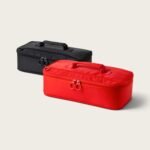 Bunka Sewing Tool Bag – In 2 options