

Sewing Tips & Tool Advice
Measuring Wheels for Patterns: What to Check First
Eight Needles Journal · Patternmaking
A measuring wheel follows a line as it rolls. That can be convenient on curves, but the reading depends on staying on the intended path and using the correct scale. Start with a short comparison before measuring an important pattern piece.
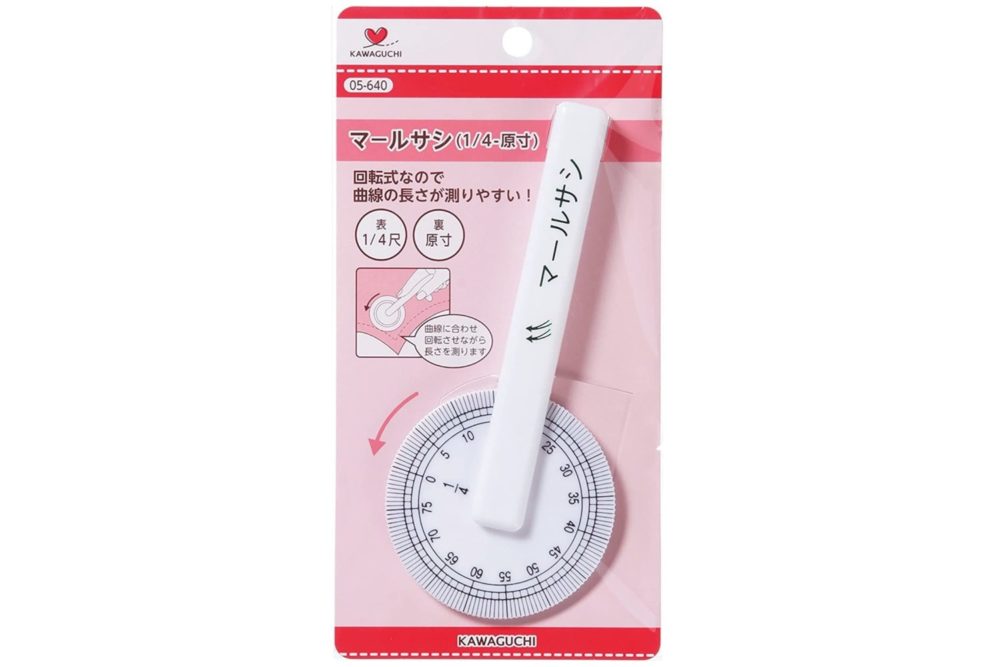
Compare the two Kawaguchi versions
| Version | Main distinction | Best reason to choose it |
|---|---|---|
| Transparent measuring wheel | A see-through wheel with metric markings; suitable for left-handed use | You want to see the pattern line through the wheel and read it from your working position |
| Measuring wheel with 1/4 scale | Full-size metric markings on one side, quarter scale on the other | You use both full-size patterns and quarter-scale drafting exercises |
The opaque two-scale version is less convenient for left-handed use. The important comparison is whether the required scale is readable while you follow the line. Turning the wheel over can also change which scale you are reading.
Identify the scale
Check the wheel's markings and product instructions, particularly if it includes a reduced drafting scale. Measure a known straight distance first. This helps reveal a scale-setting mistake before it becomes part of your pattern notes.
Practise on a known interval
- Draw a straight 10cm test line with a reliable ruler.
- Put the wheel’s correct zero at the start and roll along the line in the direction indicated on the tool.
- Read the end using the same scale. On the full-size metric scale, the result should correspond to the 10cm line.
- Repeat before moving to a curve. If the result is wrong, check the scale, starting mark and any slip.
On a quarter-scale drawing, 5cm of actual paper length represents 20cm at full size. That is why a reduced-scale reading must not be copied into your notes as an ordinary physical measurement.
Follow the stitching line
Keep the paper still and roll steadily along the required line. If the wheel slips or leaves the path, reset and repeat rather than estimating the missing section. Stop at the matching points specified by the pattern.
Use clear stopping points on long curves
Break a long line at a notch or another clearly marked point and record each section. Follow the tool’s instructions if the measurement extends beyond a complete turn; the number currently visible must not cause you to lose an earlier full revolution.
A measuring wheel measures distance. It is not a tracing wheel for transferring dots, and it is not a rotary cutter. Do not press harder to make a mark in the paper. Keep the paper supported and let the wheel follow the curve without sideways dragging.
Compare when the result matters
Use a second suitable method to check a critical seam. Small differences may come from following different lines or skipping part of a curve. Record which method and reference points produced the measurement you keep.
A practical example
You measure a curve with a wheel and then with a tape. If the totals differ, check that both methods followed the stitching line between the same endpoints. Repeat on a short section before deciding that the pattern itself has a mismatch.
Check before choosing
- Which scale am I reading?
- Did the wheel stay on the line?
- Can I reproduce the result?
Related tools to compare
Compare the size, material and included parts on each product page against the task above.
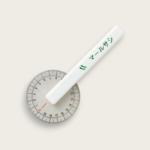 Kawaguchi Measuring Wheel – Transparent (Also Suitable for Left-Handed Use)
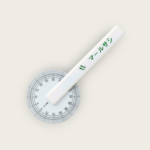 Kawaguchi Measuring Wheel with 1/4 Scale
 Clover 50 cm Paperfeel Flexible Ruler