No products in the basket.
Guides
Using a Seam Ripper Without Rushing the Fabric
Eight Needles Journal · Punching & finishing
A seam ripper removes stitches by cutting thread, but its sharp point can also damage fabric. Work where you can see the thread clearly and support the material. Speed matters less than separating the intended stitch from the cloth.

Expose a controlled section
Open the seam enough to identify individual threads. Work on a small section and follow the tool's intended handling. Avoid pulling the ripper blindly along a seam where the fabric or stitch structure is hidden.
Use help for loose threads
After cutting a few stitches, gently remove the released thread. Tweezers can help with small ends when used without scraping the fabric. If a thread resists, inspect the next stitch rather than pulling hard enough to distort the cloth.
Check the surface as you go
Pause to look for snags or accidental cuts. On delicate or unfamiliar fabric, practise on the seam sample first. Keep the tool capped or safely stored when the repair is interrupted.
A practical example
A dark thread is difficult to see against dark cloth. Improve lighting and expose a small section before cutting it. If you cannot distinguish the thread from the fabric, pause rather than guiding the ripper by feel alone.
Check before choosing
- Can I distinguish thread from fabric?
- Is the work supported?
- Am I removing a small controlled section?
Related tools to compare
Compare the size, material and included parts on each product page against the task above.
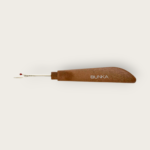 Bunka Seam Ripper
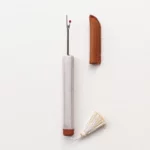 Cohana-Awaji Kawara Seam Ripper in 2 colours
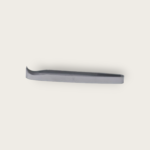 Bunka Tweezer 75mm
Meet the maker
For the company background, workshop photographs and more of the range, read Cohana: The Regional Makers Behind a Japanese Sewing Box.