No products in the basket.
Guides
French Curves, Armhole Rulers and D Curves Explained
Eight Needles Journal · Patternmaking
A shaped ruler offers a family of curves, not a complete pattern solution. An armhole ruler or D curve helps connect points smoothly, but the points themselves must come from your measurements and drafting method.

Fit a section of the edge
Rotate and slide the ruler until part of its curve passes naturally through your reference points. You do not need to use the whole edge. Trace lightly and continue with overlapping sections so the joins can be checked.
Look at the direction of the line
A smooth-looking curve can still meet the next line at an awkward angle. Check the transitions at shoulder, side seam or other joining points specified by the pattern. Compare adjoining pieces before accepting the final shape.
Preserve the original
Work on a traced copy when experimenting. Label the new curve and keep the original line visible until you have checked the change. That record lets you reverse an adjustment instead of trying to remember which version you started with.
A practical example
Three plotted points define a curved edge. Find the section of the ruler that joins them naturally, rather than forcing all three against its longest curve. Trace lightly and inspect the transition into the neighbouring straight line before accepting the final shape.
Check before choosing
- Which part of the curve fits?
- Are the joins smooth?
- Have I kept the original reference?
Related tools to compare
Compare the size, material and included parts on each product page against the task above.
 Armhole Ruler
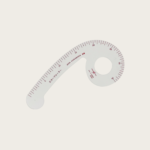 Bunka D curved ruler
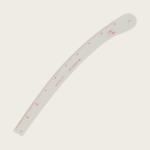 Bunka – H Curved Ruler
Meet the maker
For the company background, workshop photographs and more of the range, read Bunka: The People, Classrooms and Tools Behind a Century of Making Clothes.