

Sewing Tips & Tool Advice
Tracing Wheels: Sharp, Blunt and Flat Edges
Eight Needles Journal · Patternmaking
Tracing wheels do not all make the same mark. A serrated edge, a blunt wheel and a flat edge interact differently with paper and fabric. Start by deciding what material receives the mark and what transfer method the instructions require.
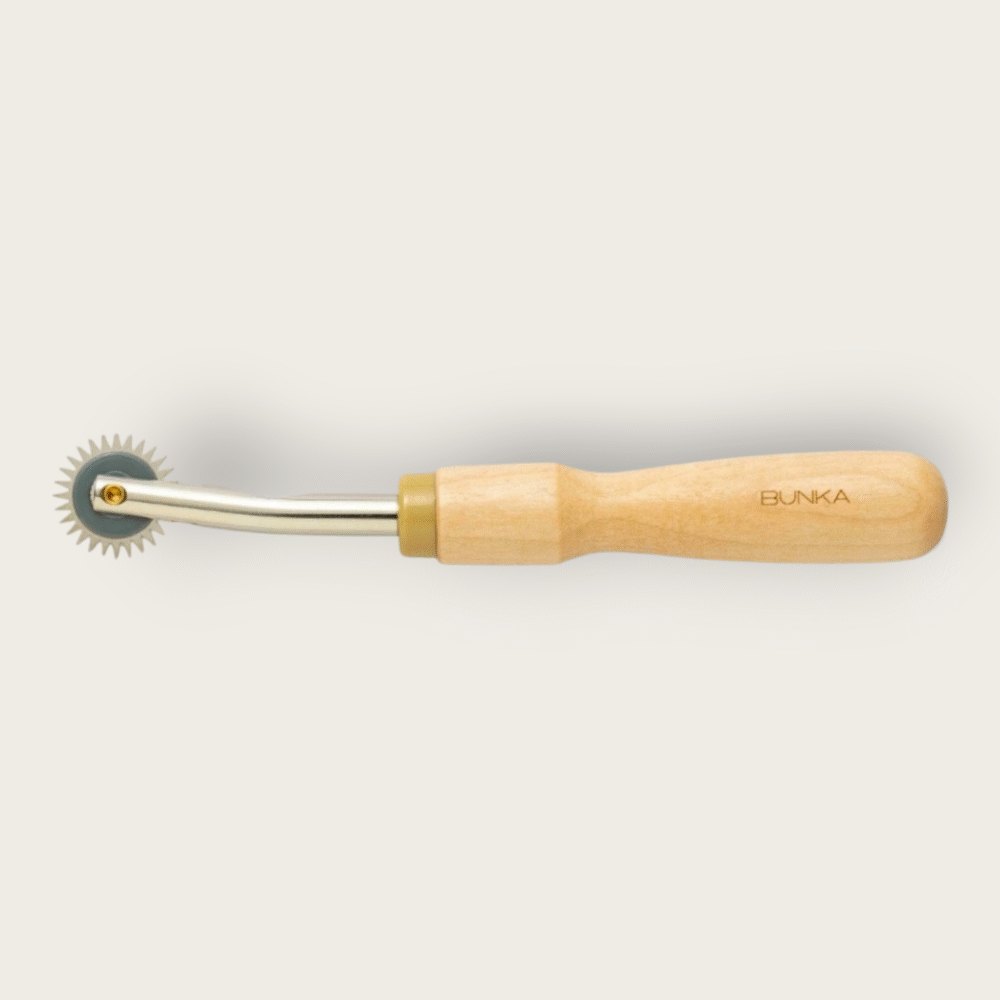
Three edges, three starting points
| Edge | Usual purpose | What to inspect |
|---|---|---|
| Sharp serrated, such as Bunka’s sharp wheel | Pricking a dotted trace through paper layers | Whether holes are acceptable and the backing protects the table |
| Rounded teeth, such as Bunka’s blunt wheel | Applying pressure through suitable transfer paper | Transfer visibility without tearing the sheet or damaging fabric |
| Smooth flat edge, such as Kawaguchi’s flat wheel | Pressing a continuous guideline or fold line into suitable material | Whether the indentation remains visible without an unwanted permanent mark |
“Blunt” does not mean the wheel cannot damage cloth. Pressure, fabric finish and the backing surface all affect the result. Likewise, a flat wheel does not lay down ink by itself; a coloured line requires an appropriate transfer medium.
Make a sample sandwich
Arrange scrap layers exactly as you intend to work, including any transfer paper. Test light pressure first, then inspect every layer. Look for visibility, unwanted punctures and marks on surfaces that should remain clean.
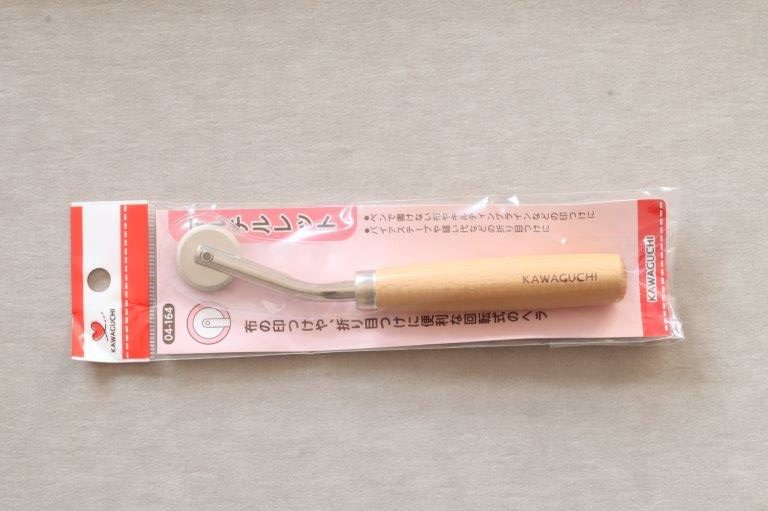
Compare the handle and wheel together
Look for a grip that lets your finger apply controlled pressure without squeezing hard. Check that the wheel turns freely and follows the intended line without obvious sideways wobble. A decorative handle may appeal to you, but its thickness and shape still need to suit your hand.
On a tight curve, slow down and reposition the work rather than dragging the wheel sideways. A double wheel can add an offset line, but inspect the actual spacing around bends before treating that line as a finished seam allowance.
Support the work
Use an appropriate backing surface and keep the layers from slipping. A harder push is not a reliable cure for an unsuitable wheel or incorrectly positioned transfer sheet. Check the transfer-paper instructions before changing pressure.
If the line does not transfer
First check which way the transfer coating faces. Then confirm that the colour contrasts with the cloth and that the paper is suitable for the chosen method. Lift one corner while keeping the rest anchored to inspect the result. Repeated hard rolling can create several blurred lines instead of one clear guide.
Keep the result temporary where needed
A transferred line must suit the next step and, on fabric, any required removal method. Inspect the sample after removal as well as immediately after marking. Choose the wheel and transfer medium together rather than treating them as independent purchases.
A practical example
You want to transfer a mark through two fabric layers. Build the exact layer arrangement on scraps, including transfer paper, and inspect every surface after rolling a short line. That reveals both missing marks and unintended marks before the full pattern is traced.
Check before choosing
- Which layers receive the mark?
- Is the wheel compatible with the transfer method?
- Can unwanted marks be removed?
Related tools to compare
Compare the size, material and included parts on each product page against the task above.
 Bunka Tracing Wheel – Sharp Serrated Edge
 Bunka Tracing Wheel – Blunt Edge
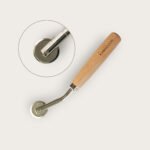 Kawaguchi Flat Edge Tracing Wheel