

Sewing Tips & Tool Advice
How to Transfer a Paper Pattern Without Losing Details
Eight Needles Journal · Patternmaking
A useful pattern copy includes more than the outline. Grainlines, notches, fold lines and construction marks allow the pieces to be matched later. Work methodically so the copy remains understandable after the original has been put away.
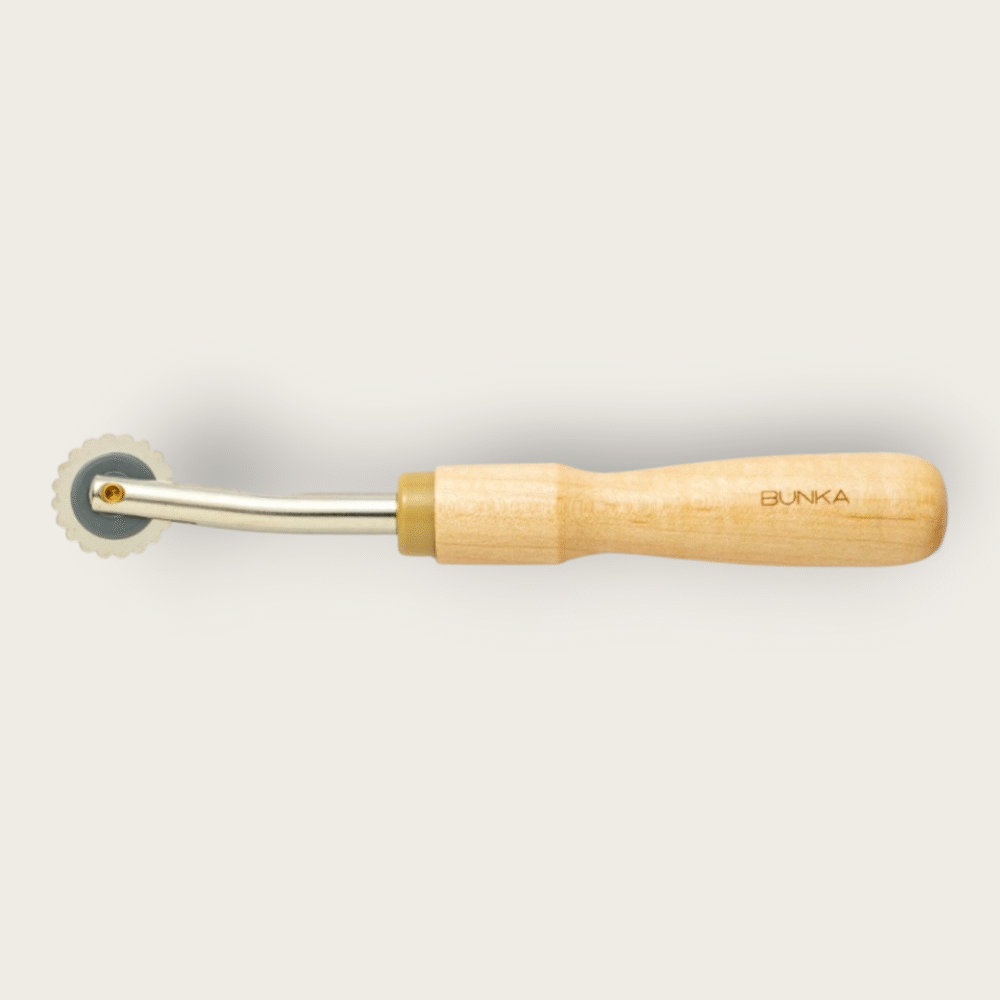
Choose the paper and copying method together
| Paper or method | Useful for | Check first |
|---|---|---|
| Translucent pattern paper over the original | Following a selected size without pricking the original | Can you see pale lines and distinguish overlapping sizes? |
| Small sheets of tracing paper | Small pattern pieces and detail work | Whether the piece fits without several joins |
| Opaque paper with a transfer method | A copy that does not need to be seen through | The transfer medium, wheel and backing must suit paper |
| Grid paper for drafting from measurements | Drawing reference lines and right angles | A grid helps alignment but does not supply the pattern dimensions |
Look at a sample over the actual pattern before choosing a large roll. Paper can be labelled “tracing” yet be too small for a bodice, or be large enough but too opaque to distinguish fine lines. Also check whether a pencil writes clearly and whether the paper tolerates gentle erasing.
Prepare the layers
Flatten the original and secure the copying paper without covering essential marks. Use the tracing method appropriate to the papers involved. If using transfer paper, establish which side transfers before beginning the full piece.
Start with one size and one piece
Find the correct line style for your chosen size, then follow it around the whole piece with your finger before tracing. Where several sizes cross, check the line on both sides of the crossing. Secure the paper at more than one point so it cannot pivot as you move the ruler.
For a downloaded pattern, check the printed test square before assembling and tracing. A clean-looking copy made from an incorrectly scaled print will preserve the size error.
Copy information in groups
Trace the outline, then check each category of mark in turn. Add the piece name, size, cutting instructions and any alteration notes. Keep seamline and cutting-line information distinct when both appear on the original.
Use this order to avoid jumping randomly around the sheet:
- Outline and any separate stitching line.
- Grainline, fold line and lengthen/shorten lines.
- Notches, dart legs and points, pleat or tuck marks.
- Pocket, button, buttonhole and other placement marks.
- Piece name, size, number to cut, fabric type and alteration date.
Record whether seam allowances are included, and their widths where they vary. “Cut two” and “cut one on fold” are different instructions; copy the complete wording needed for that piece.
Audit before separating
Compare the finished copy with the source while the layers are still aligned. Count the notches and locate every matching point. This brief review is easier than discovering a missing mark after fabric has been cut.
A practical example
A traced sleeve looks complete because its outline is clear. Compare it with the original and check the grainline, matching notches, size and cutting instruction. An outline alone cannot tell you how the piece is intended to join the rest of the garment.
Check before choosing
- Have I copied the grainline?
- Are seam and cutting lines distinguishable?
- Can this piece be identified on its own?
Moving from paper to fabric
Copying a paper pattern and marking cloth are separate stages. Clover water-erasable tracing paper below is a fabric-marking option: test its colour and removal method on your cloth first. Do not assume ordinary office carbon paper will wash out of fabric.
Related tools to compare
Compare the size, material and included parts on each product page against the task above.
 Bunka Tracing Wheel – Blunt Edge
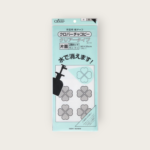 Clover Chaco Water-Erasable Tracing Paper
 Bunka 50cm Pattern Ruler with Line