

Sewing Tips & Tool Advice
Straight or Curved Embroidery Scissors?
Eight Needles Journal · Scissors
Choose straight embroidery scissors when you can comfortably bring the blades to the thread. Consider curved or double-curved scissors when the fabric, an embroidery hoop or the position of your hand makes that approach awkward. The useful difference is access to the cut, not a promise that one shape is always more precise.
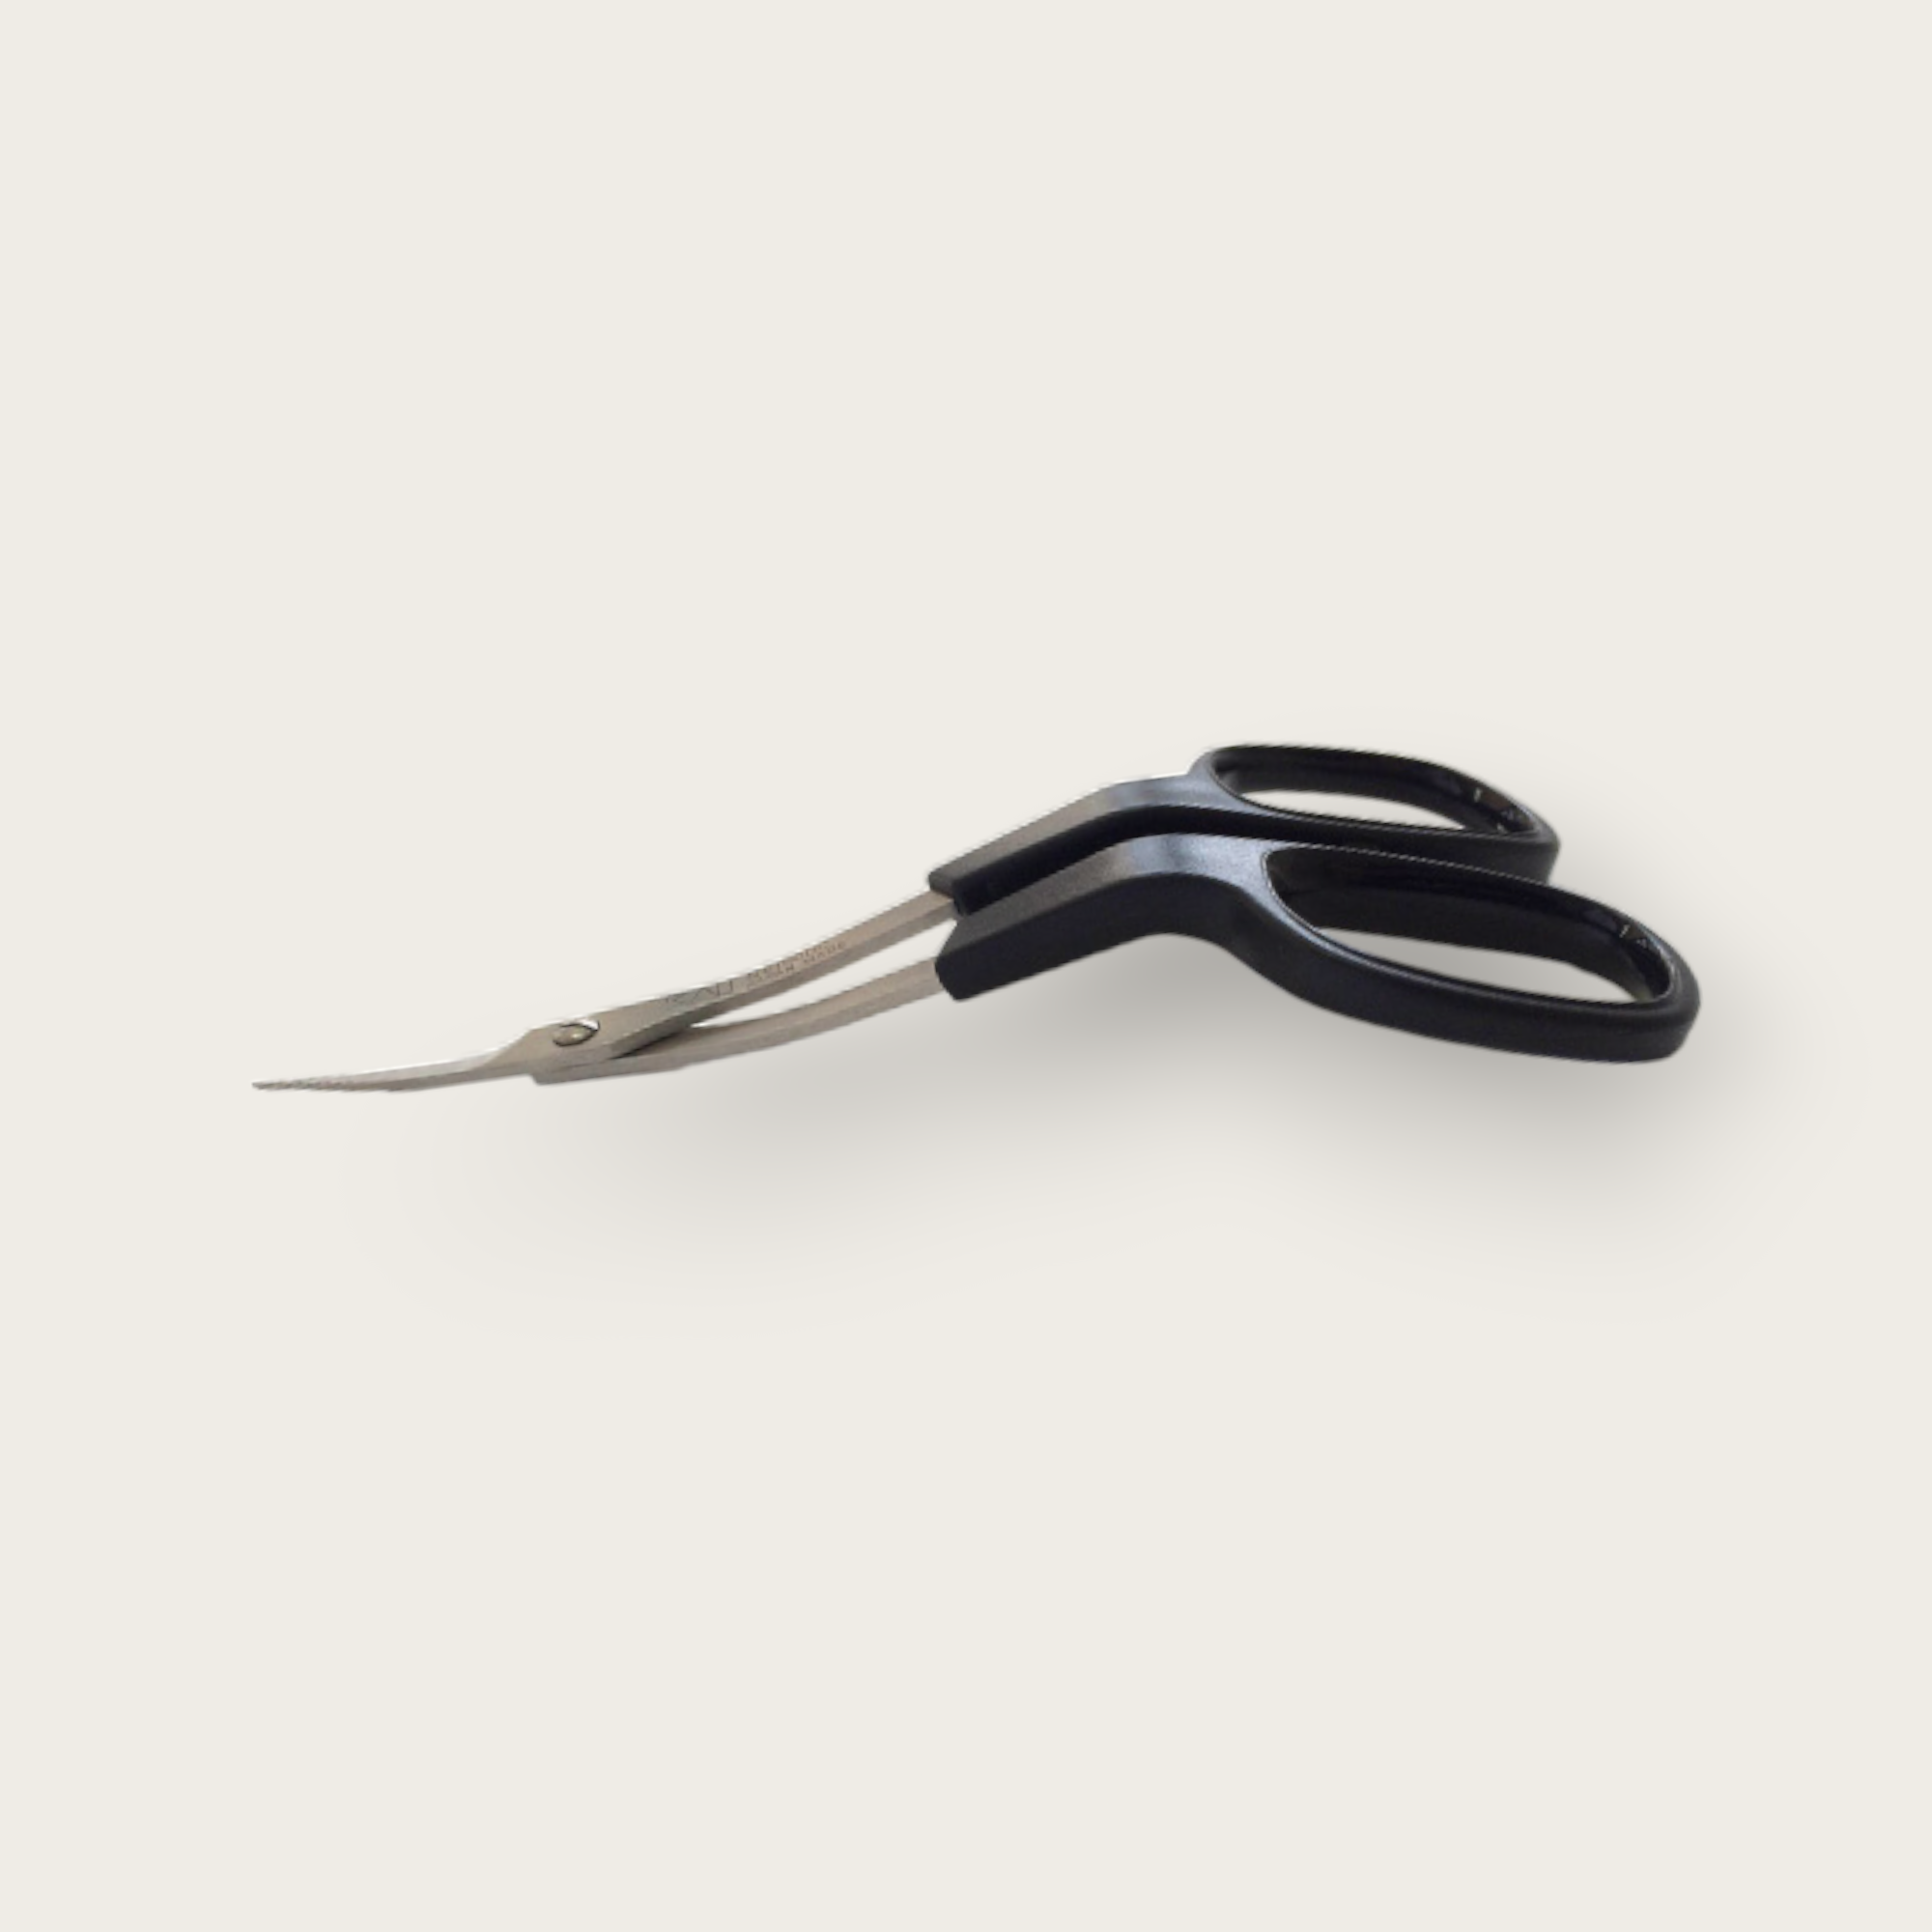
Compare the shape with the space you have
| Shape | Where to consider it | What still needs checking |
|---|---|---|
| Straight embroidery scissors | Accessible thread ends and detailed cuts where your hand has room | Tip thickness, blade alignment and a clear view of the intended cut |
| Curved or bent embroidery scissors | Approaching close to the surface from an angle | The direction of the curve and whether the tips remain clear of the cloth |
| Double-curved scissors | Trimming within a hoop when the rim limits the handle position | Whether the handle clears your particular hoop while the tips reach the thread |
A top-down photograph can hide the important part of a curved tool. Look for a side view as well, then imagine the handle, your fingers and the hoop rim in the same space. Overall length alone cannot tell you how far the tips will reach comfortably.
Two KAI options are different tools
The KAI Double Curved scissors are intended for trimming embroidery when lifting or moving the fabric is awkward, including work held in a hoop. Their raised handle position is the feature to compare if ordinary scissors make you tip your wrist or lift the work to reach a thread.
The KAI Bent scissors are a smaller curved option with slender tips. The listed dimensions are 100mm overall, a 25mm blade and a 20mm handle diameter. These measurements describe that model; they should not be transferred to the double-curved pair simply because the two listings look similar.
If your usual scissors already reach comfortably and make a clean cut, there may be no practical reason to add a curve. A new pair earns its place when it solves a repeated access problem.
Fine tips matter as much as the curve
Embroidery includes very different cutting tasks. Removing an ordinary loose tail is not the same as cutting selected fabric threads in drawn-thread work or trimming closely around an embroidered shape. For detailed work, inspect the width and thickness of the tips and whether you can see exactly what enters the blades.
Keep specialist materials separate. A tool that cuts ordinary cotton embroidery thread well is not automatically suitable for wire, metal embroidery threads or thick bundles. Match the material to the chosen model before trying an unfamiliar cut.
Practise the approach on a sample
- Put a stitched scrap in the hoop you normally use and secure the stitching before trimming its ends.
- Support the hoop so it does not move as the scissors approach. Identify the exact thread to cut.
- Bring the closed tips into position and check the clearance above the fabric and around the hoop rim.
- Open only enough to admit the intended thread, keeping the cloth and neighbouring stitches outside the blades.
- Make the cut, then check the fabric and the remaining thread end before moving closer on finished work.
Curved blades can change the approach, but they can still cut fabric. If you cannot clearly separate the thread from the cloth beneath it, change the position of the work or the tool before closing the blades.
Related tools to compare
 Kai Double Curved scissors
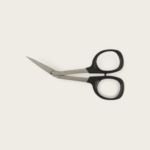 Kai Bent scissors
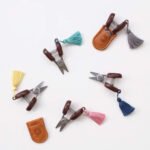 Cohana-Seki Mini Scissors in 5 colours