

Sewing Tips & Tool Advice
Single-Colour or Variegated Sashiko Thread?
Eight Needles Journal · Sashiko & thread
Choose a single colour when you want an even visual line. Choose variegated thread when changing colour is part of the design. The useful comparison is not simply how many colours appear on the card: look at their spacing, their contrast with the cloth and the route your stitches will follow.
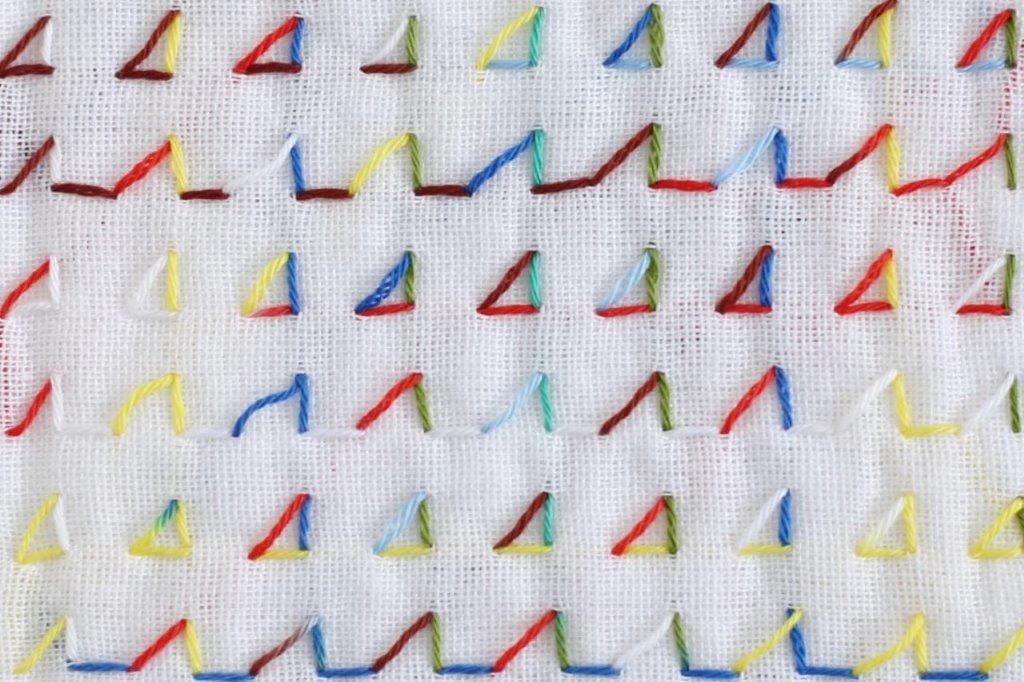
Compare four colour effects
Within Daruma Regular 40m cards, the single-colour, two-colour, three-colour and eight-colour options share the same four-ply cotton construction. This makes them useful for comparing colour treatment without also switching to a thicker range.
| Thread | Colour treatment | What to examine in a sample |
|---|---|---|
| Single colour | One colour throughout | Overall contrast and clarity of the geometry |
| Two-colour kasuri | Small coloured accents along the thread | Where the accents appear across a running-stitch line |
| Three-colour kasuri | Changes at approximately 5–7cm intervals; includes white | How pale sections sit against the chosen cloth |
| Eight-colour kasuri | One thread dyed in eight colours | The balance of colour across several repeats |
The 5–7cm figure describes the three-colour thread, not a guaranteed distance between colours on the finished cloth. Some thread lies on the reverse. Do not apply that figure to every variegated range.
Colour count is different from the number of options
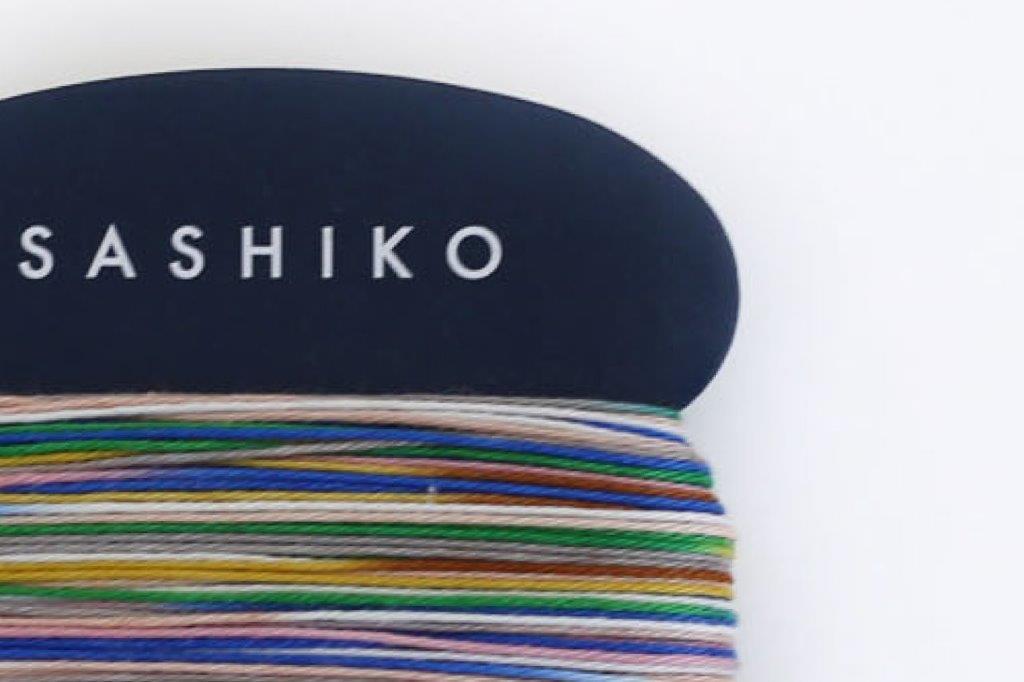
The eight-colour Regular card has two colourways: 501 Paper Balloon and 502 Tanabata. Each is a multicoloured thread. You are choosing one colourway, not buying eight separate threads or a pack of two cards.
Keep thickness and quantity separate too. Daruma Thick multicoloured 100m skeins are a different format from these Regular 40m cards. A larger skein is useful when you need more thread, but its stitched line should be assessed on its own merits.
Sample the route, not just a few stitches
Use the actual cloth and a representative section of the design. Include a straight run, a turn and an intersection if your pattern has them. A tiny sample may happen to catch only one part of the colour sequence and give a misleading impression.
Follow the stitching order you intend to use. Working rows across the cloth and completing each small motif separately can place colour changes in different positions. Keep the route consistent when comparing samples, then try a different route if the first result feels too scattered.
Check the quietest colour
A bright red or blue may catch your eye immediately, while a pale section almost disappears. Lay the thread against the cloth before sewing, then look at the stitched sample from a normal viewing distance. Decide whether the intermittent appearance is welcome or whether you want every part of the shape to remain equally clear.
Single-colour thread can be the easier choice for showing a complex geometric pattern. Variegated thread can bring interest to a simple repeat without changing the stitch itself. Neither is a rule: the deciding point is the appearance you want on your particular cloth.
Think about the next length of thread
Before starting a fresh length, compare its starting colour with the stitches already in place. You can welcome a change or choose a starting section that makes the transition quieter. Do not expect every join to disappear automatically.
Keep the product name, colour number and a short unused sample with the finished test. For a larger project, record the cloth and stitch route too. That small record is more useful than trying to match a screen photograph later.
Choose your thread
Compare Regular 40m single colours, Regular 40m eight-colour options and Thick 100m multicoloured skeins. For a thickness comparison, see Regular or Thick Sashiko Thread?
