

Sewing Tips & Tool Advice
Preprinted Sashiko Cloth or a Grid: Which Suits Your Project?
Eight Needles Journal · Sashiko
A printed motif gives you a design to follow. A printed grid gives you a framework for placing a design. Both can save marking time, but they leave different decisions to the stitcher. Choose according to whether you want to practise sewing or plan the layout as well.
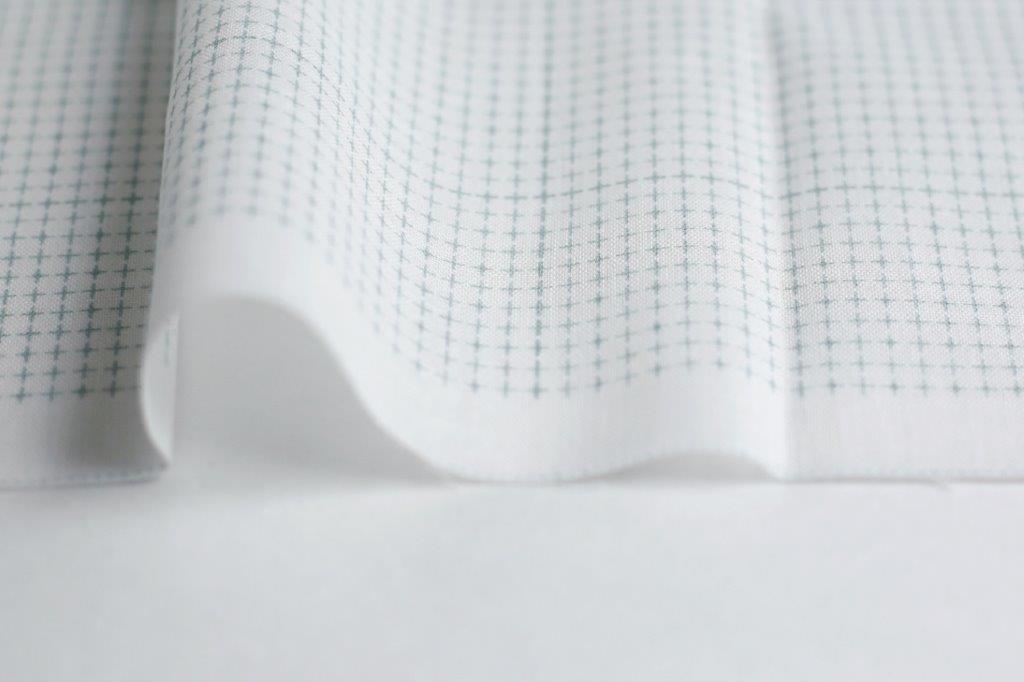
Three starting points to compare
| Starting cloth | Already provided | Your main preparation |
|---|---|---|
| Printed motif sampler | The selected design and its placement | Read the stitching order and prepare the cloth as directed |
| Printed grid cloth | Regular reference marks | Select a pattern, scale, starting point and repeat |
| Plain cloth with a transfer pattern | A separate paper design | Position and transfer the design with a suitable marking method |
Read the grid size carefully
Daruma’s 5mm grid cloth, code 01-8590, is 100% cotton and measures 50 × 108cm. It carries reference guides at 5mm, 1cm and 10cm intervals. The range also includes a separate 3mm grid cloth, code 01-8580, measuring 50 × 109cm. These two formats should not be treated as interchangeable.
If a repeat spans ten grid spaces, its width is 5cm on a 5mm grid and 3cm on a 3mm grid. That simple calculation changes the scale of the pattern before you sew a stitch. It does not tell you the total thread needed or the finished size after stitching and washing.
Plan the whole repeat before cutting
Count the units across the area you intend to stitch. Decide whether the edges should end on a full motif or a deliberate partial repeat. Allow for the project’s seams or edge finishing separately; the available piece of fabric is not necessarily the final stitched area.
Mark your chosen starting point on a paper plan and note the direction of the first row. If the pattern combines vertical, horizontal and diagonal passes, record their order. A grid keeps spacing regular, but it cannot prevent a repeat from starting one square too far over.
Try a small section with the intended thread
Stitch enough of the repeat to include an intersection. Lay it flat and check the gaps as well as the raised line. If the design feels crowded, reconsider its scale or the thread thickness before filling the cloth.
Do not copy the same number of loaded stitches from someone else’s demonstration regardless of the fabric. Work a length you can control comfortably, ease the cloth along the thread and check that it has not gathered.
Keep the printed guides until their job is complete
The Daruma grid print is water-removable. Complete the work that depends on it before washing. If you have added your own marks, follow their removal instructions as well; they may not behave like the factory printing.
Keep an unused offcut for testing an additional marker or the intended finishing treatment. Before removing the grid from the finished work, check every row and return to your paper plan to find any missed section.
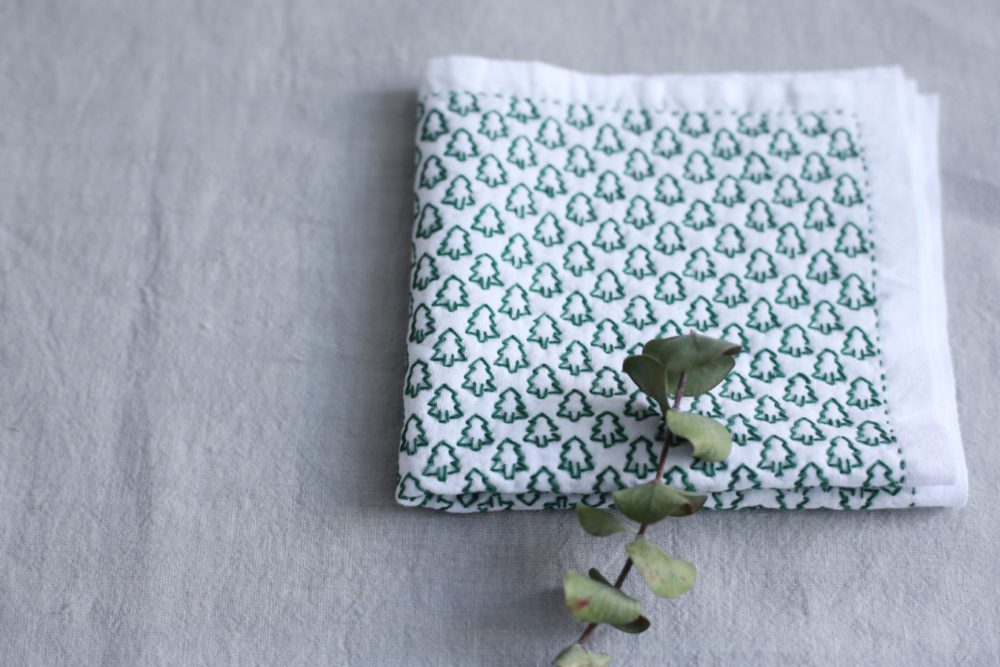
Choose the level of freedom you want
For layout practice, compare white grid cloth and coloured grid cloth, checking the exact option. For an already placed design, browse the printed hitomezashi samplers. The simpler starting point is the one that leaves you with the decisions you actually want to make.
