

Sewing Tips & Tool Advice
Preparing a Surface for Screw-Punch Work
Eight Needles Journal · Punching & finishing
A clean punched hole starts underneath the fabric or leather. The blade needs a suitable cutting surface, and that surface needs a stable base. A soft towel protects a tabletop from scratches, but it does not provide the same support as a board intended for punching.
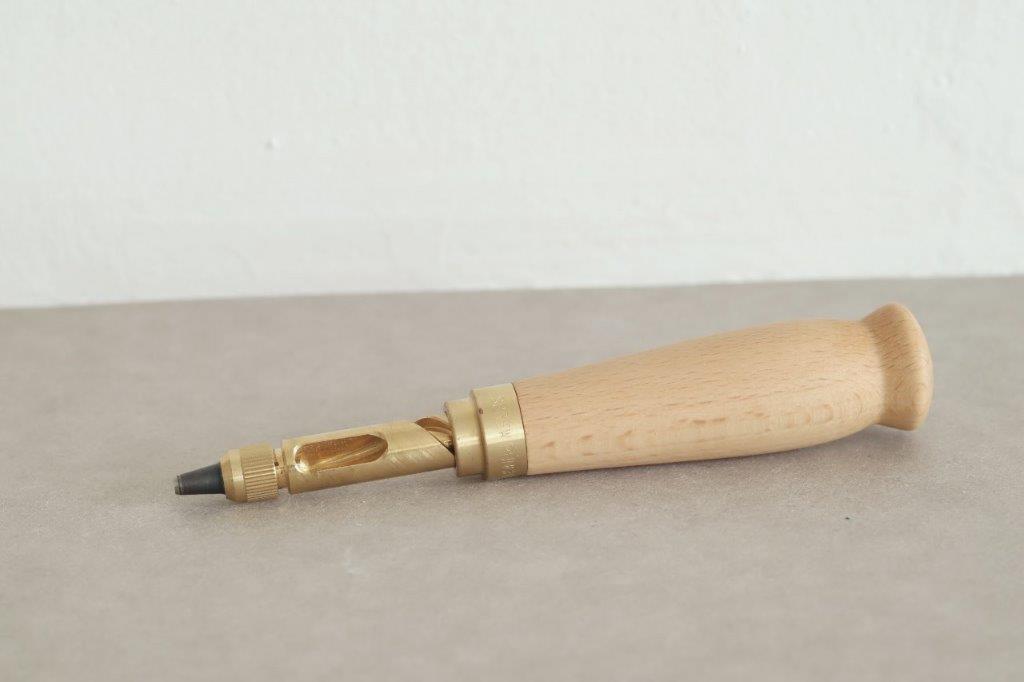
Separate the three jobs
| Part of the setup | Its job | What to check |
|---|---|---|
| Table or workbench | Supports the downward pressure | Stable, level and clear beneath the working area |
| Cutting board or punch pad | Receives the cutting edge and protects the table | Intended for the punching operation; sound and flat |
| Material support | Keeps the project positioned | No folds, hardware or hidden layers under the hole |
A fabric weight belongs above or beside the material where it can help hold the piece. It is not a punch pad. Keep metal weights, rulers and fittings away from the point where the blade will emerge.
Compare the backing options
A dedicated punch pad is a straightforward option for a small workstation. Check the stated use, dimensions and condition rather than buying any sheet described as rubber or vinyl. For scale, the Y-SK11 No.7 leather-punch backing is 60 × 70 × 6mm. That is a compact tool accessory, not a surface large enough to support an entire bag panel.
A larger craft cutting board gives more room to reposition a piece. Nonaka’s setup uses a craft cutting mat or board beneath the material. Check that your particular board is suitable: “self-healing” is not a promise that every kind of repeated punching will leave it undamaged.
A hard tabletop, glass sheet or metal plate should not contact the cutting edge. Equally, a deep, yielding cushion lets the work sink or tilt. The useful combination is a stable base with a suitable receiving surface directly below the hole.
Arrange the actual project
Open out the piece so you can see which layers will be punched. A folded pouch may have its back directly beneath its front; place the appropriate board between them if only one face needs a hole and the construction allows it. Check that lining, pockets, straps and seams are clear.
Support the rest of a larger panel so its weight does not drag the marked point away. Move loose screws, pins and offcuts out of the area. Choose a comfortable position where you can hold the tool upright without reaching across the table.
Try one hole before a whole row
- Fit the correct blade and place representative scrap on the chosen board.
- Hold the material flat with fingers clear of the blade.
- Press vertically, letting the screw mechanism rotate the blade. Do not hammer the handle or manually twist it through the work.
- Lift gently after the cut, then inspect both faces and the board underneath.
If the material turns with the blade, improve how it is held before continuing. If part of the circle remains attached, inspect the blade, backing and material combination. Repeatedly forcing the same point can enlarge or distort the opening without solving the cause.
Keep the working spot usable
Remove loose punched discs and inspect the board for deep pits, debris or an uneven surface. Reposition onto a sound area where appropriate, and replace a damaged pad when it no longer supports a clean cut. Store the board flat and the tool with its blade protected.
Once the trial works, mark and check every hole position on the finished piece. A successful sample establishes the setup; it does not replace the spacing check.
Tools for the setup
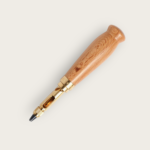 Nonaka Seisakujo Screw Punch with 3mm blade
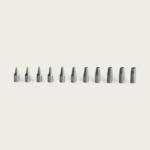 Nonaka Screwpunch Replacement blade – 1.0mm-5.0mm