

Sewing Tips & Tool Advice
Keeping Fabric Shears Separate from General Craft Tools
Eight Needles Journal · Scissors
Give your fabric shears one clear job, and keep an ordinary pair nearby for paper patterns and packaging. This simple arrangement makes it easier to protect the cutting edge, avoid sticky residue and find the right tool when the fabric is ready.
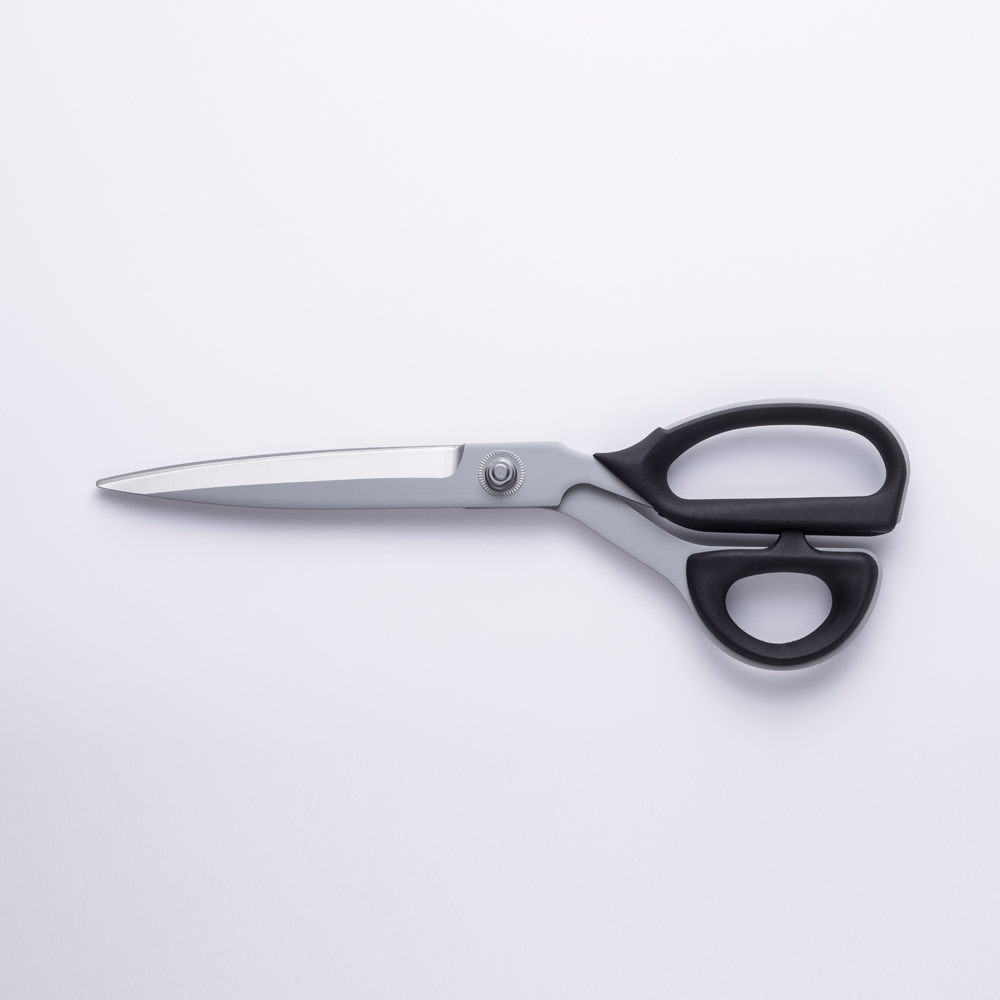
Separate four everyday cutting jobs
| Material or task | Tool to keep ready | Reason for separating it |
|---|---|---|
| Garment fabric | Shears intended for fabric, in a manageable size | Keep their cutting performance predictable on your cloth |
| Paper patterns and card templates | Paper or craft scissors suitable for the material | Make it easy to leave the fabric pair in its own place |
| Ordinary thread ends | Thread snips or suitable small scissors | Approach a small cut without handling large shears |
| Adhesive tape and sticky craft materials | A tool intended for those materials | Keep adhesive residue away from the fabric-cutting pair |
Why paper performance is not a fabric test
A pair that cuts a sheet of paper neatly may still fold or trap soft fabric between its blades. Thin cloth can reveal a cutting problem that is much less obvious with a stiffer material. Test fabric shears on a spare piece of the cloth you intend to cut.
Price alone is not the test either. The useful pair is one that suits the material, fits your hand and cuts cleanly. There is no need to treat an inexpensive, well-performing pair as inadequate simply because a more elaborate model exists.
What if the scissors are sold for several materials?
Some models are intended for a broader range of cutting work. The KAI 7000 Series listings, for example, include textiles and other materials. Follow the exact model’s specification when deciding what it can cut.
Choosing to reserve one pair for fabric is still a useful workshop habit. It helps you control what has touched the blades and avoids reaching for a pair that was just used on tape or packaging. That is different from claiming that every scissor will be ruined by one cut through paper.
Make the arrangement easy to follow
Put a simple “fabric” label on the case or storage position. Keep the paper scissors beside the pattern paper, and keep the thread snips beside the sewing area. In a shared workspace, a clearly available alternative is more effective than expecting everyone to remember an unspoken rule.
Choose a case that fits the actual shears and covers the blades without pressure on the tips. A small accessory pouch is not automatically large enough for tailor’s shears. Check the internal space and the blade protection before relying on it for storage.
Check before the first cut
- Look for visible lint, residue or damage without running a finger along the edge.
- Clear pins, zip teeth and other hard objects from the intended cutting path.
- Try a controlled cut on a scrap of the project fabric.
- If the fabric folds, catches or frays unusually at the cut, stop and inspect the cause.
A clean blade, correct handling and a supported layout work together. Extra force can hide the symptom briefly without resolving the reason for a poor cut.
Keep care instructions with the tool
Use the cleaning and lubrication method appropriate to the selected model. Coated blades, plastic handles and decorative finishes can require different treatment. Do not treat a household solvent or a generic sharpening trick as suitable for every pair.
When shears need sharpening or adjustment, describe the problem and the fabric you use to a specialist who handles sewing scissors. Keeping the model information makes that conversation easier.
Compare tools for the sewing side of the table
 Shozaburo tailor shears 24cm (Right-handed)
 Kai – Tailors Shears 25cm
 Shozaburo 105mm Snippers -Short Blade