

Sewing Tips & Tool Advice
Choosing Scissors for Small Appliqué Details
Eight Needles Journal · Scissors
Choose appliqué scissors for the stage of the work. Cutting out a loose shape, trimming an upper layer near stitches and reaching inside an embroidery hoop are different jobs. The best starting point is the layer you need to cut and the layer you need to keep.
Four shapes worth comparing
| Option | Feature to look at | Where it may help |
|---|---|---|
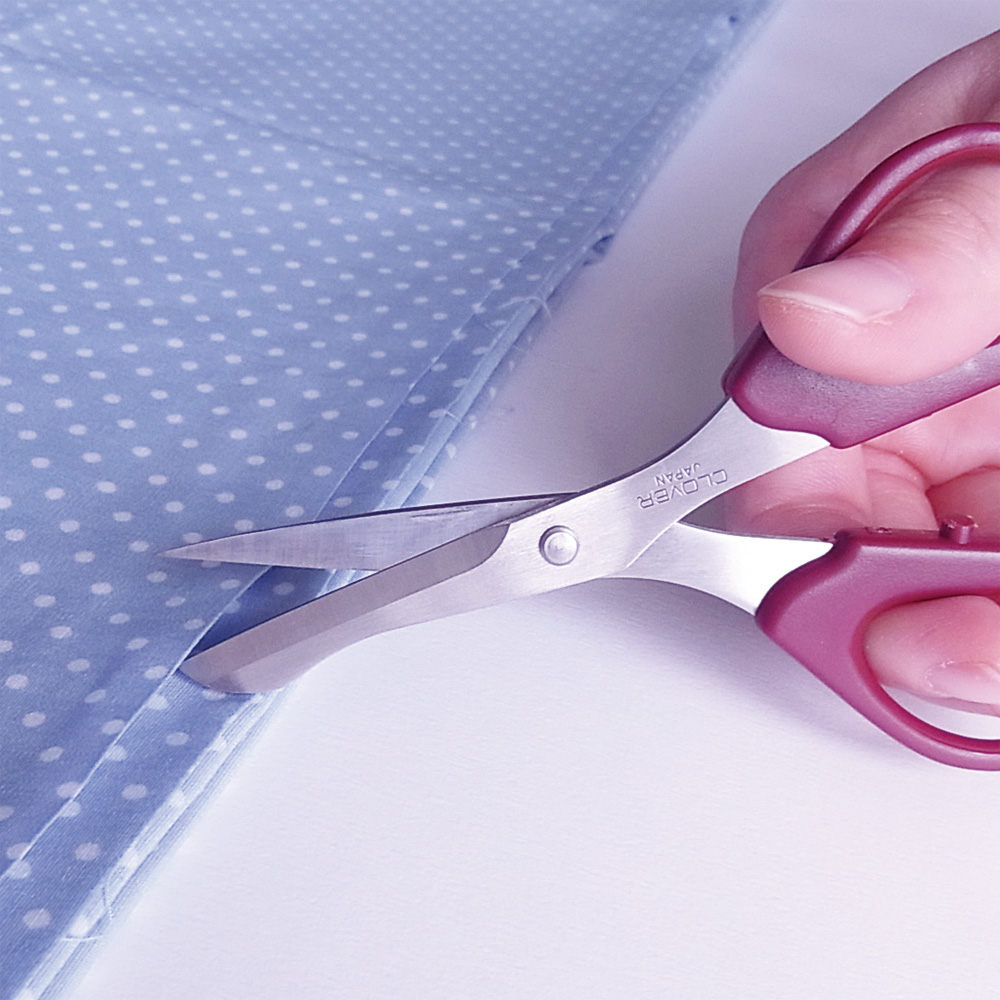
| Clover Appliqué Scissors 115, 36-669 | A rounded blade tip; approximately 11.5cm overall | Cutting the upper cloth in appliqué, reverse appliqué and mola work |
| Clover Curved Cutwork Scissors 115, 36-668 | Fine pointed, curved blades; 11.5cm overall | Small cutwork details where tip access matters |
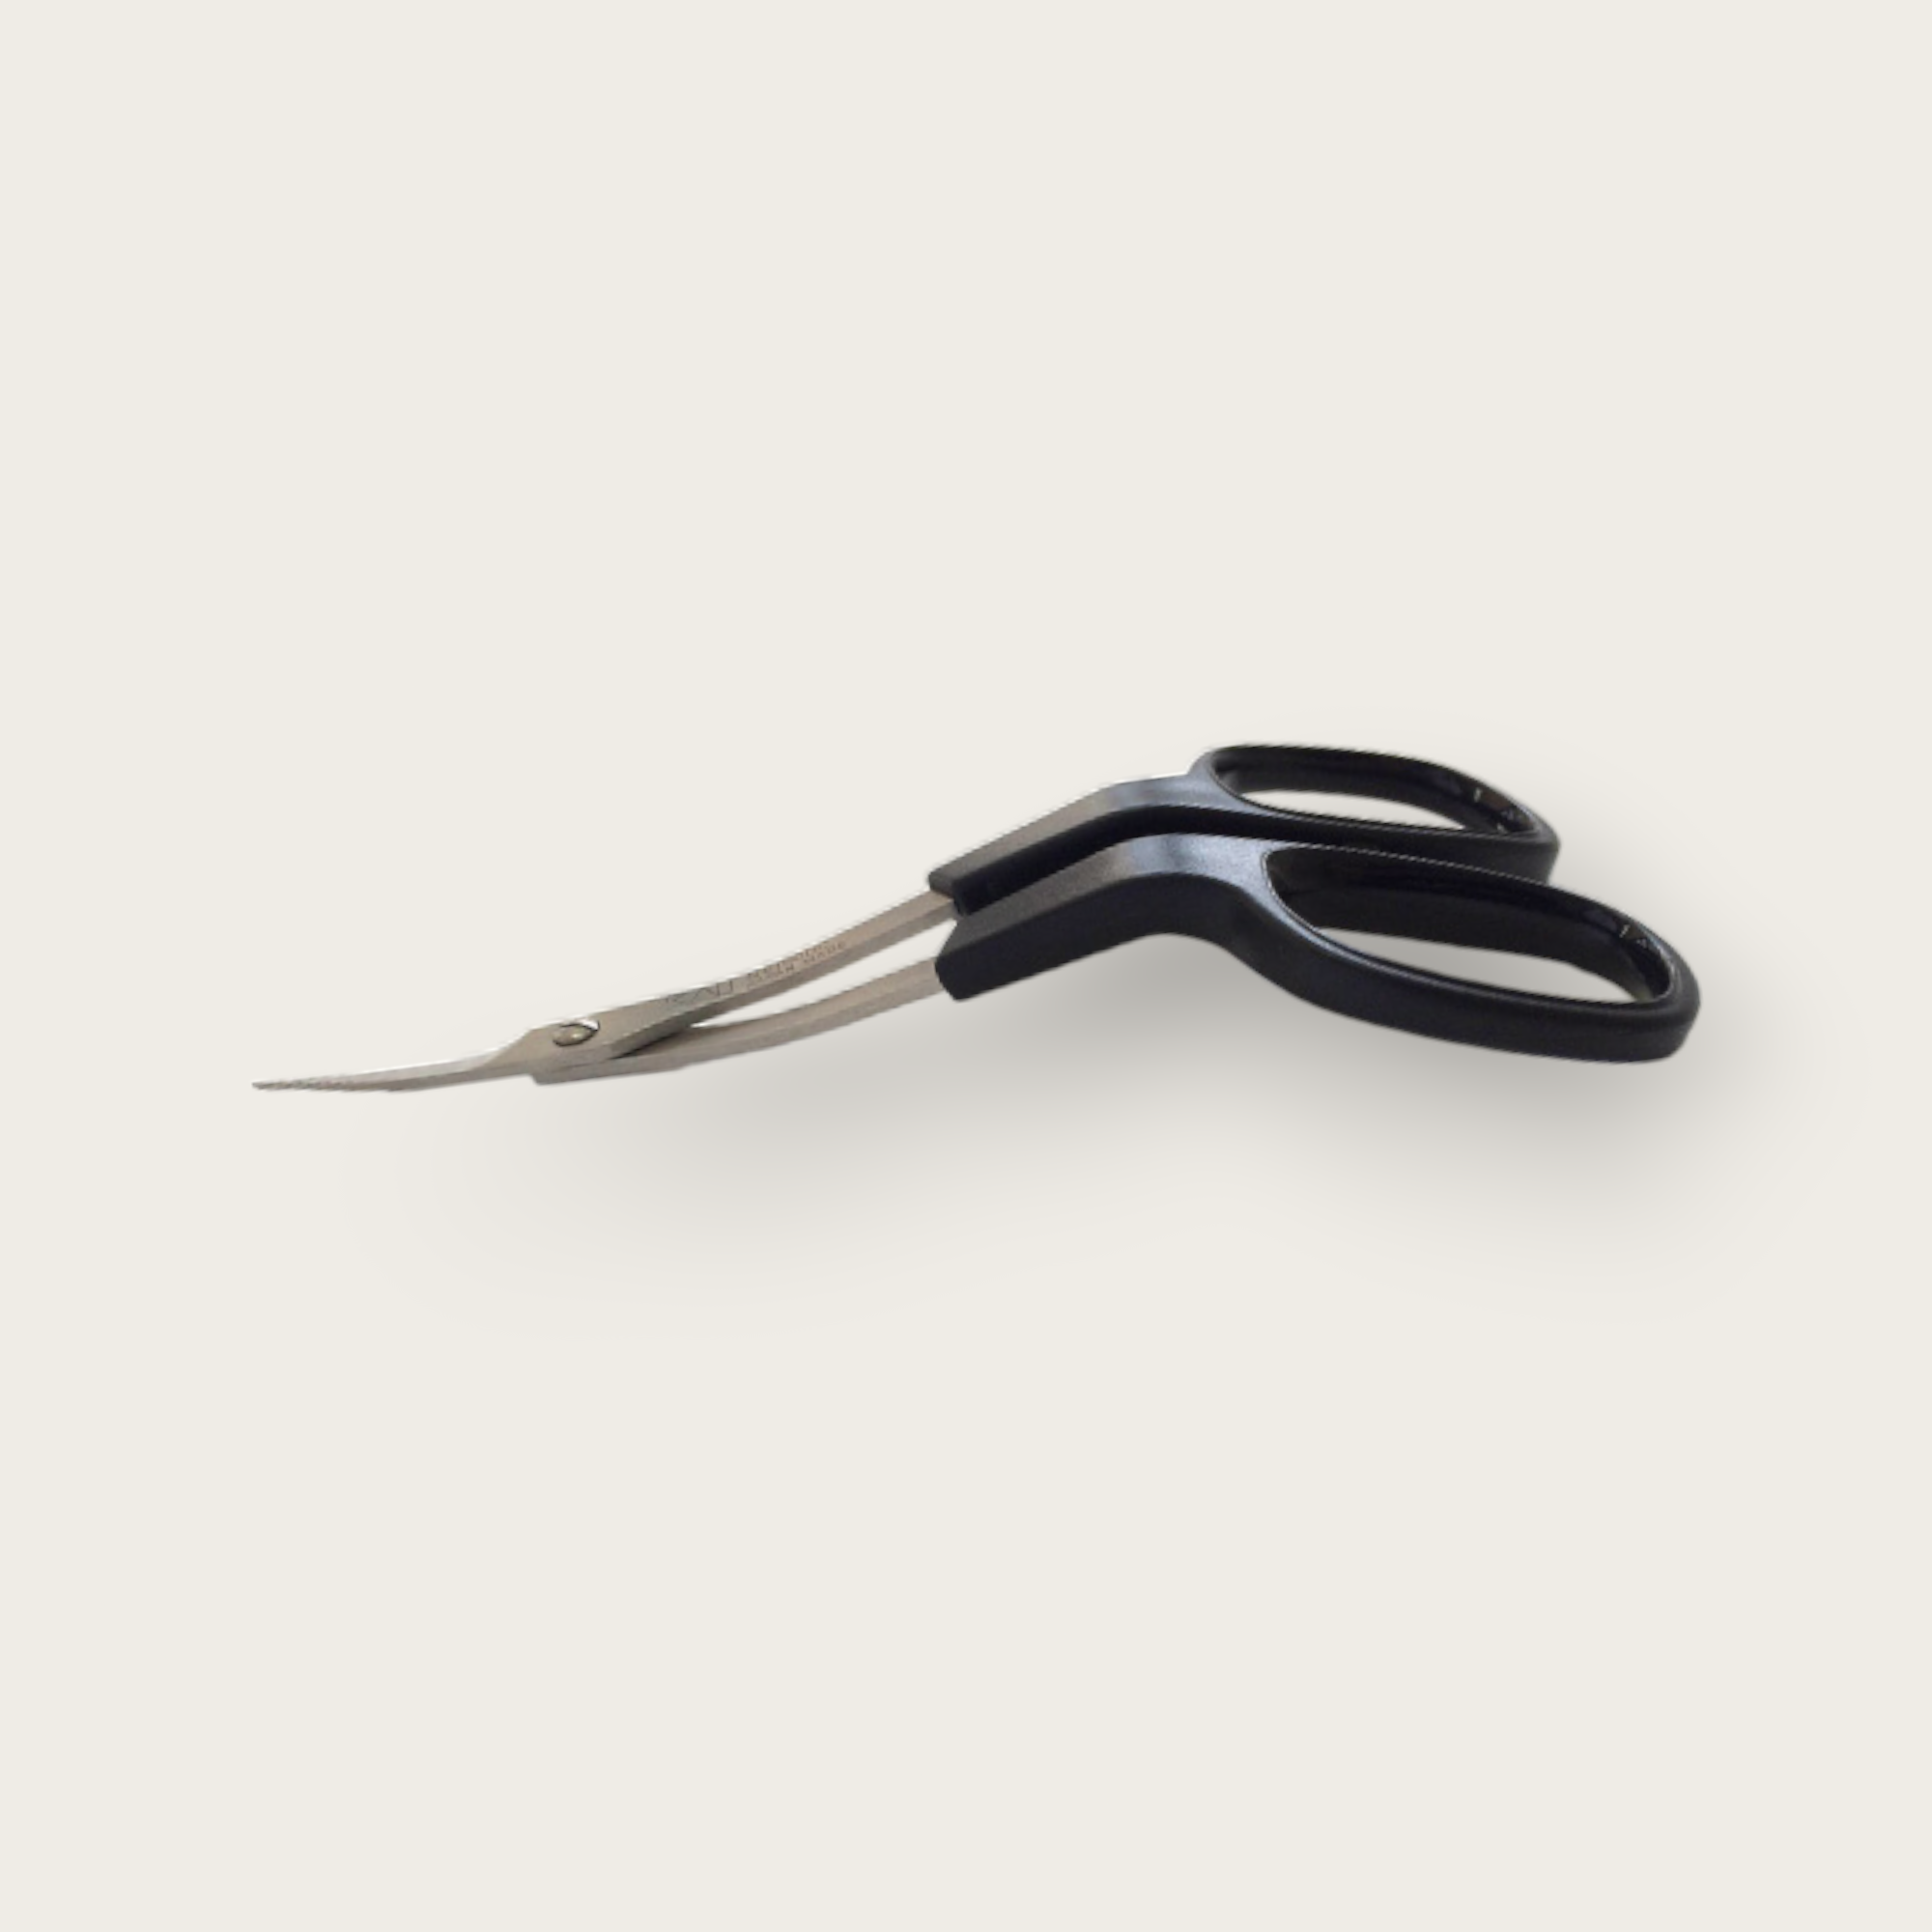
| KAI Double Curved scissors | A raised handle position and fine curved tips | Trimming work held in an embroidery hoop |
| Paddle or duckbill appliqué scissors | A broad lower blade | Separating the layer being trimmed from the backing beneath it |
The two Clover models share a nominal length but have different tips and applications. “115” does not mean an 11.5cm cutting edge. Check the full product name and number rather than choosing by handle colour or size alone.
Loose pieces need a clear outline
When cutting a separate appliqué shape, look for scissors that follow its outline without folding or dragging the fabric. Short, controlled movements can help around small curves. The useful size depends on the shape and on how comfortably you can guide the blades.
Keep the allowance required by the chosen technique. A turned-edge appliqué piece and a raw-edge piece are prepared differently; the scissor does not determine where the cutting line belongs.
Assembled layers need separation
When trimming after stitching, identify the upper layer, the backing and the stitches before starting. A rounded lower tip or a paddle can help keep the lower layer away from the cutting area. Neither makes it impossible to damage the work.
Keep the layer being removed gently clear of the backing without pulling the stitches out of shape. Work in short sections that you can see. At a tight corner, change the position of the work instead of pushing a broad blade into a space where it cannot fit comfortably.
Check the scissors against your hoop
A larger paddle can be useful on an open area and awkward inside a small hoop. Compare the room needed by the handle and the full blade, not only the distance from the rim to the thread. The same scissors may feel quite different in two hoop sizes.
A side-view photograph helps reveal the handle offset; a picture beside a ruler helps with overall scale. Neither replaces checking the space around your own stitching.
Make a small practice sandwich
- Use scraps of the same upper fabric, backing and stabiliser as the project.
- Stitch a short line and a small curve using the intended appliqué sequence.
- Identify the allowance that must remain before bringing in the scissors.
- Trim a visible section, then turn the sample over and check that the backing is intact.
- Compare a second tool only if the first leaves a specific access or handling problem.
This sample tells you more than cutting a single loose scrap. It includes the layers and stitches that constrain the final cut.
Keep ordinary thread cutters in their own role
Mini scissors and traditional snips can be useful for loose thread ends, but their small size does not make them substitutes for a rounded-tip or paddle-style appliqué tool. If you already have a reliable thread cutter, choose an additional pair to solve the layer-trimming task it cannot comfortably handle.
Compare access for detailed cutting
KAI Double Curved scissors and KAI Bent scissors offer different shapes for close work. Read Straight or Curved Embroidery Scissors? for a closer comparison of their access and dimensions.
