

Sewing Tips & Tool Advice
How to Read a Half-Circle Protractor for Patterns
Eight Needles Journal · Measuring
A half-circle protractor measures an angle between two lines. It is useful when a drafting exercise gives an angle, but it does not replace the measurements and method of the pattern system you are following.
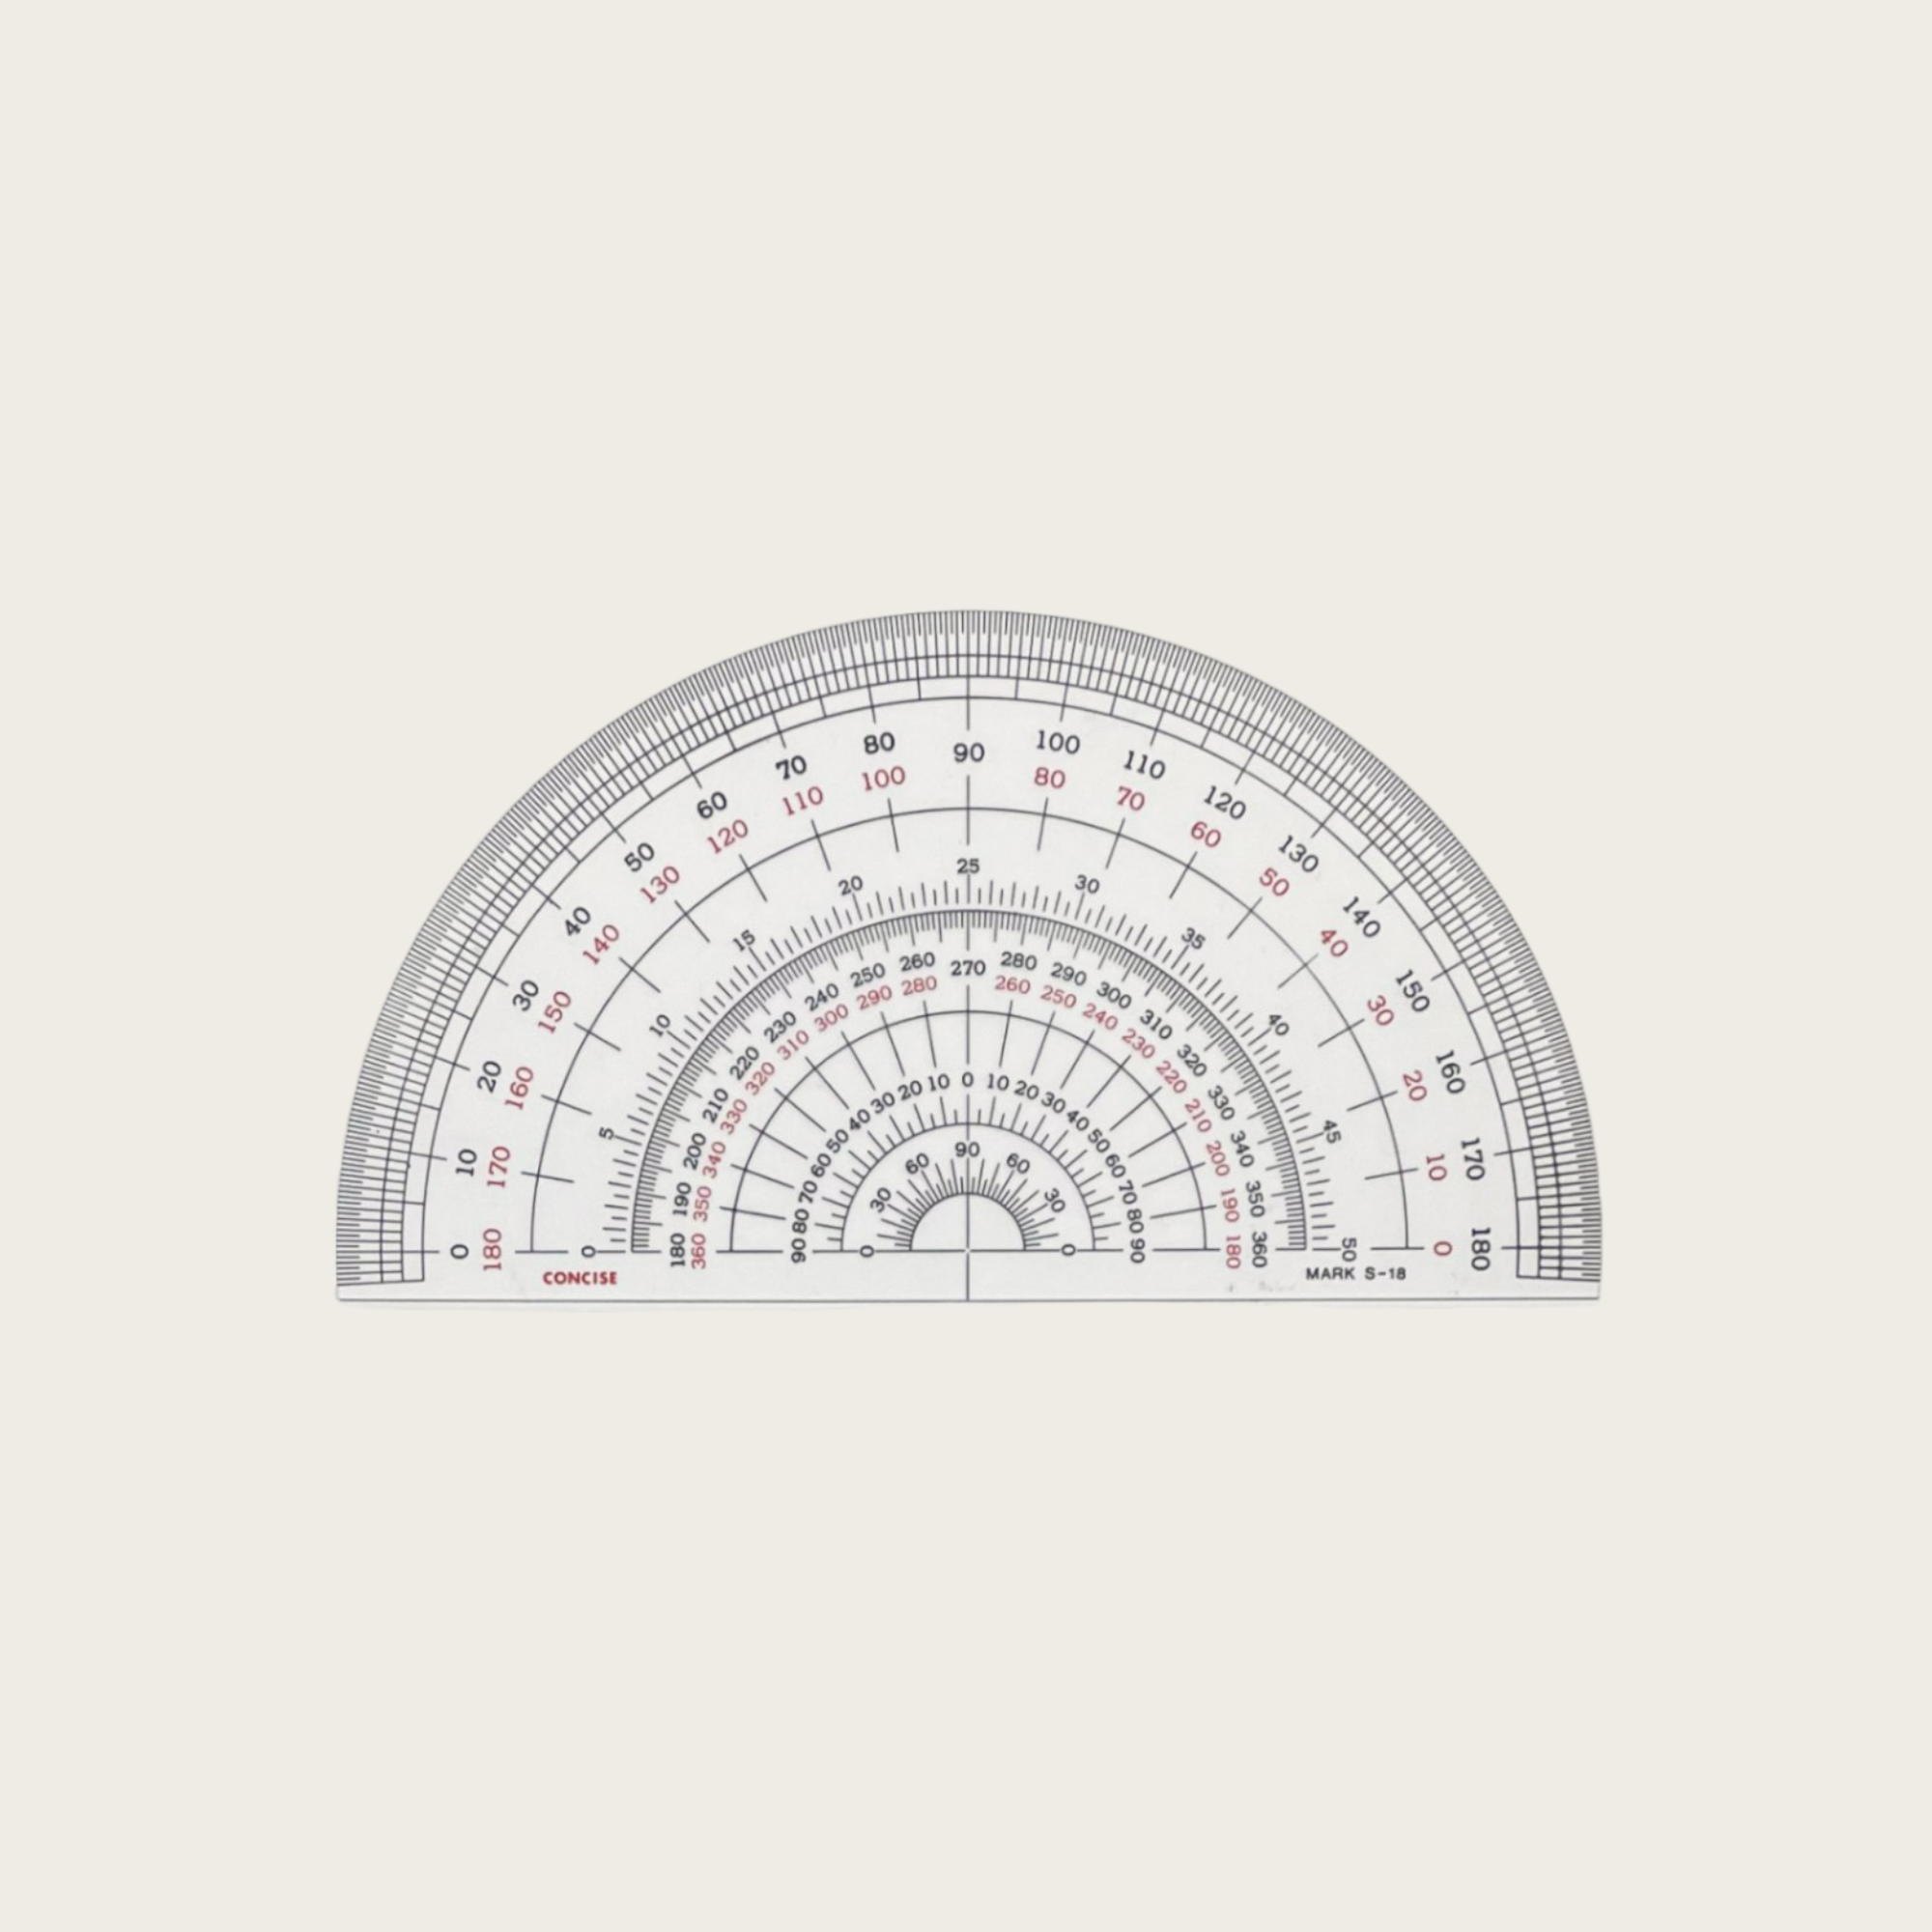
Compare tools for angles and lines
| Tool | Useful task | Check |
|---|---|---|
| Concise 15cm half-circle protractor | Reading or drawing a specified angle up to 180 degrees | Centre position and the scale that starts at your baseline |
| Bunka multi-purpose L ruler | Combining straight, right-angle and angle-reference work | Which part of the tool provides the intended reference |
| Short straight pattern ruler | Joining an angle mark to its starting point | It draws the ray; an ordinary length scale does not measure degrees |
The Concise model is 1mm thick with a slightly matt surface and 0.5-degree divisions on the outer scale. Fine divisions help you read small differences, but they do not guarantee that your pencil mark or alignment is accurate to half a degree.
Place the centre accurately
Set the centre mark at the point where the two lines meet. Align the baseline with the first line, then read where the second line crosses the scale. Keep the paper flat so the tool does not shift while you mark.
Use the printed centre and baseline, which may sit inside the plastic edge. If a pattern line is too short to reach the arc, extend it lightly with a ruler without changing its direction. Do not move the protractor centre away from the intersection just to make the line reach.
Choose the correct scale
Many protractors have numbers running in both directions. Start from the zero that lies on your aligned baseline. Before accepting the result, consider whether the angle should be smaller or larger than a right angle; this catches a common reversed-scale reading.
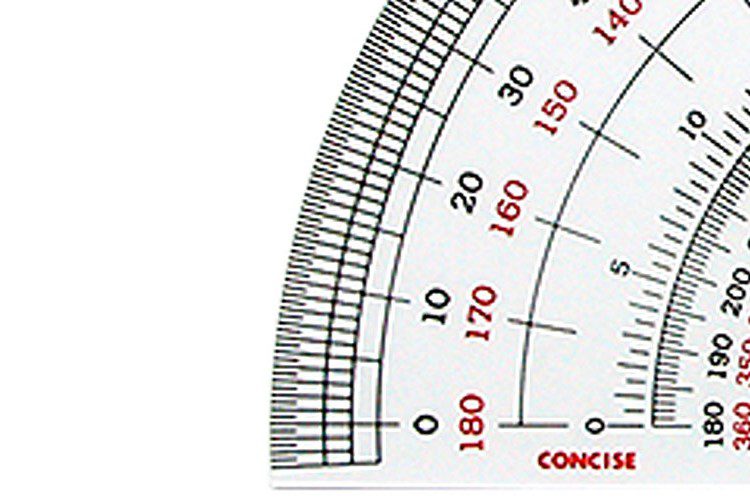
A quick visual check helps: 30 degrees is narrower than a right angle, while 150 degrees is wider. If your reading contradicts the opening you can see, recheck which zero you followed. The length of either ray does not change the angle between them.
Transfer a deliberate angle
For a new line, mark the required angle lightly, remove the protractor and connect the point with a straight ruler. Label the angle in your working notes. Check it again before cutting the paper, when changes are still easy to make.
Keep the drafting instruction in charge
Some patterns specify a rise and run or a measured offset instead of an angle. Follow those dimensions; converting every sloping line to a rounded degree value can change the draft. Likewise, a half-scale exercise reduces lengths but leaves the angles unchanged.
Mark with a fine pencil and check the result before darkening the line. Keep the tool flat and look directly down at the centre and scale to reduce an apparent shift caused by viewing from the side.
A practical example
A drafting exercise asks for a 30-degree line from a baseline. Put the protractor centre on the starting point and use the scale whose zero follows the baseline. Mark 30 degrees, then draw the line with a ruler. Reading the opposite scale would create a very different angle.
Check before choosing
- Is the centre on the intersection?
- Am I reading from the correct zero?
- Does the result fit the drafting instruction?
Related tools to compare
Compare the size, material and included parts on each product page against the task above.
 Concise 15cm Half Circle Protractor
 Bunka – Multi-purpose L Shaped Ruler
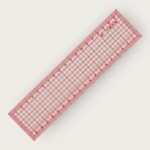 Bunka 20cm Pattern Ruler