

Sewing Tips & Tool Advice
A Sliding Gauge for Repeated Sewing Measurements
Eight Needles Journal · Measuring
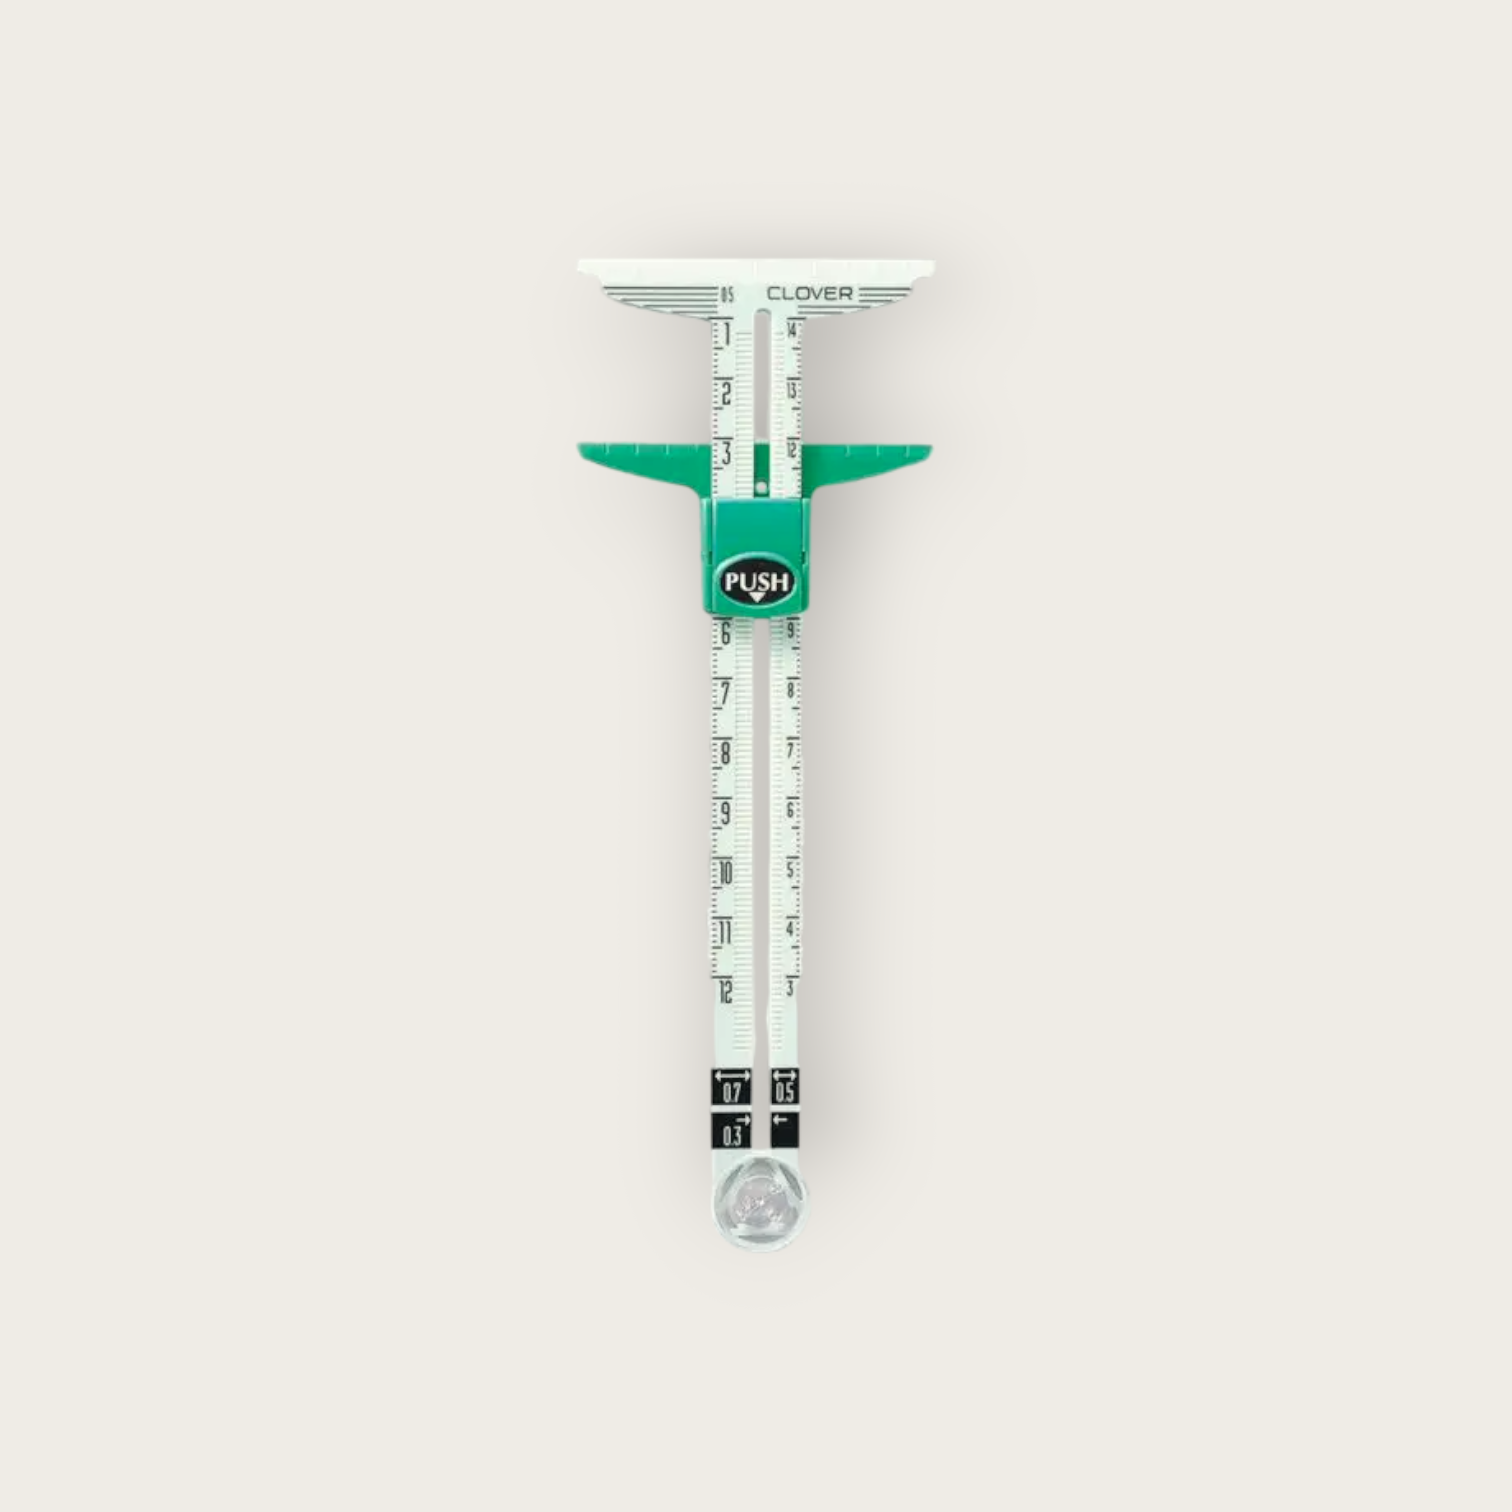
A sewing gauge is most useful when you need the same short measurement again and again. Clover’s Slide Gauge T holds a selected setting, helping you return to the same distance for seam allowances, folds and repeated marks. Its advantage becomes clearer on a real project than in a list of features.
Compare a gauge, ruler and hot hemmer
| Tool | Use it when | Main limitation |
|---|---|---|
| Clover Slide Gauge T, 25-322 | You repeatedly need the same short offset | Its adjustable range is 5–120mm in 1mm steps |
| Bunka 20cm pattern ruler | You need to draw or check a short straight line | You must read and position the chosen interval each time |
| Clover Hot Hemmer | You want a dedicated tool for folding and pressing | Use the heat and handling instructions for that specific model |
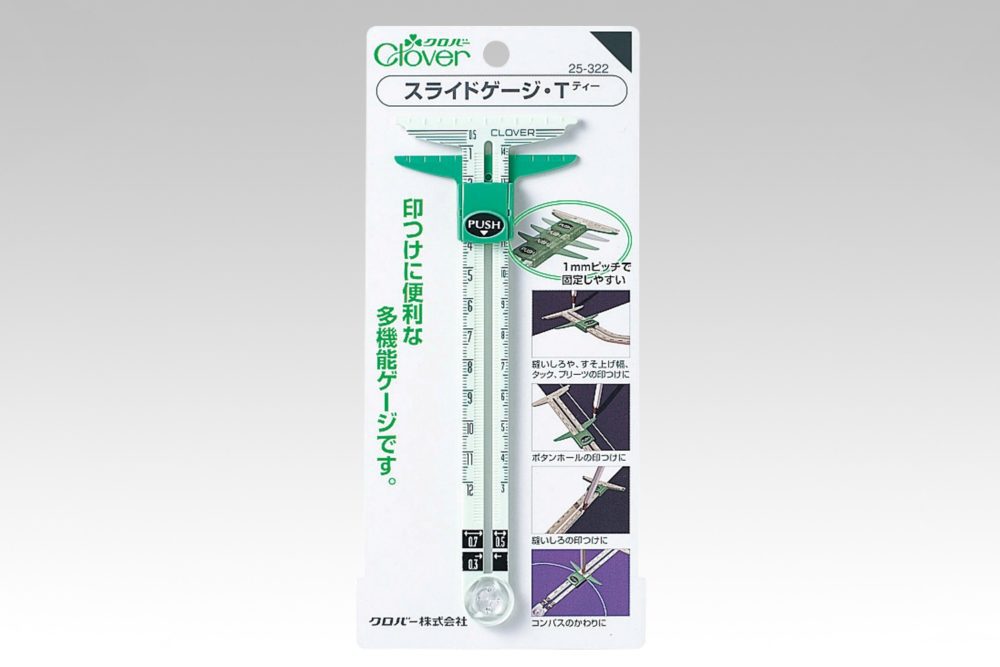
The Slide Gauge T is a metric measuring tool with a movable cursor. Its functions include checking seam and hem widths, marking tucks, pleats and buttonhole spacing, and drawing circles with the compass arrangement. The body is 60 × 166mm; that overall size is not its adjustable measuring range.
Set the distance once
For a repeated 5mm or 15mm mark, a sliding gauge keeps the chosen distance available. Set the cursor, check the distance and carry that setting along the work.
The attraction is the repeated reference: it frees you to concentrate on placing the next mark. Keep checking that the setting has not moved as you work.
Small projects, repeated measurements
A pouch, facing or narrow hem may need the same short offset again and again. Use the gauge for that repetition and a longer ruler for extended straight lines.
The gauge earns its place when the same distance appears throughout a task. It does not need to replace the rest of the measuring kit.
Try a repeated measurement on scrap fabric
Use the allowance stated in your pattern. For example, if it asks for a 15mm seam allowance, set the gauge to 15mm and check the scale before marking. Keep the reference edge consistent, and make several short marks without stretching the fabric. Recheck the setting after moving the tool.
Distinguish the cut edge, fold line and stitching line before you start. A pattern’s finished hem depth is not automatically the total fabric allowance for a double fold. Write down which distance you are checking rather than relying on the gauge to interpret the instructions.
Measuring and pressing are separate steps
Remove this gauge before pressing. This plastic measuring gauge is not a hot hemmer. If you want to fold fabric around a tool while ironing, select a purpose-made heat-resistant hemmer and follow that product’s temperature and handling instructions.
Measure and mark first, then press with a tool intended for heat. If you prefer folding around an ironing ruler, compare that workflow on a scrap and choose the one that gives you a clear, even result.
Check the first and last mark
Repeated spacing can accumulate small positioning errors. For example, six buttonhole centres create five gaps. If the first and last centres are 30cm apart and the pattern calls for equal spacing, each gap is 6cm. Check all the positions against a longer ruler before marking or cutting buttonholes.
Buttonhole length is a separate measurement from the gap between centres. Keep the starting edge, orientation and centre line clear, especially when the placket folds over. Practise the layout on paper or scrap cloth before working on the garment.
Choose for the job at your table
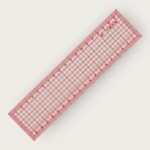
The sliding gauge, straight pattern ruler and hot hemmer below address different stages of the work. Compare the gauge for repeated offsets, the ruler for straight measurements and the hemmer for folding and pressing. Check the product page for current stock.
 Clover Sliding Gauge
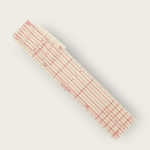
 Bunka 20cm Pattern Ruler
 Clover Hot Hemmer – 25cm long