

Sewing Tips & Tool Advice
Bodkin or Safety Pin for Threading Elastic?
Eight Needles Journal · Small sewing tools
A safety pin can be enough for an occasional elastic replacement. A bodkin becomes useful when you want a different grip, a longer reach or a flexible shaft. Choose by the narrowest part of the casing and the way the tool holds your particular elastic.
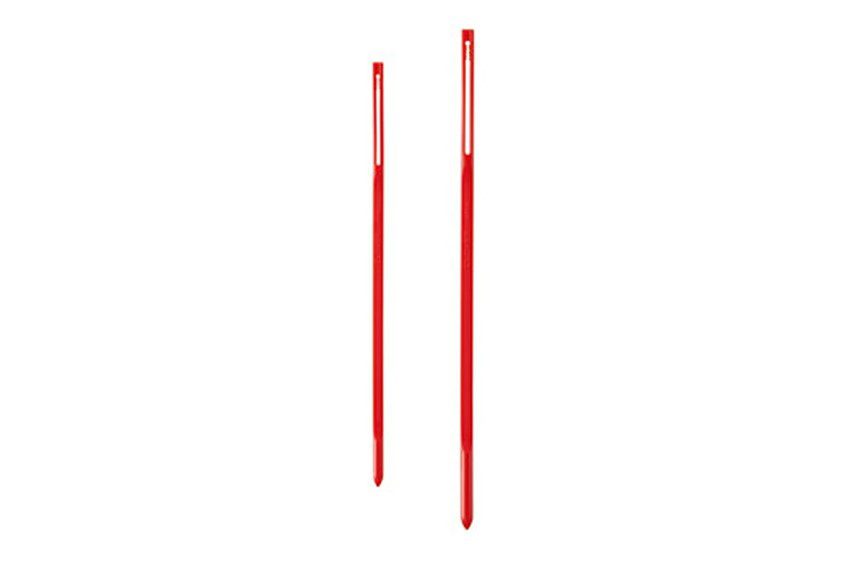
Compare the attachment as well as the length
| Tool | Useful when | Check before threading |
|---|---|---|
| Safety pin | You already have one that fits a short or straightforward casing | The clasp closes securely and the pin plus attached elastic can pass through. |
| Eye-style bodkin | Cord or elastic can be secured through its eye | The attachment holds without creating an oversized lump. |
| Clamp-style metal bodkin | You prefer to grip the end between jaws | The locking ring holds and the complete clamp fits the casing. |
| Flexible bodkin | The route curves and a rigid tool is awkward to manoeuvre | Both the shaft and attached material can negotiate the tightest section. |
| Wide-elastic clip or plate tool | You regularly insert broader flat elastic | The specified elastic width and thickness match your project. |
Clover’s Flexible and Glide Bodkins set contains a long and a short flexible tool. Do not confuse this eye-style set with a clip-style elastic threader. Product names can sound similar while the attachment works quite differently.
Measure the whole assembly
A bare bodkin that fits the entrance may become too bulky once elastic is attached. Check the eye, jaws or clasp together with the folded elastic. The casing also needs clearance at seams, where allowances can narrow the passage.
A longer tool gives more reach, but may be harder to steer around a tight bend. A flexible shaft can help follow a curved route; it cannot pass through a section accidentally stitched closed. If replacing old elastic, check first whether it is stitched down anywhere inside the garment.
Thread in short stages
- Attach the new elastic using the tool’s intended method and gently test the hold.
- Secure the free end outside the casing so it cannot disappear inside.
- Feed the tool in, gather a little casing onto it, then slide that fabric behind it.
- Keep moving the gathered fabric along instead of packing it tightly around the attachment.
- Stop at resistance and check for caught seam allowances, a loose attachment or a twist.
With a safety pin, keep the point fully enclosed. If it opens inside the casing, stop and recover it carefully. With a clamp-style bodkin, follow the direction shown in its instructions so gathered cloth does not release the locking ring.
If the elastic slips off
Recover the tool and elastic before starting again. Recheck the attachment and whether the tool is appropriate for that elastic’s surface and thickness. Avoid repeatedly pulling harder: a bulky gathering of fabric can overwhelm an otherwise adequate grip.
If the entrance is the problem, review the opening rather than using a sharper object to force the way through. Protect the stitching that forms the channel.
Check for twists before joining
Spread the casing and follow the elastic all the way around. Bring the ends together without turning one over. Check the required overlap and garment fit before permanently joining them and closing the opening. The threading tool helps with access; the elastic type, length and construction determine the fit.
Bodkins to compare
 Clover Flexible and Glide Bodkins. Set of 2
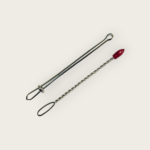 Clover Bodkins Set of 2