

Sewing Tips & Tool Advice
Air-Erasable or Water-Erasable Fabric Markers?
Eight Needles Journal · At the sewing table
A good marking pen leaves you enough time to sew—and a clear way to remove the line afterwards.
Will you stitch the marks this afternoon, or come back to them next weekend? That question is more useful than choosing a pen by colour alone. Air-erasable and water-erasable markers solve different problems, and neither is suitable for every fabric.
What is the difference?
An air-erasable mark fades naturally. A water-erasable mark needs water for removal; it should not be treated as a line that will simply disappear while the project sits in a bag. Some inks offer both kinds of removal.
For the Adger markers in our collection, the distinction is:
| Ink | Natural fading | Water removal |
|---|---|---|
| Purple | Yes; slower than pink | Yes |
| Pink | Yes; faster than purple | Yes |
| Pale blue | No | Yes |
These colour meanings apply to Adger, not to every brand. There is no dependable countdown for natural fading: fabric, ink quantity, pressure, temperature and humidity all affect it. “Slower” does not promise that a mark will still be visible tomorrow.
Choose for the way you work
A short sewing session
An air-erasable pen can suit a few placement marks when a fabric test shows that they remain visible long enough. Mark manageable sections as you reach them. One button position asks less of a temporary line than a complete set of darts and buttonholes.
A project spread over several days
Consider a water-erasable pen when you need to return to the marks. Plan the removal step first: the outer fabric, lining, interfacing and any trim must all tolerate the treatment. A flat cotton panel is a different proposition from a structured garment that is awkward to wet.
Fabric that cannot safely be wetted
Do not rely on the word “disappearing”. If a test cannot demonstrate clean removal without changing the fabric, choose another method. Tailor’s tacks may be worth trying, with a suitable needle and thread, after checking that they leave no damage.
Try the whole process on a scrap
- Use the actual project fabric. Keep each ink on a separate, labelled scrap.
- Make a representative mark. Test a fine dot and the sort of line you will really need; a tiny spot does not tell you how a long dart line behaves.
- Wait until your likely sewing time. Check that the line is still easy to find under your usual working light.
- Remove it as directed and let the fabric dry. Look for residue, colour change or a remaining outline before marking the project.
Keep the scrap with your work and note which pen you used. If you return after a break, you will know how that particular line is meant to come out.
Before the iron comes out
Remove Adger purple, pink and blue marks before pressing. Do not start removing blue ink with soapy water. If using an eraser pen for purple or pink, use the compatible Adger eraser. Avoid layering different marking inks, including inks of the same colour from different brands.
Why does a blue mark come back after drying?
With Adger blue ink, a mark that looks gone while wet may still need more water. If the fabric tolerates immersion, put the marked area in water. Otherwise, tap the ink with a water-soaked towel to disperse it. A mist spray, steam iron or cotton bud is not the recommended removal method for this ink. Check the cloth again after it has dried, and use soap or detergent only once the mark is fully removed.
Keep each pen’s instructions with that pen. Chacopar Extra Fine is another water-erasable option, but it is a separate product. A successful removal technique for one brand is not a reason to use it for every other marking ink. The full fabric-marking comparison brings together the different pens, pencils and chalks in our range.
Keep the choice simple
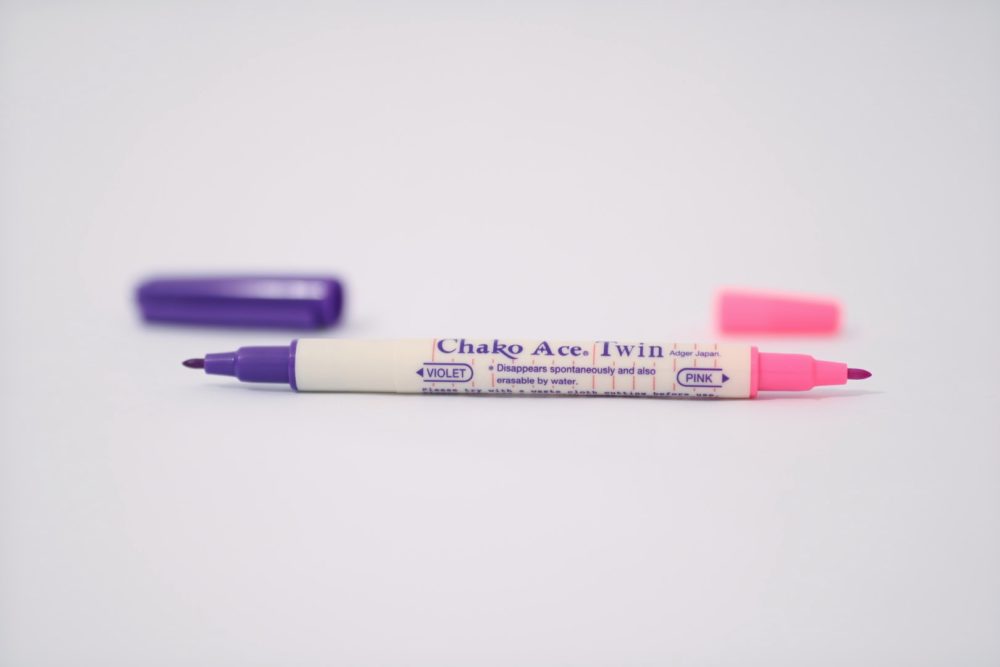
Choose the slower purple or faster pink air-erasable ink for work your fabric test shows you can finish in time. Choose pale blue when you need a mark that stays until water removal—and the project can tolerate that removal. The Adger Twin puts the two air-erasable colours together.
 Adger Vanishing Fabric Marker Pen (Purple – Slower Vanishing )
 Adger Vanishing Fabric Marker Pen (Pink – Quicker Vanishing)
 Adger Water Erasable Marker Pen (Pale Blue)