

Sewing Tips & Tool Advice
A Hera Marker: Making a Crease Instead of an Ink Line
Eight Needles Journal · Marking
A hera marker makes a crease in the cloth instead of adding ink or chalk. It is worth trying for a folding or stitching guide when you want to avoid coloured marks. The deciding questions are whether you can see the crease, whether it lasts long enough, and how the fabric looks afterwards.
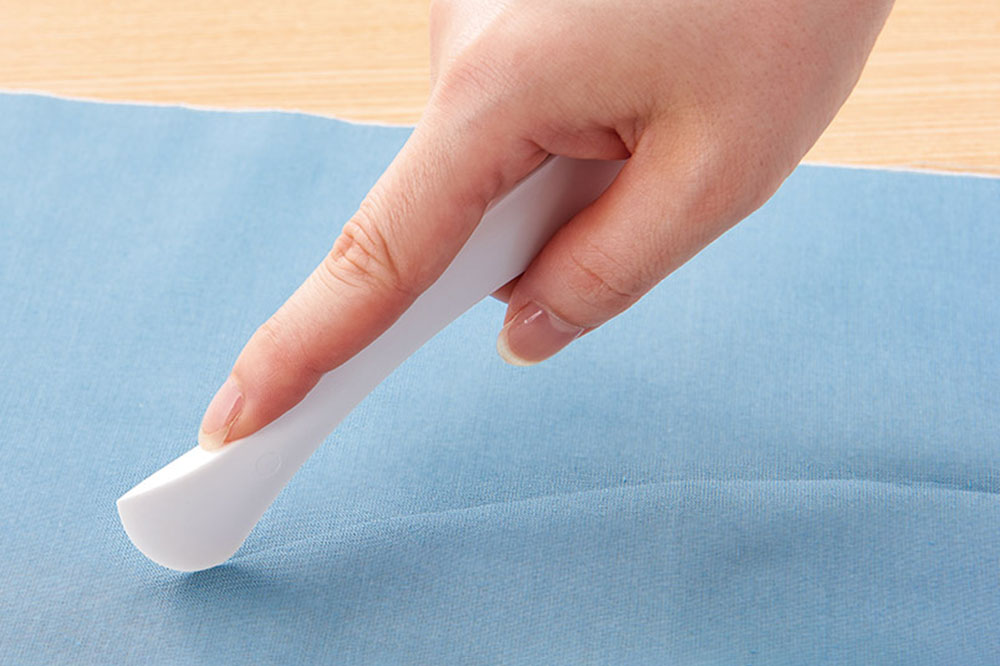
How a crease differs from a drawn line
An ink marker creates colour contrast. A hera changes the surface just enough for a line to catch the light. That makes the result more dependent on the fabric, lighting and viewing angle. Turn the sample under your sewing light before deciding that the mark is too faint.
There is no ink to dry out and no lead to replace. But a colour-free mark still needs testing: pressure can leave an unwanted impression on some fabrics, and a subtle crease may be hard to follow on a busy print or textured surface.
Start with a short, useful test
- Support the cloth. For the Clover corner-and-curve hera, use a hard, stable surface such as a cutting mat. Follow the instructions for the particular tool you have.
- Keep the fabric relaxed. Lay it flat and hold it in place without pulling it taut. Add a ruler if you need a straight guide.
- Make a light pass. Keep the smooth working edge against the cloth. The aim is a controlled crease, not a scored groove.
- Check it where you will sew. Move the sample to the machine or hand-sewing position. A line visible at the cutting table may look different there.
- Handle the sample. Fold and move it as the project requires, then see whether the guide is still readable and whether any unwanted surface change remains.
When a hera is worth considering
| Job | What to look for in your test |
|---|---|
| A fold or turn-under line | A crease you can fold along accurately without stretching the edge |
| A short stitching guide | Enough visibility for the section you can sew before handling softens the mark |
| A patterned or textured fabric | A line you can distinguish from the print or surface texture under working light |
| A fitting mark needed much later | Whether the crease survives the actual delay and handling; consider tested thread marking if it does not |
Mark a manageable section and sew while the reference is clear. There is no useful universal promise that a crease will last a certain number of hours: cloth and handling matter more than a timetable.
Compare the shape as well as the name
The Bunka Hera Marker is a compact, 12 cm tool for creasing and related fabric work. The Clover Hera Marker shown here is the corner-and-curve form, model 31-401. Its shaped ends support several jobs, including marking, folding and easing out sewn corners and curves.
Choose an edge that is easy to guide for your task. A broader curved end and a narrower end do not feel the same when following a ruler, folding a small allowance or shaping a turned piece. Check that the working surface is smooth and free of damage before putting it against delicate cloth.
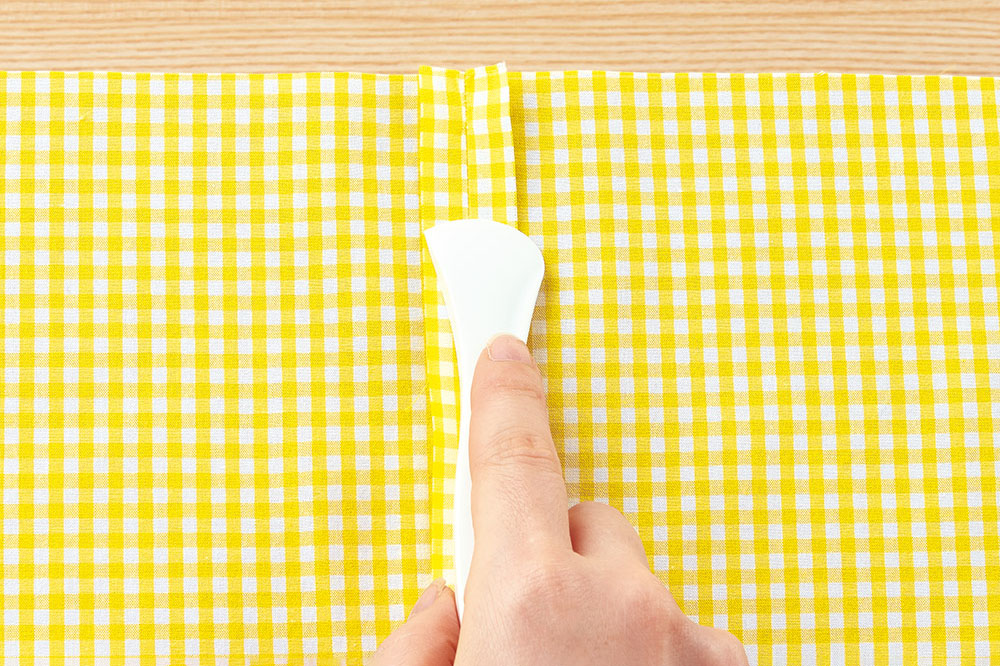
Use the shaped end for turned edges
The corner-and-curve hera can also work inside a sewn piece to ease out a turned edge. Choose the part of the tool that matches the shape: the curved edge for a rounded seam, or the narrower end for a corner. Work gently against the seam from inside and check the outside as you go. Avoid forcing the tip into the stitching.
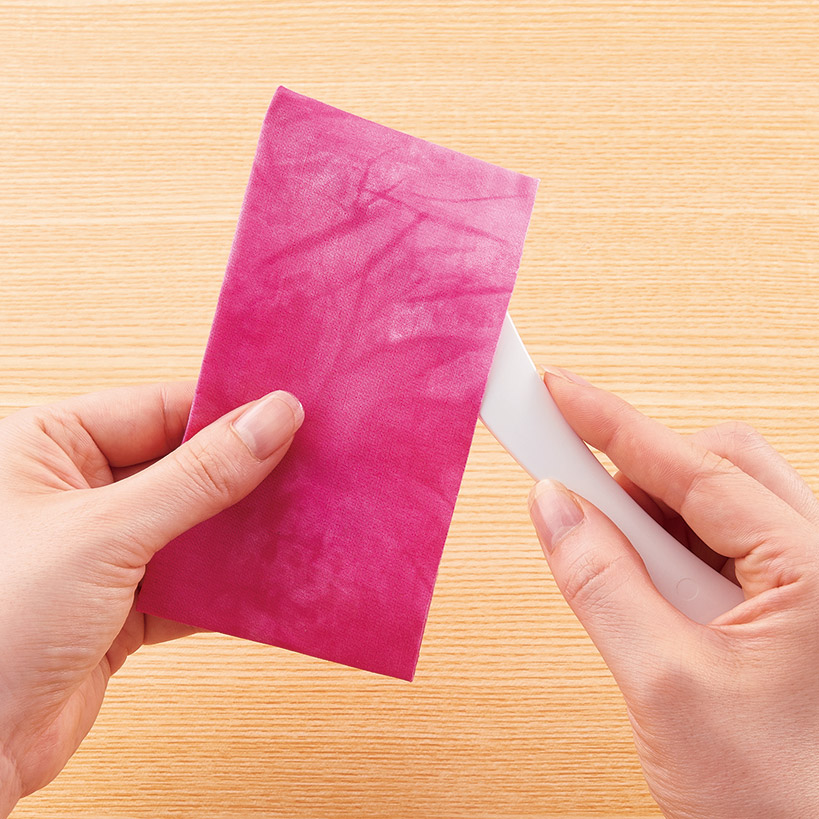
Know when to change methods
If the line is difficult to see, try adjusting the lighting and checking the support first. Avoid repeatedly increasing pressure to force a mark into an unsuitable surface. A tested fabric pencil, removable ink marker or thread reference may suit the job better.
Likewise, do not assume every crease will disappear with an iron or washing. Use only the finishing method the fabric allows, and examine the sample after that treatment. For a project where an unintended pressure mark would remain visible, choose the marking method before cutting into the main cloth.
For the wider choice, read Tailor’s Chalk, Fabric Pencil or Marker Pen?
