No products in the basket.
Guides
Preparing a Surface for Screw-Punch Work
Eight Needles Journal · Punching & finishing
A screw punch needs a suitable backing surface under the material. The backing protects the table and allows the cutting action to be used as intended. A hard tabletop alone is not an appropriate substitute for the tool's recommended setup.
Read the tool guidance
Use the surface and technique specified for the punch. Keep the work flat and clear away objects beneath it. The complete area around the hole should be stable before pressure is applied.
Test the whole arrangement
Try the same material and backing on scrap. Inspect the opening and the surface underneath. If the result is incomplete, check the blade, material suitability and setup instead of striking or forcing the mechanism.
Keep the route deliberate
Mark the required position using a method suitable for the material, then recheck it before punching. Hold the tool as instructed with hands clear of the cutting area. Each hole is an irreversible change, so make the alignment check before starting the cut.
A practical example
You plan a row of holes in a small piece. Set up the correct backing and practise one hole on matching scrap first. Once the setup works, check the marked positions on the actual piece before making an irreversible series of cuts.
Check before choosing
- Is the backing suitable?
- Is the material stable?
- Have I checked the hole position twice?
Related tools to compare
Compare the size, material and included parts on each product page against the task above.
 Nonaka Seisakujo Screw Punch with 3mm blade
 Nonaka Screwpunch Replacement blade – 1.0mm-5.0mm
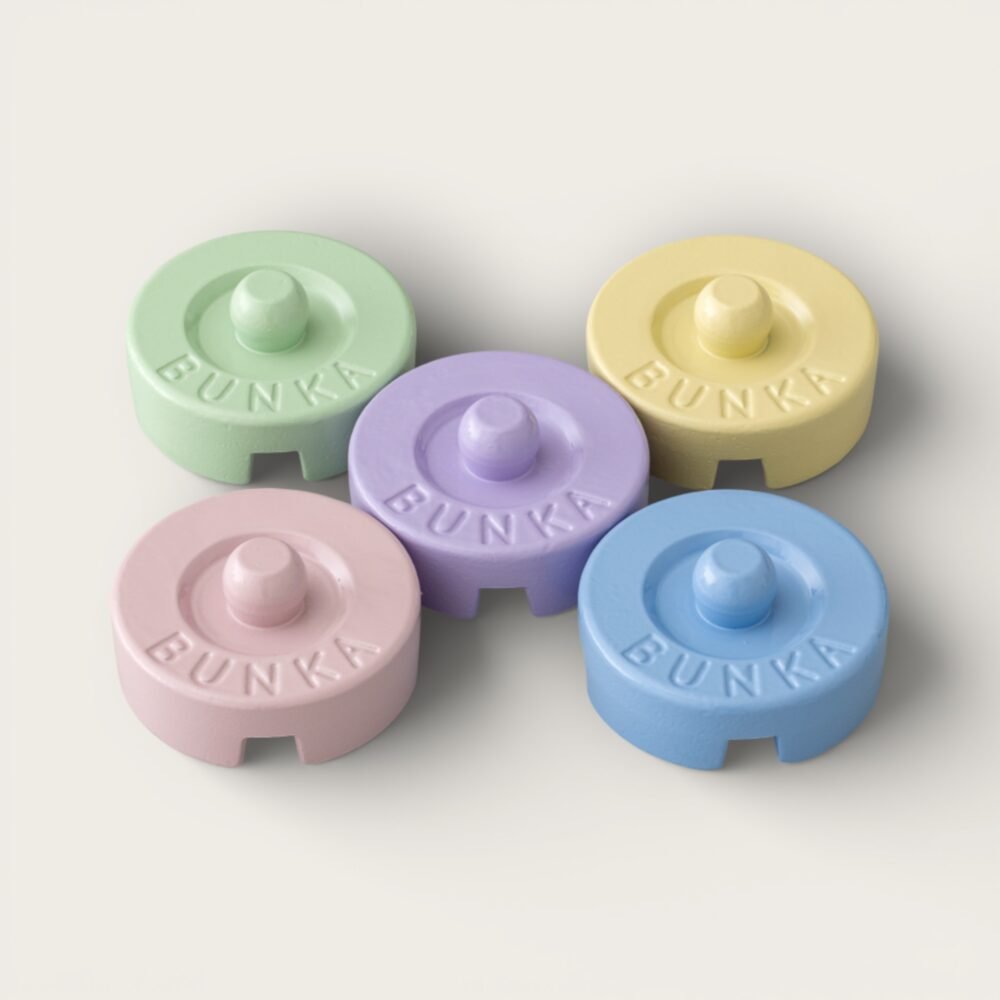
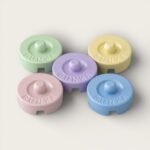 Bunka Pattern/Fabric Weight – Gelato Pastels in 5 options
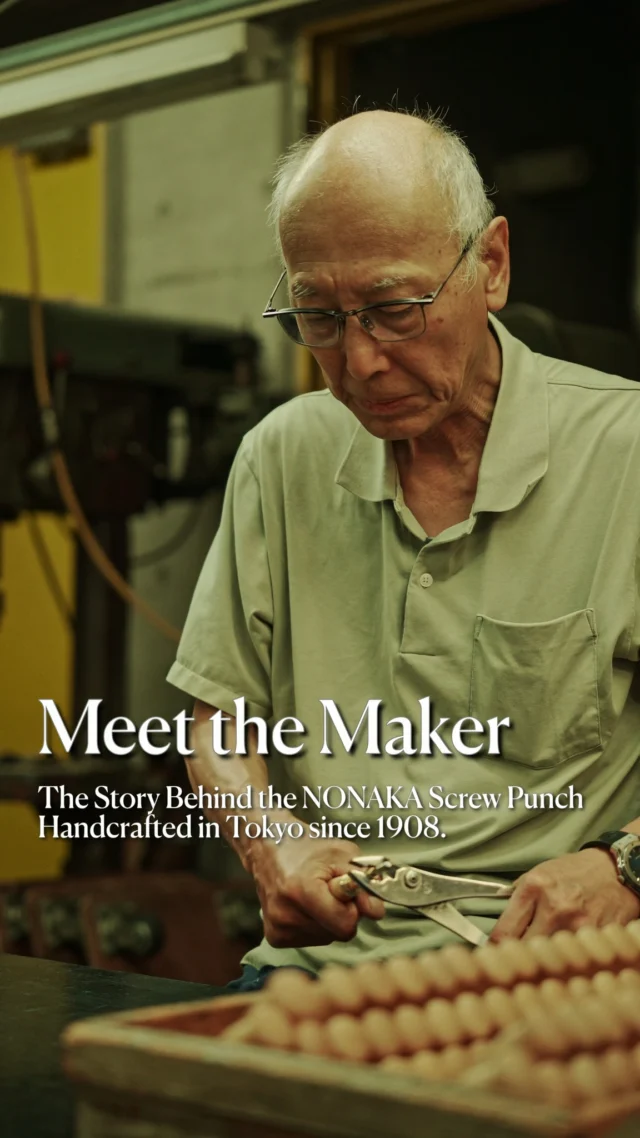
Meet the maker
For the company background, workshop photographs and more of the range, read Nonaka: The Japanese Screw Punch.