
No products in the basket.
Guides
Marking Dark Fabric: Contrast and Removal
Eight Needles Journal · Marking
Dark fabric can hide a perfectly good construction line. A white or pale marking tool may make the line clearer, but visibility is only half the decision. The removal process must also suit the fabric and the way the garment will be finished.
Look under your work light
Test the mark where you will sew, not only near a bright window. Check whether the line remains visible as the fabric bends. Some marking products behave differently immediately after application, so follow their instructions before deciding that the pen is not working.
Keep the line controlled
Use the least pressure that produces a useful mark. Heavy application can make removal harder and obscure the exact stitching reference. Sharpen chalk or use an appropriate fine-point tool when the position matters more than the breadth of the line.
Check the finish
Try the prescribed removal method on the sample and inspect it when dry. Do not infer that every white marker is removed in the same way. Choose by the instructions for the named model, particularly when heat or water is involved.
A practical example
A pale line is easy to see on dark cloth under daylight but disappears under the lamp at the machine. Move the sample to the actual sewing position before choosing. The practical requirement is readable contrast during work, not a good-looking photograph of the sample.
Check before choosing
- Can I see it while sewing?
- Is the line too broad?
- Have I checked this model's removal instructions?
Related tools to compare
Compare the size, material and included parts on each product page against the task above.
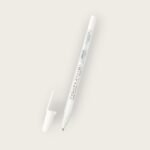 Clover Iron and Water Erasable White Marker
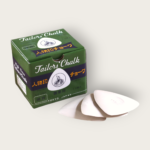 Triangular Shaped Tailor Chalk White – 10 Chalks per Box
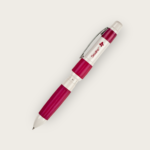 Sewline Trio Colour Fabric Pencil – White/Black/Tracer
Meet the maker
For the company background, workshop photographs and more of the range, read Clover: An Osaka Shop, a Factory and a Leaf Kept in a Book.
