

Sewing Tips & Tool Advice
When Sewing Scissors Stop Cutting Cleanly
Eight Needles Journal · Scissors
When sewing scissors begin folding fabric, missing a thread or catching at the tips, first work out what has changed. A poor cut does not tell you, by itself, whether the blades need cleaning, professional adjustment or sharpening.
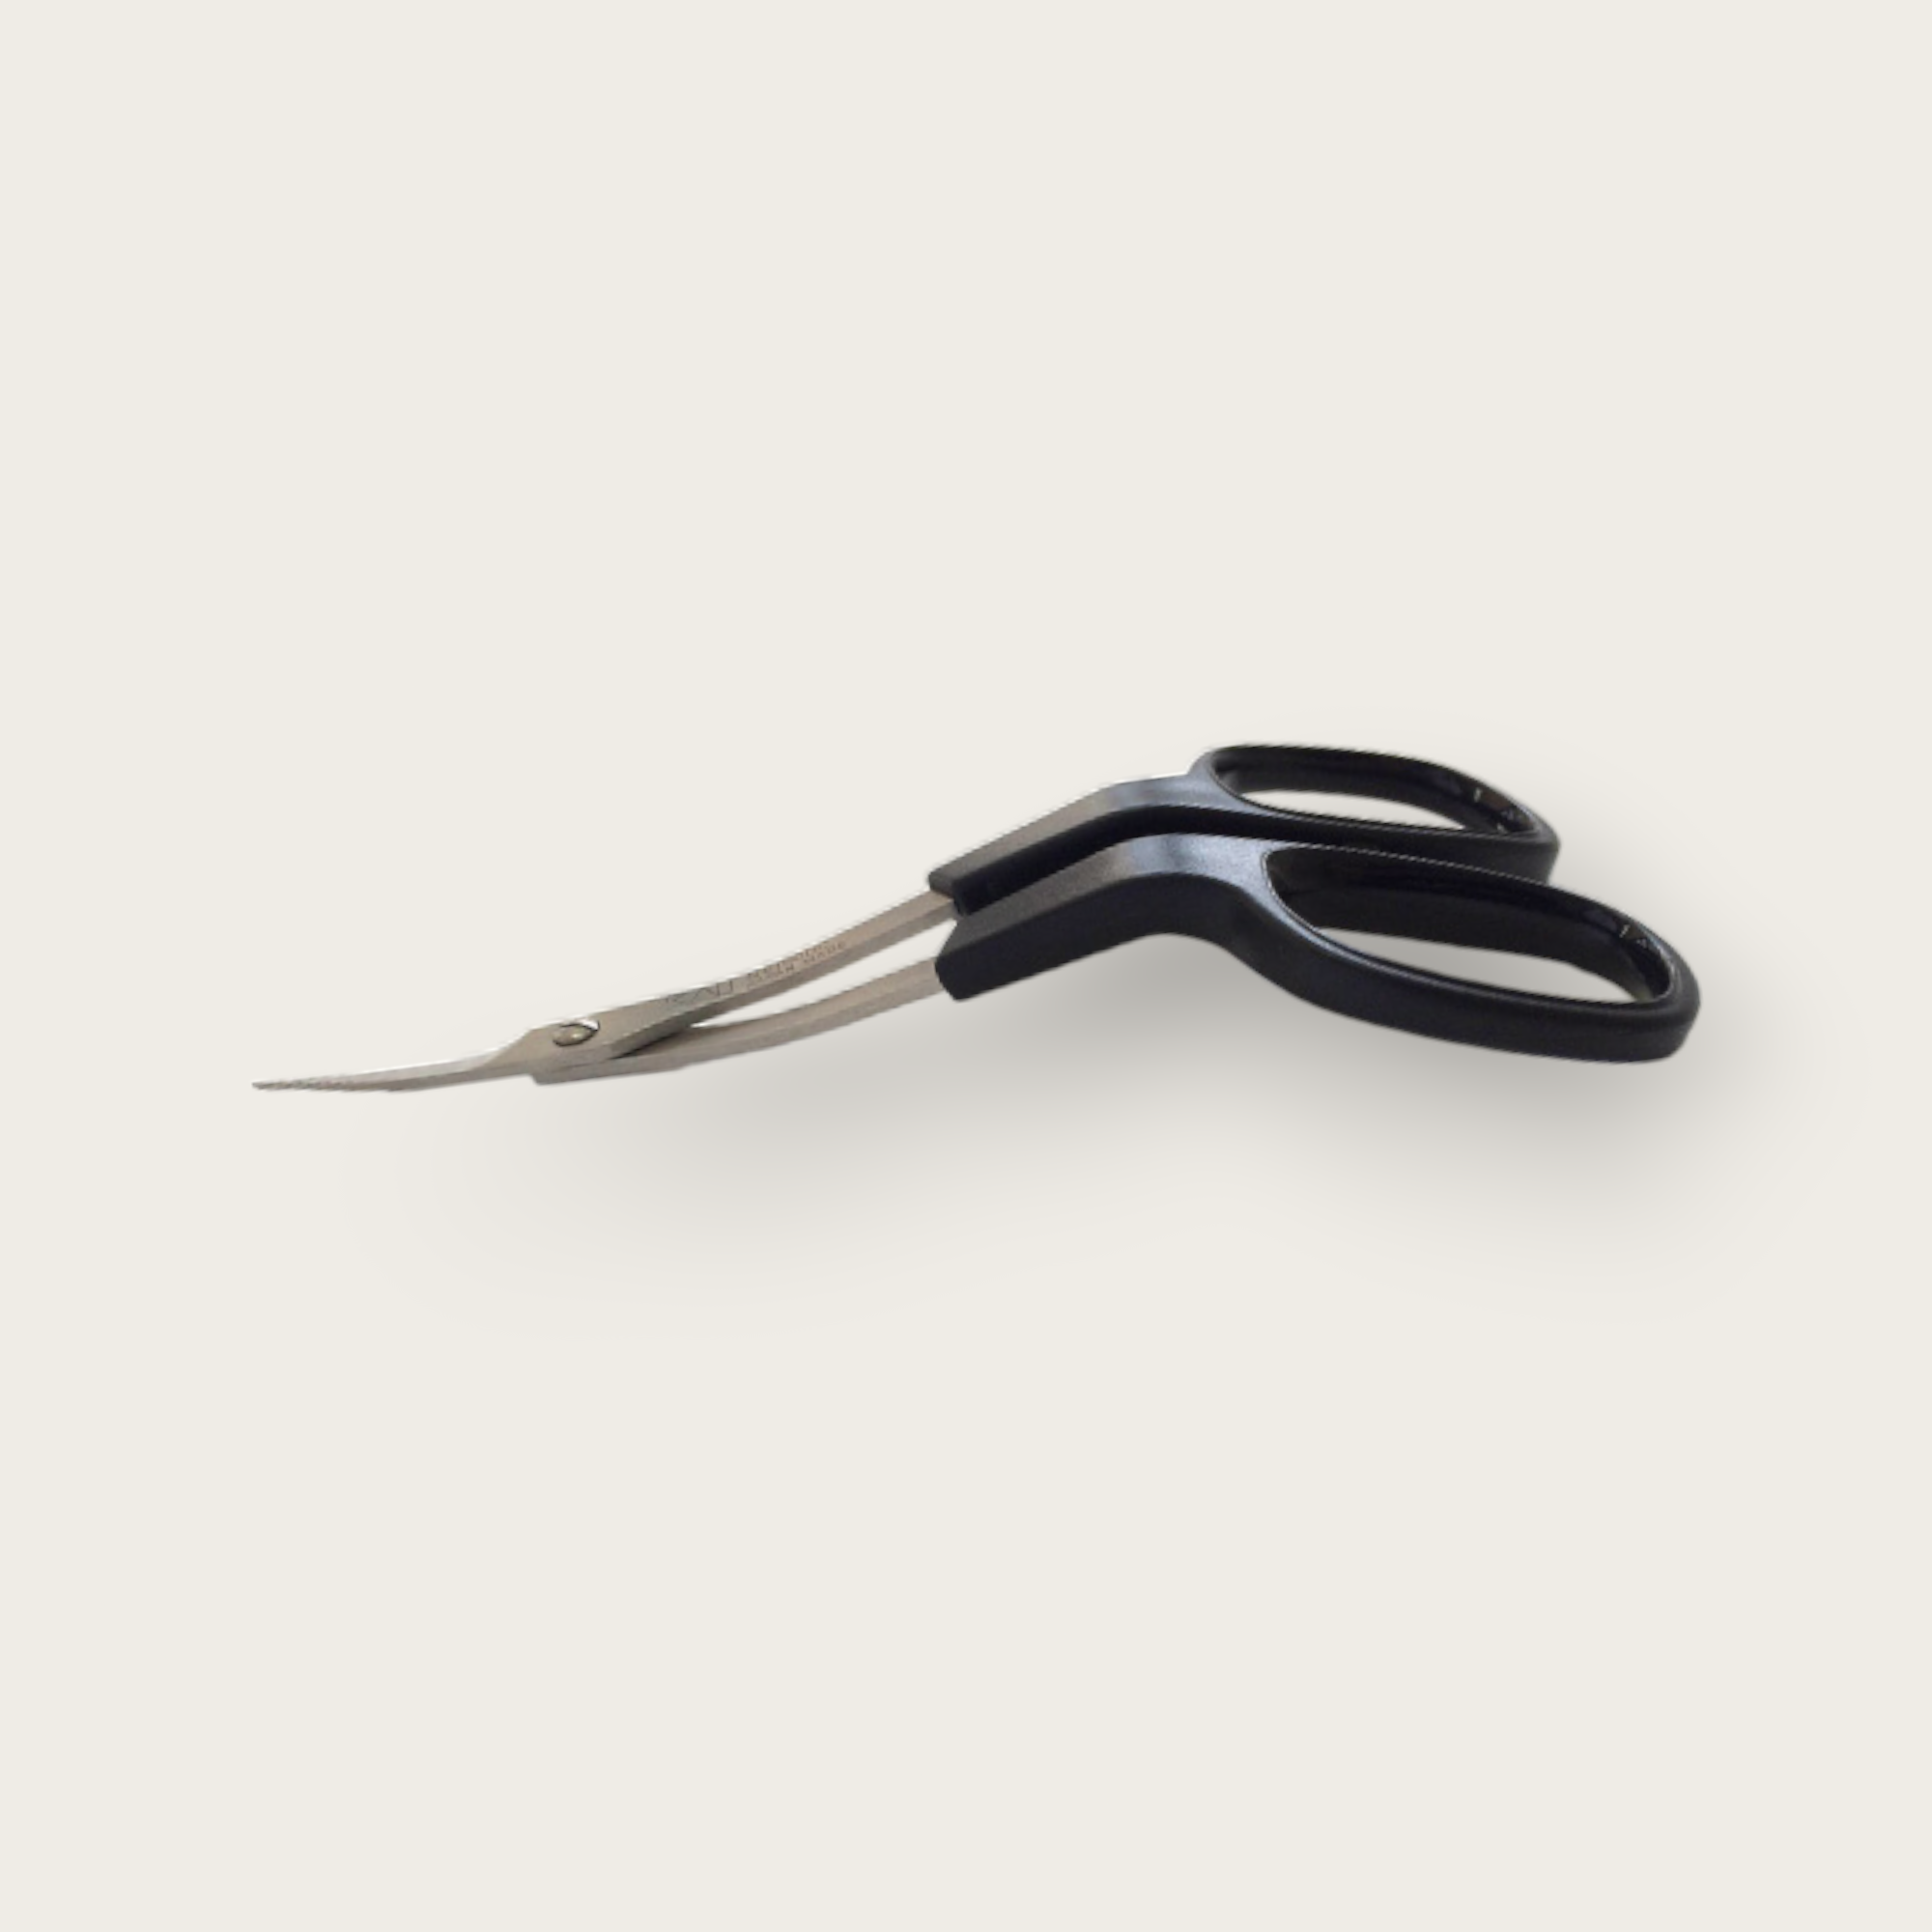
Describe the symptom before trying a remedy
| What you notice | What to check first | Useful information to keep |
|---|---|---|
| The tool struggles only with a thicker stack | Whether the material and layer count suit the tool. | The material, layers and whether a single suitable layer cuts normally. |
| Fabric catches at one part of the blade | Visible residue or damage; stop if the edge looks damaged. | Where the catch occurs: near the pivot, in the middle or at the tip. |
| Opening and closing feels stiff | Lint around the joint and the model’s maintenance instructions. | Whether it began after a particularly fluffy or adhesive project. |
| The problem started after a drop | Point damage or an obvious change in blade alignment. | How the tool landed and what changed immediately afterwards. |
These are observations, not a diagnosis. Several problems can feel similar in use, and turning the screw may make the cutting action worse rather than identify the cause.
Make one controlled comparison on a scrap
Use a scrap of material the scissors are intended to cut. Support it as you normally would, without stretching it between your hands. Compare the part of the blade that usually performs the task: testing the middle alone will not tell you whether fine tips are working properly.
If you have another suitable pair in good condition, try the same material with that pair. This can help distinguish an unusually difficult fabric from a change in one tool. It does not establish that one brand is better, particularly if the two pairs differ in age, blade type or previous use.
Cleaning and sharpening do different jobs
Loose lint or sticky residue calls for the cleaning method permitted for the model. Worn or damaged cutting edges need a different assessment. Do not assume that a stronger solvent, an abrasive pad or repeated cutting through foil will repair the blade.
Check the care instructions before applying oil or cleaner, especially on coated tools or scissors with decorative handles and cases. Where a light oil treatment is specified, remove excess and test on a spare pale scrap before returning to your project. Keep fingers away from the cutting edge.
Do not dismantle the pivot or adjust the screw as a general home remedy. Specialist scissors can require both edge work and alignment; a service intended for kitchen knives is not automatically suitable.
When to arrange a repair assessment
Seek advice if the tool was dropped, the point is damaged, the blades seem misaligned, or a suitable scrap still catches after the permitted cleaning. For curved embroidery scissors, fine thread snips and coated blades, confirm that the service handles that specific type.
Send the model name, clear photographs and a short description of the symptom. Ask about repair suitability, cost and packing before sending the tool. If requested, include a small sample of the material that causes trouble. Do not assume every tool can be sharpened indefinitely or that an old repair price still applies.
Keep the next cut predictable
Store the scissors dry with their points protected. Remove visible debris after use, avoid overloading the blades and keep the intended materials clear when several people share a worktable. A simple note of the last service and any change in cutting feel is more useful than waiting until an important piece of fabric is damaged.
Compare different scissor types
 Shozaburo tailor shears 24cm (Right-handed)
 Kai Double Curved scissors
 Cohana-Seki Mini Scissors in 5 colours