

Sewing Tips & Tool Advice
Tracing Paper for Fabric: Checking Both Sides
Eight Needles Journal · Marking
Before tracing a whole pattern, transfer one short line and check every layer. Fabric transfer paper works by pressure, so its coated side must face the surface you want to mark. The wrong arrangement can put a beautifully clear line in entirely the wrong place.
Two different things called tracing paper
Transparent pattern paper lets you see and copy a design. Coated fabric tracing paper transfers a coloured mark when you press or trace over it. For this guide, we mean the second type: the sheet placed against fabric to transfer a line.
Choose a product intended for fabric and check its removal method. Ordinary office carbon paper is not an interchangeable substitute for a removable sewing transfer sheet.
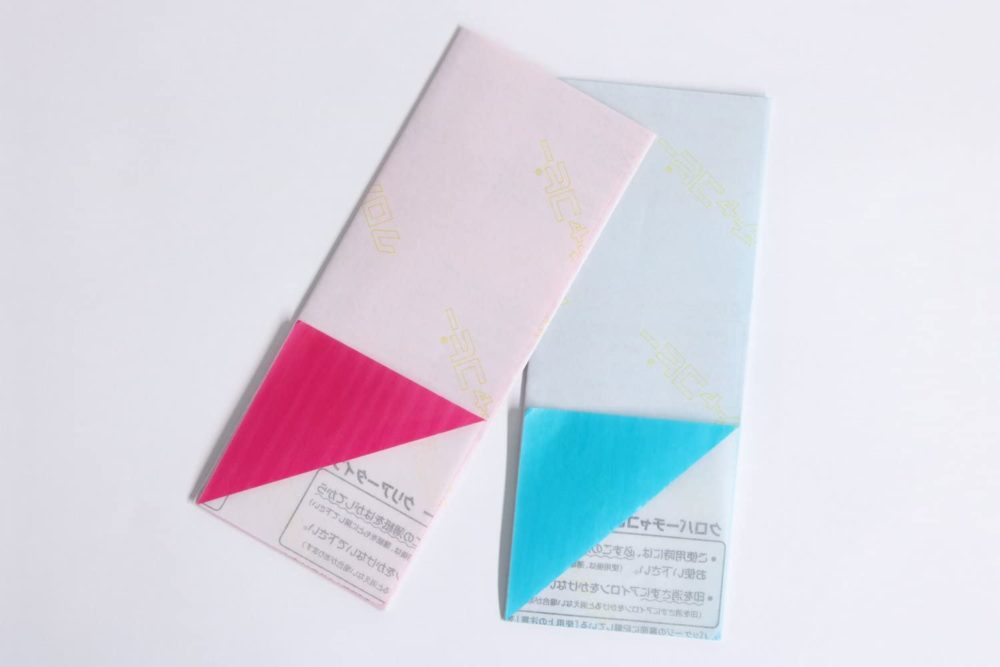
Single-sided and double-sided sheets
| Format | Where it transfers | What to check |
|---|---|---|
| Single-sided | Onto the surface touching its coated face | The coating faces the intended side of the fabric |
| Double-sided | Onto surfaces touching either coated face | Both receiving surfaces should be marked; protect the work surface as directed |
| Transparent pattern paper | Does not transfer colour by itself | Use it to copy the pattern, with a separate method for marking fabric |
The Clover Chaco Water-Erasable Tracing Paper shown here is single-sided. Do not assume that another product with a similar name has the same coating, colours or removal instructions.
Arrange a simple one-layer transfer
For a design traced from above onto one fabric surface, lay the fabric on a suitable support with the receiving side uppermost. Place the single-sided transfer sheet over it, coated face down against the cloth, then position the design above the sheet. Secure the arrangement so that it cannot slide while you work.
For dressmaking patterns, the intended receiving surface is often the wrong side of the fabric. For an embroidery design, it may be the right side. Decide deliberately rather than following one arrangement for every project.
When working with two garment pieces or a double-sided sheet, reproduce the exact layer arrangement on scraps first. Check each fabric face separately. A test on one loose layer cannot confirm what will happen in a multi-layer stack.
For mirrored pieces, place the coated faces deliberately
With two garment pieces lying right sides together, a double-sided sheet placed between them would mark their right sides. To put matching marks on the wrong sides, arrange the test pieces with their wrong sides facing each other and place the double-sided sheet between those surfaces. Keep the pattern on top and check both pieces after a short trial. Use this arrangement only where it suits the pattern and the fabric.
The paper also transfers pressure from places you did not intend to trace. Keep your supporting hand away from the design area as far as practical, and lift a corner to check for stray colour before continuing. For a single-sided sheet, use the one-layer arrangement above and repeat for the second piece as needed.
Trace a little, then look underneath
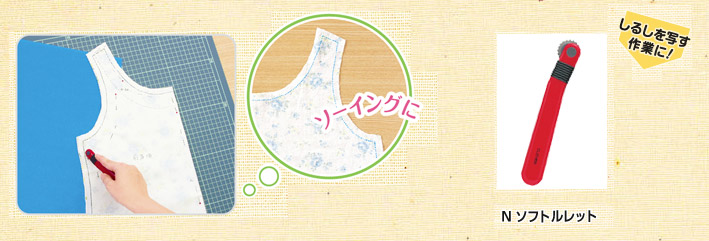
Use a suitable tracing stylus or wheel and begin with modest pressure. The Clover Double Ended Tracing Pen is an ink-free tracing tool; it applies pressure through the design rather than drawing with its own ink.
Trace a short straight section, a curve and a small detail. Without losing the alignment, lift a corner to inspect the result. Is the line clear enough to follow? Has colour transferred where your hand rested? Does the fabric show an unwanted indentation?
A wheel suitable for paper pattern work may be too sharp for a delicate cloth. Check the type of working edge as well as the handle. Avoid pressing harder to compensate for the wrong tool, an exhausted area of transfer sheet or a fabric that does not take the transfer cleanly.
Compare visibility and clean-up separately
A strong transfer can make a complex design easier to follow, but unwanted colour outside the design can complicate the work. Test both the line and the area around it. Use a colour that contrasts with the cloth, then check how that colour removes from this particular fabric.
For water-erasable Clover Chaco sheets, remove the marks before ironing. Use the specified water treatment or a compatible eraser pen, following the product directions and the fabric’s care requirements. A damp line disappearing from view is only the first check: let the sample dry fully, then examine it again.
A product that needs washing is a poor match for a project you cannot wash. If the test leaves a trace, needs excessive rubbing or changes the fabric’s finish, choose another method before transferring the complete design.
Before you put the pattern away
Check that the important notches, matching points and lines have transferred to the intended pieces. Confirm that the marks will last for your sewing schedule, and store the remaining sheets as their packaging directs.
If pressure transfer does not suit the cloth, compare a hera crease with fabric pencils and removable markers. Each still needs its own scrap test.
