

Sewing Tips & Tool Advice
The End-of-Project Sewing Kit Check
Eight Needles Journal · Workspace & gifts
The end of a project is a useful moment to prepare the kit for the next one. A short check can reveal missing needles, nearly empty refills and damaged tools while you still remember how they were used.
Sort the kit into three groups
| Group | Examples | Next action |
|---|---|---|
| Ready for the next project | Clean, dry tools with sound working parts and readable labels | Return to their usual storage |
| Needs a replacement or refill | Empty fabric pencil, damaged rotary blade, bent needle | Record the exact model; isolate damaged sharp parts |
| Project material to keep | Matching thread, spare buttons, labelled fabric offcut | Store together with the garment or pattern reference |
Do this before buying another accessory. A familiar tool may only need the correct refill, while an uncomfortable or unsuitable tool may need a different specification. The useful question is what caused trouble during the project.
Account for sharp items
Return needles and pins to labelled storage and close or cover cutting tools. Check the work surface and surrounding area for loose pieces before folding away fabric. Keep damaged items separate so they are not used by mistake.
Check the working end, not just the handle
A needle that is bent or catching the fabric should not go back among the good ones. For rotary cutters, repeated skipped sections can be a reason to inspect the blade and cutting surface. Close the blade cover before handling other tools, and follow the cutter’s instructions for replacement.
Check rulers for damaged edges or unreadable graduations, and look over the tape measure for kinks or an altered end. A tool that no longer provides a dependable reference can undermine otherwise careful measuring.
Preserve the useful records
Attach colour references to leftover thread and keep refill model numbers with their pencils. Save the successful fabric-marking sample and any needle notes that may help with a matching repair. Discarding every packet can make the next selection unnecessarily difficult.
Record what happened to the markings
Keep the marker’s name and removal method with a labelled offcut. If a line stayed visible or left a residue after the prescribed treatment, record that result instead of assuming it will behave better next time. Do not press over unexplained marks or use a stronger household cleaner as a guess.

Clean according to instructions
Remove ordinary loose debris appropriately and follow each maker's care guidance. Do not apply one oil, solvent or cleaning method to the entire kit. Note any tool that needs professional maintenance before putting the rest back into storage.
Let cleaned tools dry fully before closing the bag. Keep damp cloth away from steel tools and paperboard cases. A folding mat should be stored as its instructions specify; do not roll a rigid cutting mat or place it beside a heat source.
A practical example
You finish a project with leftover thread, several loose needles and a nearly empty pencil. Match each item to its label, contain the sharp tools and note the correct refill. The next project can then start with a kit whose contents are known.
Check before choosing
- Are all sharp items accounted for?
- Are material and refill references retained?
- Which tool needs attention before the next project?
Related tools to compare
Compare the size, material and included parts on each product page against the task above.
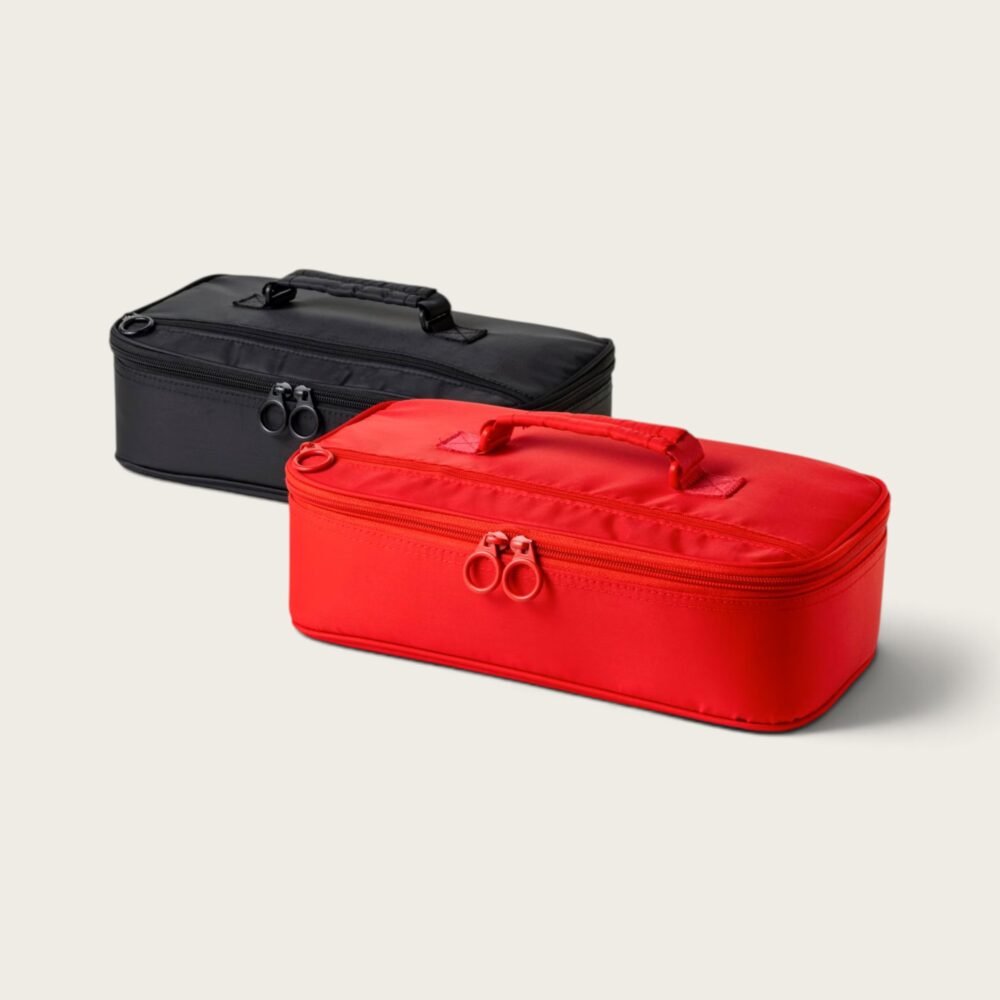
 Bunka Sewing Tool Bag – In 2 options
 Bunka Tailor Chalk Case
 Cohana-Paperboard Tool Case 2 colours