
No products in the basket.
Guides
Hand-Sewing Silk: Selecting a Needle and Testing the Stitch
Eight Needles Journal · Needles
For hand-sewing silk, match the needle to the actual cloth and thread, then test the finished stitch. Silk can be crisp, fluid, dense or sheer. A packet marked “silk” narrows the choice, but it cannot describe every fabric you might put beneath the needle.
Choose thickness before length
A fine silk fabric generally needs a fine needle that will carry the chosen thread without disturbing the weave. Watch for a pulled yarn or a visible line extending away from the stitch: those are reasons to stop and review the needle, thread and technique.
Once that combination passes through cleanly, choose a length that feels manageable. A smaller working space and a long hem may favour different lengths. You do not have to use one needle for every stage of the garment.
Three lengths within one silk range
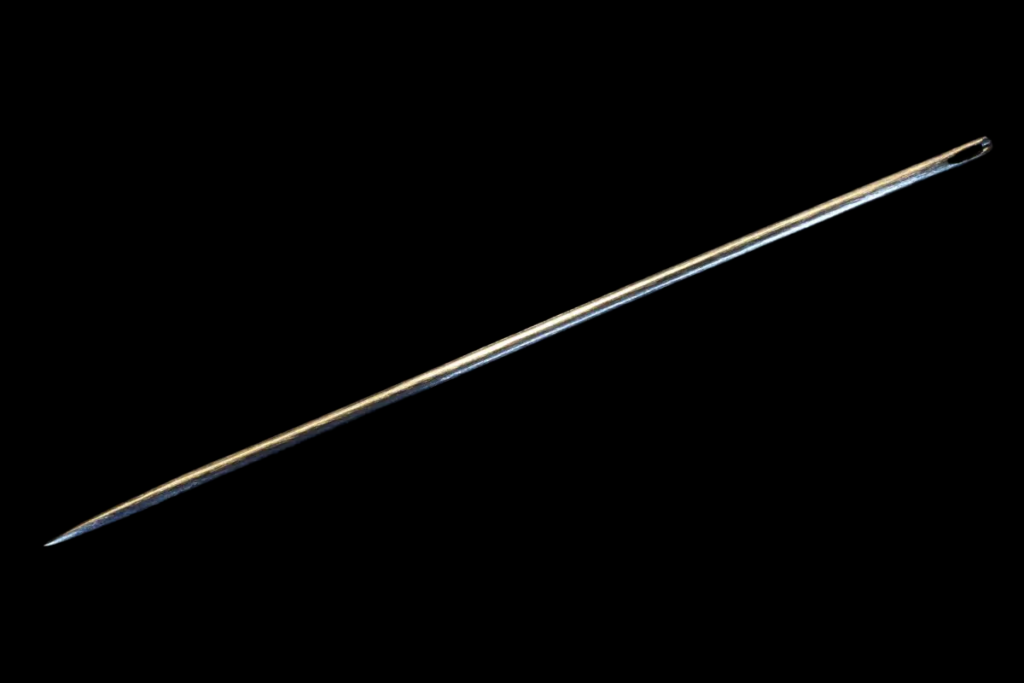
The Misuya Chubei round-eye silk range offers several lengths at the same 0.56 mm thickness. These examples show why a longer needle need not mean a thicker needle.
| Size | Length | Useful comparison |
|---|---|---|
| 四ノ一 · 4-1 | 33.3 mm | A shorter option for a compact grip |
| 四ノ三 · 4-3 | 39.4 mm | A middle length to compare with your usual needle |
| 四ノ五 · 4-5 | 45.5 mm | A longer option when that reach suits your stitching movement |
Check the selected size when ordering. A standard packet contains one chosen size; it is different from an assortment.
Test the construction, not one flat layer
Make a small version of the work you are about to sew. For a hem, include the actual fold. For a facing, include the joined layers. Use the intended thread and stitch, then inspect both sides under good light.
Check whether the thread follows the needle easily and whether the cloth lies naturally when the stitch is complete. Pulling the thread too firmly can pucker a delicate surface even when the needle itself is suitable. Let the sample relax before judging it.
For basting, look after the stitches come out
A temporary fitting seam has a different test from a permanent one. Sew it on the offcut, leave it for the expected working period, then remove it carefully. Look for persistent holes, pulled fibres or marks from the thread.
Choose a removable basting thread that works with the cloth and needle. Avoid assuming that a thicker temporary thread is harmless just because it will eventually be taken out. If the sample does not recover cleanly, change the combination or placement before basting the garment.
Check the needle before every delicate stage
A bent point, rough eye or rusty surface can turn otherwise suitable sewing into a snag. Replace a damaged needle instead of trying to push through the resistance. If an undamaged needle still catches, compare the eye and thread fit and the number of layers you are taking at once.
For a small round eye, use good light and a compatible threader if needed. Do not force a threader through the opening. A thread that can be pushed into the eye still needs room to follow the needle through the fabric.
Keep a record of the combination that works
Save the successful sample with the needle size and thread details. Include the marking method if the work needs temporary guides; marking delicate fabric deserves the same care as choosing the needle.
For a broader comparison, see choosing a hand-sewing needle for the fabric.
