No products in the basket.
Guides
Draping Tape: Choosing Between 1.5mm and 3mm
Eight Needles Journal · Patternmaking
Draping tape makes reference lines visible on a dress form. A narrower tape gives a finer visual line, while a wider one can be easier to see from a distance. Choose according to the scale and clarity of the markings you need.

Agree what the line means
Decide whether measurements refer to the centre or an edge of the tape. Keep that convention consistent across the form. A line that changes meaning halfway around a waist or neckline makes later checks less reliable.
Apply without forcing the shape
Follow the intended reference path and smooth the tape in short sections. Avoid pulling it so tightly that it lifts or changes direction. Step back to check the overall line, then inspect its placement more closely.
Separate colour from measurement
Use colours to distinguish reference lines if that helps your workflow, and write down the meaning of each. Colour coding is an organisational choice, not a substitute for checking the form and the drafting method.
A practical example
You use one tape colour for the waist reference and another for a temporary design line. Record the width and whether measurements use the centre or an edge. When the design changes, that note tells you which line can move and which remains the stable reference.
Check before choosing
- Do I need fine detail or distance visibility?
- Am I using the centre or edge?
- Will my colour system remain consistent?
Related tools to compare
Compare the size, material and included parts on each product page against the task above.
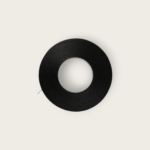 Bunka Draping Tape – 2 sizes – 1.5mm & 3mm (16m long)
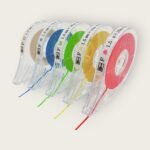 Bunka – Draping Tape in 5 Colours with Case – 1.5mm(16m long)
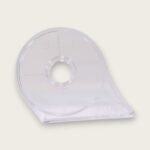 Draping Tape Case
Meet the maker
For the company background, workshop photographs and more of the range, read Bunka: The People, Classrooms and Tools Behind a Century of Making Clothes.