
No products in the basket.
Guides
Marking Delicate Fabric Without Guesswork
Eight Needles Journal · Marking
For delicate fabric, choose the removal method before you choose the marker. A fine, clear line is of little help if removing it leaves a water ring, a rubbed patch or a visible impression. The right test includes the fabric’s finished appearance, not just the mark.
Start with what the cloth can tolerate
Check the fabric’s care information and any guidance supplied with it. Can the completed project be washed? Can the marked area be wetted locally? Will it tolerate the heat required by a particular marker? Do not assume all silk, all satin or all fine cotton behaves alike.
Save an offcut that represents the actual project, including any preparation you have already carried out. If the cloth has a distinctive finish, test that surface too. Keep an unmarked piece alongside it so that subtle changes in colour or sheen are easier to spot.
Compare four ways of carrying the information
| Method | Why consider it? | What the test must check |
|---|---|---|
| Removable fabric ink | A visible line or small reference mark | Bleeding, removal, water effects and visibility after drying |
| Fabric pencil or chalk | A dry marking option | Drag, stretching, pigment residue and the effect of removal on the surface |
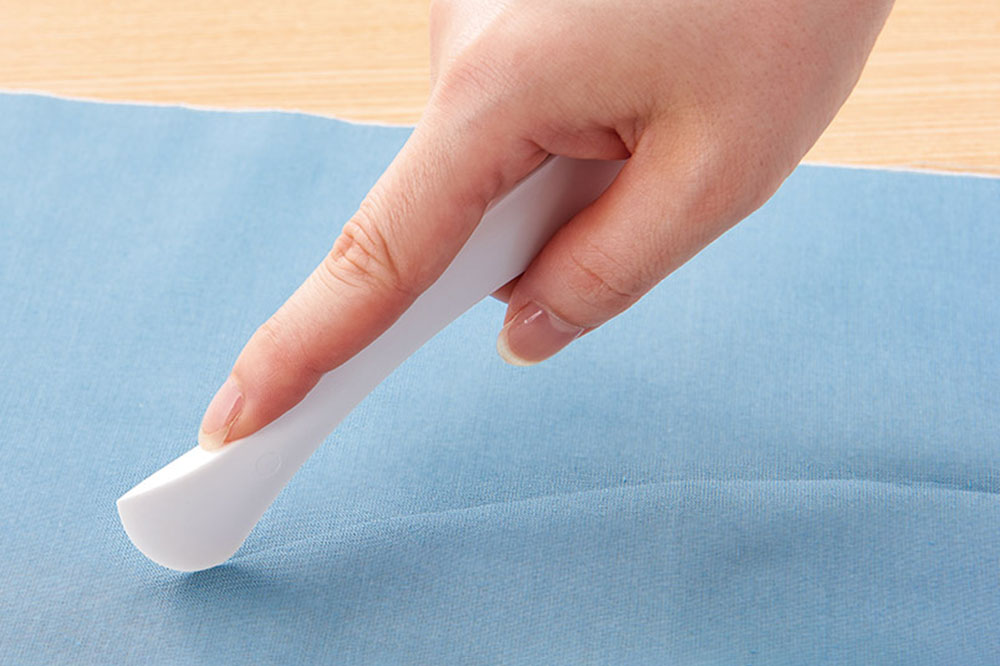
| Hera crease | A guide without added pigment | Readability, retention and any lasting pressure mark |
| Temporary thread marks | Reference points or lines without drawn pigment | Needle holes, snagging, thread transfer and clean removal |
For a washable lightweight fabric
A removable fabric marker may be a candidate, provided its instructions agree with the way you will clean the project. Try a light line and a small dot: holding a nib still at a point can leave a heavier deposit than moving it along a line.
Remove the sample mark by the specified method, allow it to dry fully, then look for a remaining outline or change around the treated area. Keep an iron away until the particular marker’s directions allow it. “Water-erasable” does not mean every trace will disappear with one dab.
For a project that cannot be washed
A pen that requires washing has an obvious limitation here. Air-erasing ink is not an automatic solution either: disappearance varies with the cloth and conditions, and the ink still has to behave acceptably on your sample.
Consider thread marking or a tested crease where the construction allows it. If the fabric’s care requirements rule out the removal procedure, choose a different marking method instead of hoping that the mark will be hidden by the finished seam.
For slippery, sheer or easily distorted cloth
Support the fabric flat and avoid pulling it into position while drawing. If the tool drags the cloth, the mark may look straight on the table but shift when the fabric relaxes. Try less pressure or a different method, rather than stretching the material to make the tool move.
On sheer fabric, inspect the right side even when marking the wrong side. A mark inside a seam allowance can still show through. Use the minimum number of clearly placed references needed for the construction; avoid broad, repeatedly retraced bands.
Thread marking needs a test too
Temporary thread marks can be useful for a dart point, a matching reference or a construction line that needs to survive handling. Choose a needle and thread that pass through the sample cleanly. Sew a few test marks, leave them for the expected working period, then remove them and inspect the cloth.
Look for snagged fibres, persistent holes and any change left by the thread. A fine needle is helpful only if it works with the chosen thread and fabric. Do not force a thick thread through a small eye or pull a tight temporary stitch into a delicate surface.
Rehearse the actual job
For a dart, test a point and the line or thread references needed to establish it. For a fold, test whether the crease remains clear while you turn and handle the allowance. For embroidery, check the full transfer and removal process on a small stitched sample.
The useful result is a readable guide and fabric that still looks right when the guide is gone. If either part fails, change the method before marking the main piece.
Use the fabric-marker test guide for the complete sequence, or compare specific chalks, pencils and pens.
